How to show a PIL Image in Jupyter Notebook
Last updated: Apr 10, 2024
Reading time·4 min

# Table of Contents
- How to show a PIL Image in Jupyter Notebook
- Showing an inline image with matplotlib in Jupyter Notebook
- Displaying an image directly in Jupyter Notebook
# How to show a PIL Image in Jupyter Notebook
To show a PIL image in Jupyter Notebook:
- Use the
Image.open()method from the Pillow module to open the image file. - Use the
display()function from theIPython.displaymodule to show the image.
from PIL import Image from IPython.display import display pil_image = Image.open('images/thumbnail.webp') display(pil_image)
The example assumes that you have an images/ folder that stores a
thumbnail.webp image.
Make sure you have the Pillow module installed to be able to run the code.
You can issue the following commands in a cell to install the module.
!pip uninstall PIL !pip install Pillow
Or the following commands from your terminal.
pip uninstall PIL pip install Pillow # Or with PIP3 pip3 uninstall PIL pip3 install Pillow
The PIL.Image.open() method is used to open and identify the given image.
The argument the method takes is the path to the image (including the extension).
The method returns an Image object that we can pass to the display()
function from the IPython.display module.
from PIL import Image from IPython.display import display pil_image = Image.open('images/thumbnail.webp') display(pil_image)
In more recent versions of Jupyter, you don't have to import the display
function.
The following code sample achieves the same result.
from PIL import Image pil_image = Image.open('images/thumbnail.webp') display(pil_image)
Jupyter Notebook will also show the image if it is the last line in the cell.
For example, the following 2 lines of code render the specified image.
from PIL import Image # ✅ Renders image (last line in cell) Image.open('images/thumbnail.webp')
However, this wouldn't work if the image is not the last line in the cell.
from PIL import Image # ⛔️ Does NOT render the image (not the last line in the cell) Image.open('images/thumbnail.webp') print('bobbyhadz.com')
If your image is not the last line in a cell, you should use the display()
function.
from PIL import Image display(Image.open('images/thumbnail.webp')) print('bobbyhadz.com')
Basically, you should either return the image object from an input cell or pass
it to the display function to display it on the frontend.
# Showing an inline image with matplotlib in Jupyter Notebook
You can also use the matplotlib and numpy modules to show an inline image in Jupyter Notebook.
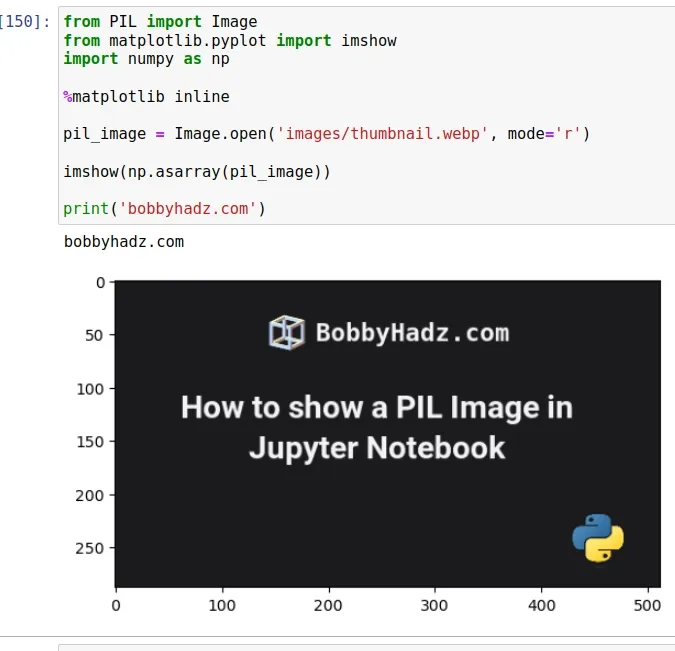
from PIL import Image from matplotlib.pyplot import imshow import numpy as np %matplotlib inline pil_image = Image.open('images/thumbnail.webp', mode='r') imshow(np.asarray(pil_image)) print('bobbyhadz.com')
Here is the output of running the code in the cell.
Make sure you have matplotlib and numpy installed
!pip install matplotlib !pip install numpy
We used the %matplotlib inline magic function to display the image inline,
directly below the code cell that produced it.
%matplotlib inline
The matplotlib.imshow method is used to display the supplied data as an image.
If you want to open the image in a separate window, call the show() method on
it.
from PIL import Image from matplotlib.pyplot import imshow import numpy as np pil_image = Image.open('images/thumbnail.webp', mode='r') pil_image.show()
# Displaying an image directly in Jupyter Notebook
You can also use the Image class from the IPython.display module to display
an image directly, without using Pillow.
from IPython.display import Image, display display(Image(filename='images/pizza.png'))

If you need to display multiple images, store the paths in a list and use a for loop.
from IPython.display import Image, display image_paths = ['images/pizza.png', 'images/house.png'] for image_path in image_paths: display(Image(filename=image_path))
However, this approach only works for png and jpg images.
If you need to display images with other extensions, use markdown.
You can click on the Code dropdown menu and select Markdown.

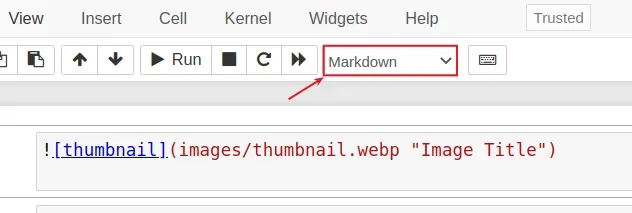
The code sample assumes that you have an images directory that contains a
thumbnail.webp image.
The text between the square brackets is used as the alt text of the image.
You can also specify a title that is shown when the user hovers over the image.
If you set the cell to Markdown, you can also use a basic img tag to show
an image.

If you want to read more on how to use markdown in Jupyter cells, check out the following article.
I've also written an article on How to display a List as a Table in Jupyter Notebook.
If you need to display multiple images side by side using markdown, check out the following article.
# Additional Resources
You can learn more about the related topics by checking out the following tutorials:
- Error executing Jupyter command 'notebook': [Errno 2] No such file or directory
- VS Code: Change Python version & select correct Interpreter
- How to check your Python version in Jupyter Notebook
- Error executing Jupyter command 'notebook': [Errno 2] No such file or directory
- jupyter is not recognized as an internal or external command
- Wrap code/text into multiple Lines in Jupyter Notebook
- The purpose of the exclamation mark (!) in Jupyter Notebook
- How to show (or hide) the Line Numbers in Jupyter Notebook
- How to display Directory & File structure in Markdown Files
- Display images Side by Side in GitHub Markdown (README.md)
- How to Clear Cell Output in Jupyter Notebook
- How to display Lists as a Table in Jupyter Notebook
- OSError: cannot write mode RGBA as JPEG Pillow error [Fix]
- ValueError: assignment destination is read-only [Solved]
- Convert an Image to a Base64-encoded String in Python
- PIL.UnidentifiedImageError: cannot identify image file
- Matplotlib is currently using agg, which is non-GUI backend
- Python: Not all parameters were used in the SQL statement

