Wrap code/text into multiple Lines in Jupyter Notebook
Last updated: Apr 10, 2024
Reading time·3 min

# Wrap code/text into multiple Lines in Jupyter Notebook
By default, when writing code in Jupyter Notebook, text and code are not wrapped into multiple lines.
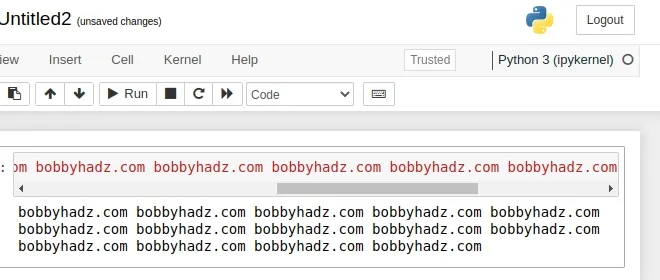
Notice that a horizontal scrollbar is shown instead of wrapping the text.
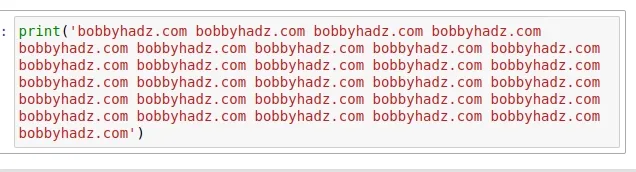
Instead of having to scroll every time your line exceeds the screen's width, you could wrap the text as shown in the following screenshot.
To wrap code/text so it appears on multiple lines in Jupyter Notebook:
- Use the
jupyter --config-dircommand to print where your configuration directory is located.
jupyter --config-dir
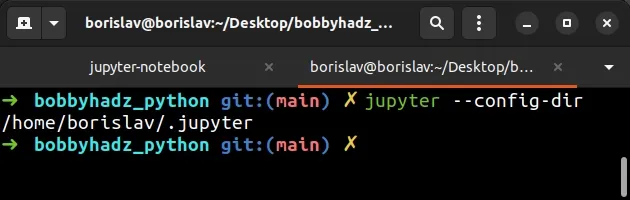
In my case, the configuration directory is
~/.jupyterwhich is equivalent to/home/<user>/.jupyter.Open your config directory and create a
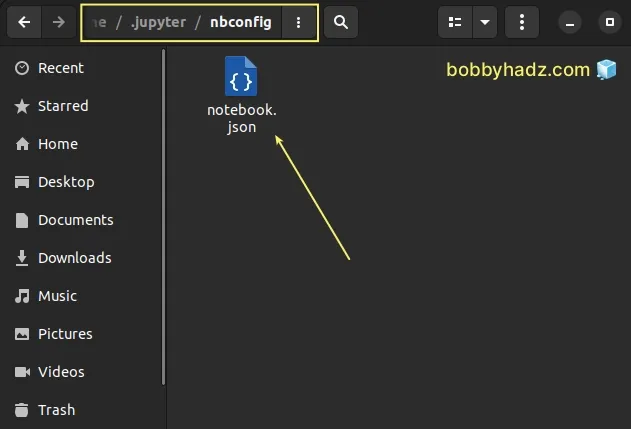
nbconfigfolder in it (assuming it doesn't already exist).In my case, the
nbconfigfolder is located under~/.jupyter/nbconfigwhich is equivalent to/home/<user>/.jupyter/nbconfig.Create a
notebook.jsonfile in yournbconfigdirectory.
- Add the following code to your
notebook.jsonfile.
{ "MarkdownCell": { "cm_config": { "lineWrapping": true } }, "CodeCell": { "cm_config": { "lineWrapping": true } } }

Make sure the code in your notebook.json file is valid JSON.
All properties should be double-quoted and you shouldn't have any trailing commas.
Stop your Jupyter Notebook server and rerun the
jupyter-notebookcommand.After you restart the kernel, code/text will wrap into multiple lines.
# Using Jupyter Notebook in Visual Studio Code
If you use Jupyter Notebook in Visual Studio Code, you can also enable the "Word Wrap" setting directly in the IDE.
- Press
Ctrl+Shift+P(orCommand+Shift+Pon macOS).
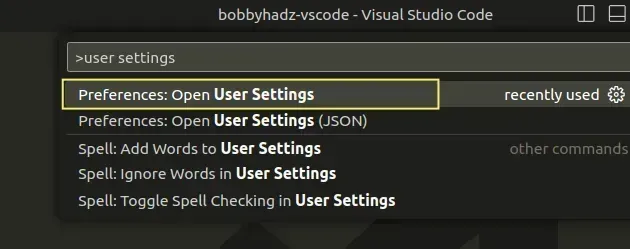
F1 to open the Command Palette.- Type user settings and select Preferences: Open User Settings.
You can also open the settings screen by pressing Ctrl + , on Windows and
Linux or Cmd + , on macOS.
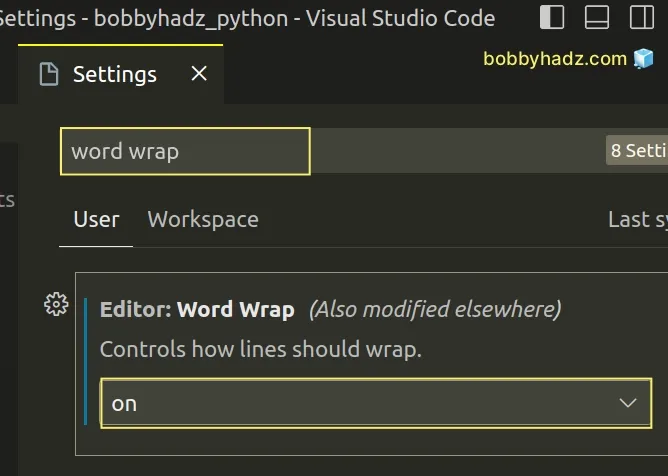
Type word wrap in the search field.
Set the Editor: Word Wrap setting to on.
I've also written an article on How to add a new line in a Jupyter Notebook markdown cell.
# Additional Resources
You can learn more about the related topics by checking out the following tutorials:
- How to check your Python version in Jupyter Notebook
- Note: you may need to restart the kernel to use updated packages
- How to add a new line in a Jupyter Notebook markdown cell
- Error executing Jupyter command 'notebook': [Errno 2] No such file or directory
- The purpose of the exclamation mark (!) in Jupyter Notebook
- How to show (or hide) the Line Numbers in Jupyter Notebook
- How to Clear Cell Output in Jupyter Notebook
- How to display Lists as a Table in Jupyter Notebook
- How to show a PIL Image in Jupyter Notebook
- How to measure Cell execution Time in Jupyter Notebook
- [Solved] Jupyter Notebook not running code Stuck on In [*]
- Pycharm does not show a Matplotlib Plot issue [Solved]
- Jupyter Notebook not saving: '_xsrf' argument missing from post
- ssl.SSLError: [SSL: WRONG_VERSION_NUMBER] wrong version number (_ssl.c:1002)
- How to Collapse cells in Jupyter Notebook & Jupyter Lab

