Refresh an image without refreshing the page in JavaScript
Last updated: Mar 7, 2024
Reading time·4 min
# Table of Contents
- Refresh an image with a new one at the same URL on click
- Automatically Refresh an image with a new one at the same URL
- Updating the hash to refresh an image using JavaScript
- Using fetch() to refresh an image with a new one at the same URL
# Refresh an image with a new one at the same URL on click
Add the current timestamp to the src attribute of the img element to
refresh it with a new one at the same URL using JavaScript.
When the current timestamp is added as a query parameter to the image's src
attribute, the browser will retrieve the image again instead of returning the
cached image.
Here is the HTML for the example.
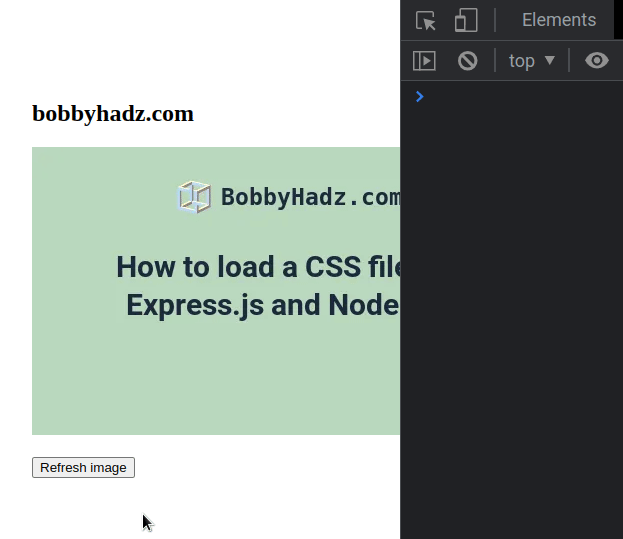
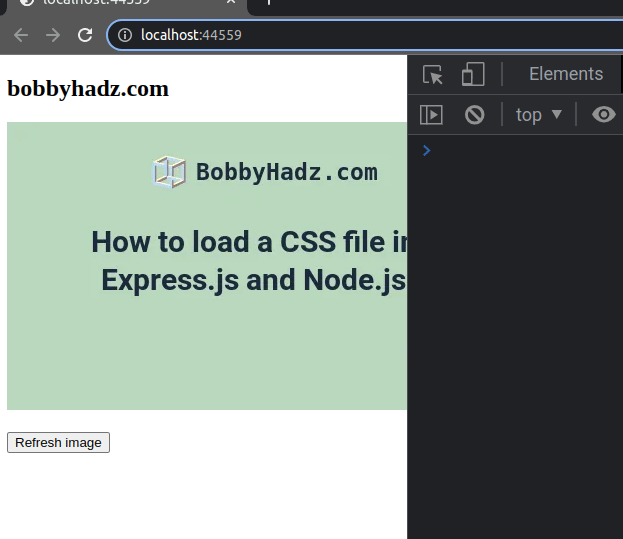
<!DOCTYPE html> <html lang="en"> <head> <meta charset="UTF-8" /> </head> <body> <h2>bobbyhadz.com</h2> <img alt="thumbnail" src="https://bobbyhadz.com/images/blog/include-css-file-in-express-and-node-js/thumbnail.webp" id="thumbnail-img" /> <br /> <br /> <button id="btn">Refresh image</button> <script src="index.js"></script> </body> </html>
And here is the related JavaScript code.
const btn = document.getElementById('btn'); const image = document.getElementById('thumbnail-img'); btn.addEventListener('click', () => { if (!image.src.includes('?')) { image.src = `${image.src}?${Date.now()}`; } else { image.src = image.src.slice(0, image.src.indexOf('?') + 1) + Date.now(); } console.log('image refreshed'); console.log(image.src); });
We used the document.getElementById()
method to get the button and img elements by their ID attributes.
The next step is to add a click event listener to the button element.
Every time the button is clicked, we add the current timestamp as a query
parameter to the image's src attribute.
if (!image.src.includes('?')) { image.src = `${image.src}?${Date.now()}`; } else { image.src = image.src.slice(0, image.src.indexOf('?') + 1) + Date.now(); }
The Date.now() method returns the number of milliseconds elapsed since midnight of January 1, 1970, UTC.
Every time the src attribute of the image changes (even if only a query
parameter has changed), the browser will retrieve the image rather than serving
it from the cache.
# Automatically Refresh an image with a new one at the same URL
If you need to automatically refresh an image with a new one at the same URL,
use the setInterval() method.
Here is the HTML for the example.
<!DOCTYPE html> <html lang="en"> <head> <meta charset="UTF-8" /> </head> <body> <h2>bobbyhadz.com</h2> <img alt="thumbnail" src="https://bobbyhadz.com/images/blog/include-css-file-in-express-and-node-js/thumbnail.webp" id="thumbnail-img" /> <script src="index.js"></script> </body> </html>
And here is the related JavaScript code.
const btn = document.getElementById('btn'); const image = document.getElementById('thumbnail-img'); const refreshEveryMS = 2000; setInterval(() => { if (!image.src.includes('?')) { image.src = `${image.src}?${Date.now()}`; } else { image.src = image.src.slice(0, image.src.indexOf('?') + 1) + Date.now(); } console.log('image refreshed'); console.log(image.src); }, refreshEveryMS);
We used the setInterval() method to repeatedly call a function every N milliseconds.
The function we passed to setInterval() is called every 2 seconds in the
example (2 seconds = 2000 milliseconds).
# Updating the hash to refresh an image using JavaScript
You can also update the hash to refresh an image using JavaScript:
- Set the
Cache-Controlheader tono-storeon the server side.
Cache-Control: no-store
The no-store response directive indicates that this response should not be
cached.
- Here is the HTML for the example.
<!DOCTYPE html> <html lang="en"> <head> <meta charset="UTF-8" /> </head> <body> <h2>bobbyhadz.com</h2> <img alt="thumbnail" src="https://bobbyhadz.com/images/blog/include-css-file-in-express-and-node-js/thumbnail.webp" id="thumbnail-img" /> <br /> <br /> <button id="btn">Refresh image</button> <script src="index.js"></script> </body> </html>
- Here is the related JavaScript code.
const btn = document.getElementById('btn'); const image = document.getElementById('thumbnail-img'); btn.addEventListener('click', () => { if (!image.src.includes('#')) { image.src = `${image.src}#${Date.now()}`; } else { image.src = image.src.slice(0, image.src.indexOf('#') + 1) + Date.now(); } console.log('image refreshed'); console.log(image.src); });
Notice that we updated the hash # this time, instead of updating the query
parameters ?.
If the Cache-Control header is set to no-store, updating the hash of the
image's src attribute to the current timestamp is sufficient to get the
browser to re-fetch the image.
# Using fetch() to refresh an image with a new one at the same URL
You can also use the native fetch() method to refresh an image with a new one
at the same URL.
Here is the HTML for the example.
<!DOCTYPE html> <html lang="en"> <head> <meta charset="UTF-8" /> </head> <body> <h2>bobbyhadz.com</h2> <img alt="thumbnail" src="https://bobbyhadz.com/images/blog/include-css-file-in-express-and-node-js/thumbnail.webp" id="thumbnail-img" /> <br /> <br /> <button id="btn">Refresh image</button> <script src="index.js"></script> </body> </html>
And here is the related JavaScript code.
const btn = document.getElementById('btn'); const image = document.getElementById('thumbnail-img'); btn.addEventListener('click', () => { refreshImage( 'https://bobbyhadz.com/images/blog/include-css-file-in-express-and-node-js/thumbnail.webp', ); }); async function refreshImage(url) { await fetch(url, {cache: 'reload', mode: 'no-cors'}); document .querySelectorAll(`img[src='${url}']`) .forEach(img => (img.src = url)); console.log('image refreshed successfully'); }
When the cache
property of the options object is set to
reload,
the browser fetches the resource from the remote server without first looking in
the cache.
However, the browser then updates the cache with the downloaded resource.
We used the document.querySelectorAll()
method to select all images that have the specified src attribute.
The next step is to use the forEach() method to update the src of each
image.
The refreshImage function returns a Promise, so you can use the
async/await syntax to await the
Promise if you need to run some code after the Promise resolves.
const btn = document.getElementById('btn'); const image = document.getElementById('thumbnail-img'); btn.addEventListener('click', async () => { // 👇️ await the promise await refreshImage( 'https://bobbyhadz.com/images/blog/include-css-file-in-express-and-node-js/thumbnail.webp', ); console.log('image is refreshed ✅'); }); async function refreshImage(url) { await fetch(url, {cache: 'reload', mode: 'no-cors'}); document .querySelectorAll(`img[src='${url}']`) .forEach(img => (img.src = url)); console.log('image refreshed succesfully'); }
We marked the event handler function as async and used the await keyword to
await the refreshImage function.
I've also written an article on how to show a default image if an image is not found.
# Additional Resources
You can learn more about the related topics by checking out the following tutorials:
- Download Images using JavaScript (Local and from URL)
- How to fetch Data on Button click in React
- TypeError: Failed to fetch and CORS in JavaScript [Solved]
- fetch() returns empty Response Body in JavaScript [Solved]
- How to Use an Image as a Link in React.js
- Import and use an Image in a React component
- Convert an HTML table to JSON and export it to a file in JS
- How to auto-reload a Page every N seconds using JavaScript
- How to Preview an image before uploading in JavaScript
- Check image width and height before upload using JavaScript
- Get protocol, domain, port, path, query & Hash using JS
- Get the YouTube video ID from a URL using JavaScript

