How to Preview an image before uploading in JavaScript
Last updated: Apr 4, 2024
Reading time·6 min

# Table of Contents
- How to Preview an image before uploading in JavaScript
- Preview selected image in input type="file" using the FileReader API
- How to Preview multiple Images before uploading in JavaScript
# How to Preview an image before uploading in JavaScript
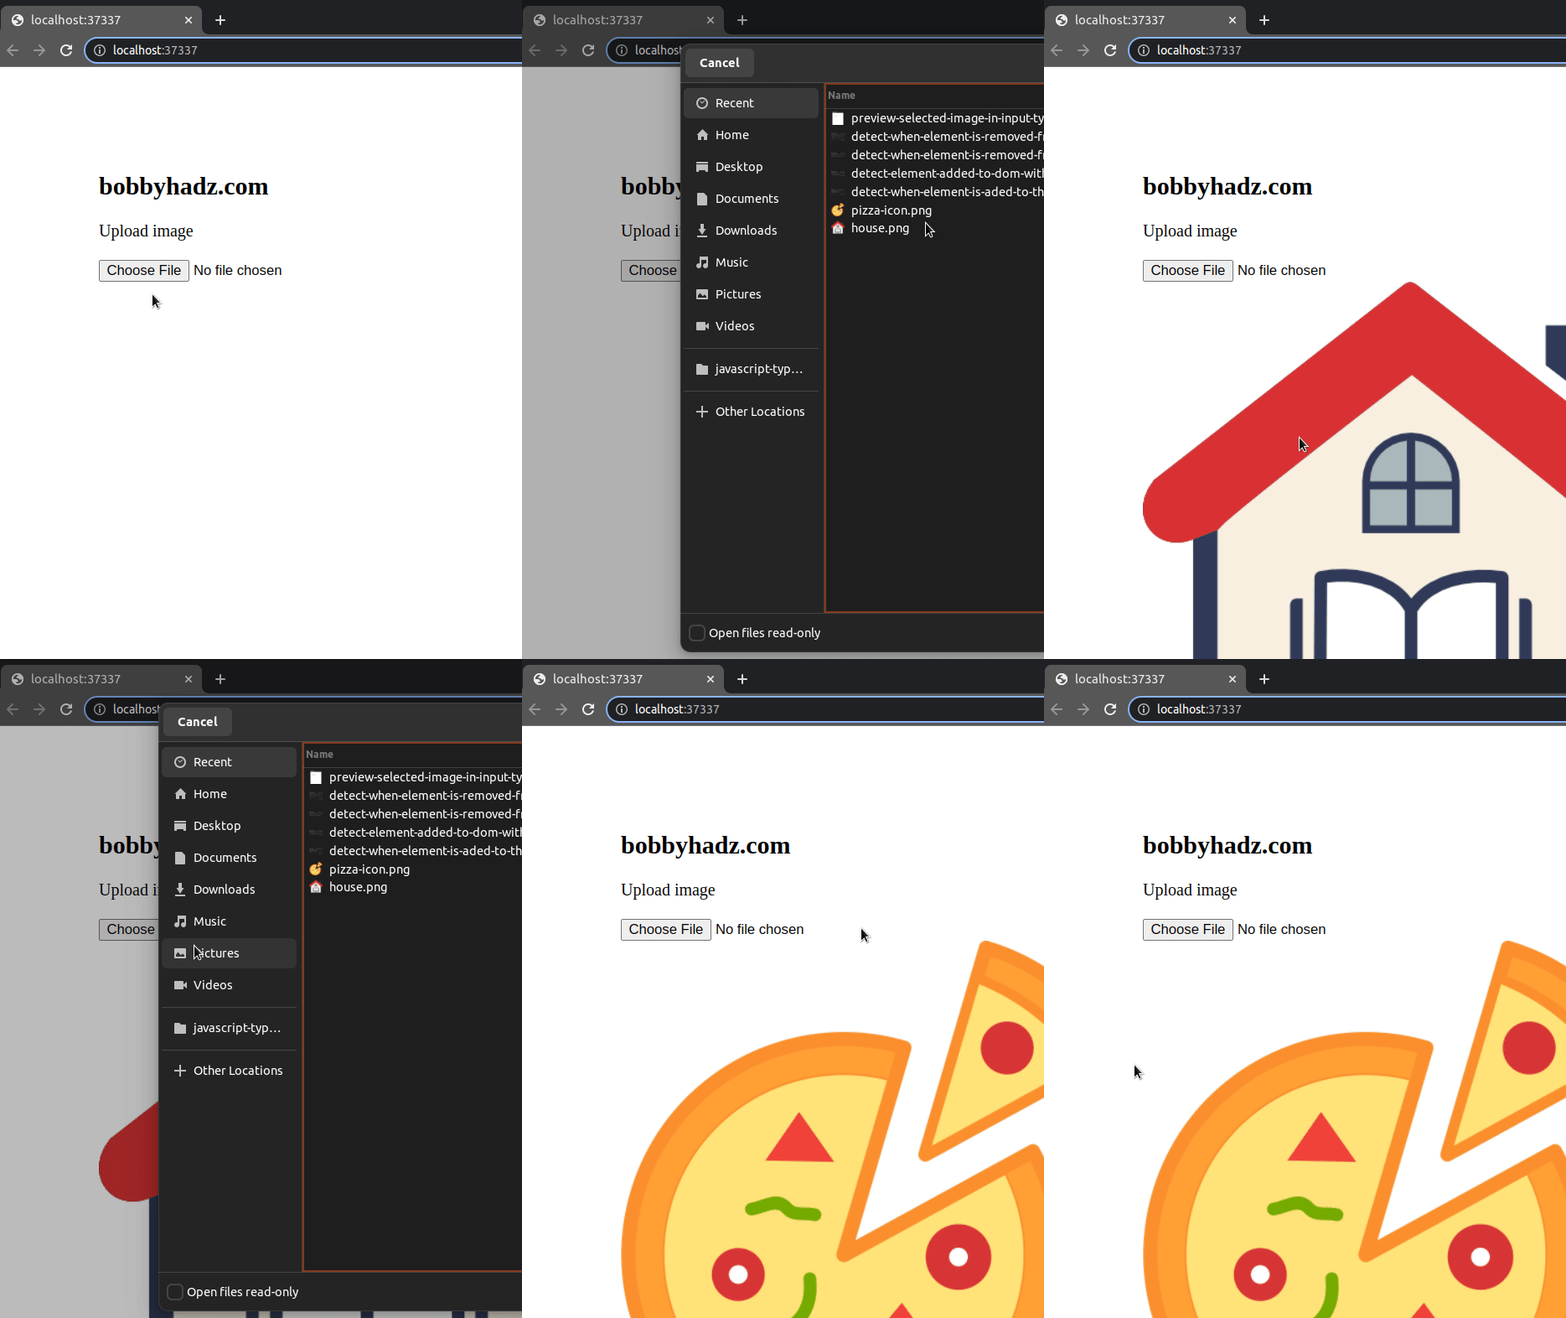
To preview an image before uploading using JavaScript:
- Add a
changeevent listener to theinputelement. - Use the
URL.createObjectURL()method to create a string containing a URL that represents the image. - Set the
srcattribute of the image to the created object URL.
Here is the HTML for the example.
<!DOCTYPE html> <html lang="en"> <head> <meta charset="UTF-8" /> <style> body { margin: 100px; } #preview-image { display: none; } </style> </head> <body> <label for="file-input">Upload image</label> <br /> <br /> <input id="file-input" type="file" accept="image/*" /> <br /> <img id="preview-image" src="#" alt="example image" /> <script src="index.js"></script> </body> </html>
And here is the related JavaScript code.
const fileInput = document.getElementById('file-input'); const previewImage = document.getElementById('preview-image'); fileInput.addEventListener('change', event => { if (event.target.files.length > 0) { previewImage.src = URL.createObjectURL( event.target.files[0], ); previewImage.style.display = 'block'; } // 👇️ reset file input once you're done fileInput.value = null; });

We used the document.getElementById() method to select the file input and the preview image elements by their IDs.
The next step is to
add a change event listener
to the file input element.
Every time the user selects a different image, the change event is triggered.
The callback function checks if the files property on the fileInput element
contains at least one file.
if (event.target.files.length > 0) { previewImage.src = URL.createObjectURL( event.target.files[0], ); previewImage.style.display = 'block'; }
We accessed the files property on the event.target object, but you can also
access the property directly on the fileInput element.
const fileInput = document.getElementById('file-input'); // ... console.log(fileInput.files)
The URL.createObjectURL() method creates a string containing a URL that represents the supplied object.
We set the src attribute of the image to the result of calling
URL.createObjectURL with the first selected image.
The next step is to set the display CSS
property of the image to block.
if (event.target.files.length > 0) { previewImage.src = URL.createObjectURL( event.target.files[0], ); previewImage.style.display = 'block'; }
The image's display property was initially set to none in the style tag of
the index.html file.
<style> #preview-image { display: none; } </style>
You can optionally
reset the value property of the file input
after you're done.
fileInput.addEventListener('change', event => { // ... rest of the code // 👇️ reset file input once you're done fileInput.value = null; });
Notice that we set the accept attribute of the input field to image/*.
<input id="file-input" type="file" accept="image/*" />
This ensures that the user is only able to select image files (e.g. image/png,
image/jpeg, image/webp, etc) when they click on the file input.
If you want to optimize the JavaScript code a little, you can call the
revokeObjectURL method.
const fileInput = document.getElementById('file-input'); const previewImage = document.getElementById('preview-image'); fileInput.addEventListener('change', event => { if (event.target.files.length > 0) { previewImage.src = URL.createObjectURL( event.target.files[0], ); // ✅ free memory by releasing the object URL previewImage.onload = function handleLoad() { URL.revokeObjectURL(previewImage.src); }; previewImage.style.display = 'block'; } // 👇️ reset file input once you're done fileInput.value = null; });
When the load event is triggered, we call the
URL.revokeObjectURL()
method.
The method releases an existing object URL that was previously created by
calling URL.createObjectURL.
The method is called when you've finished using the object URL to free up memory.
# Preview selected image in input type="file" using the FileReader API
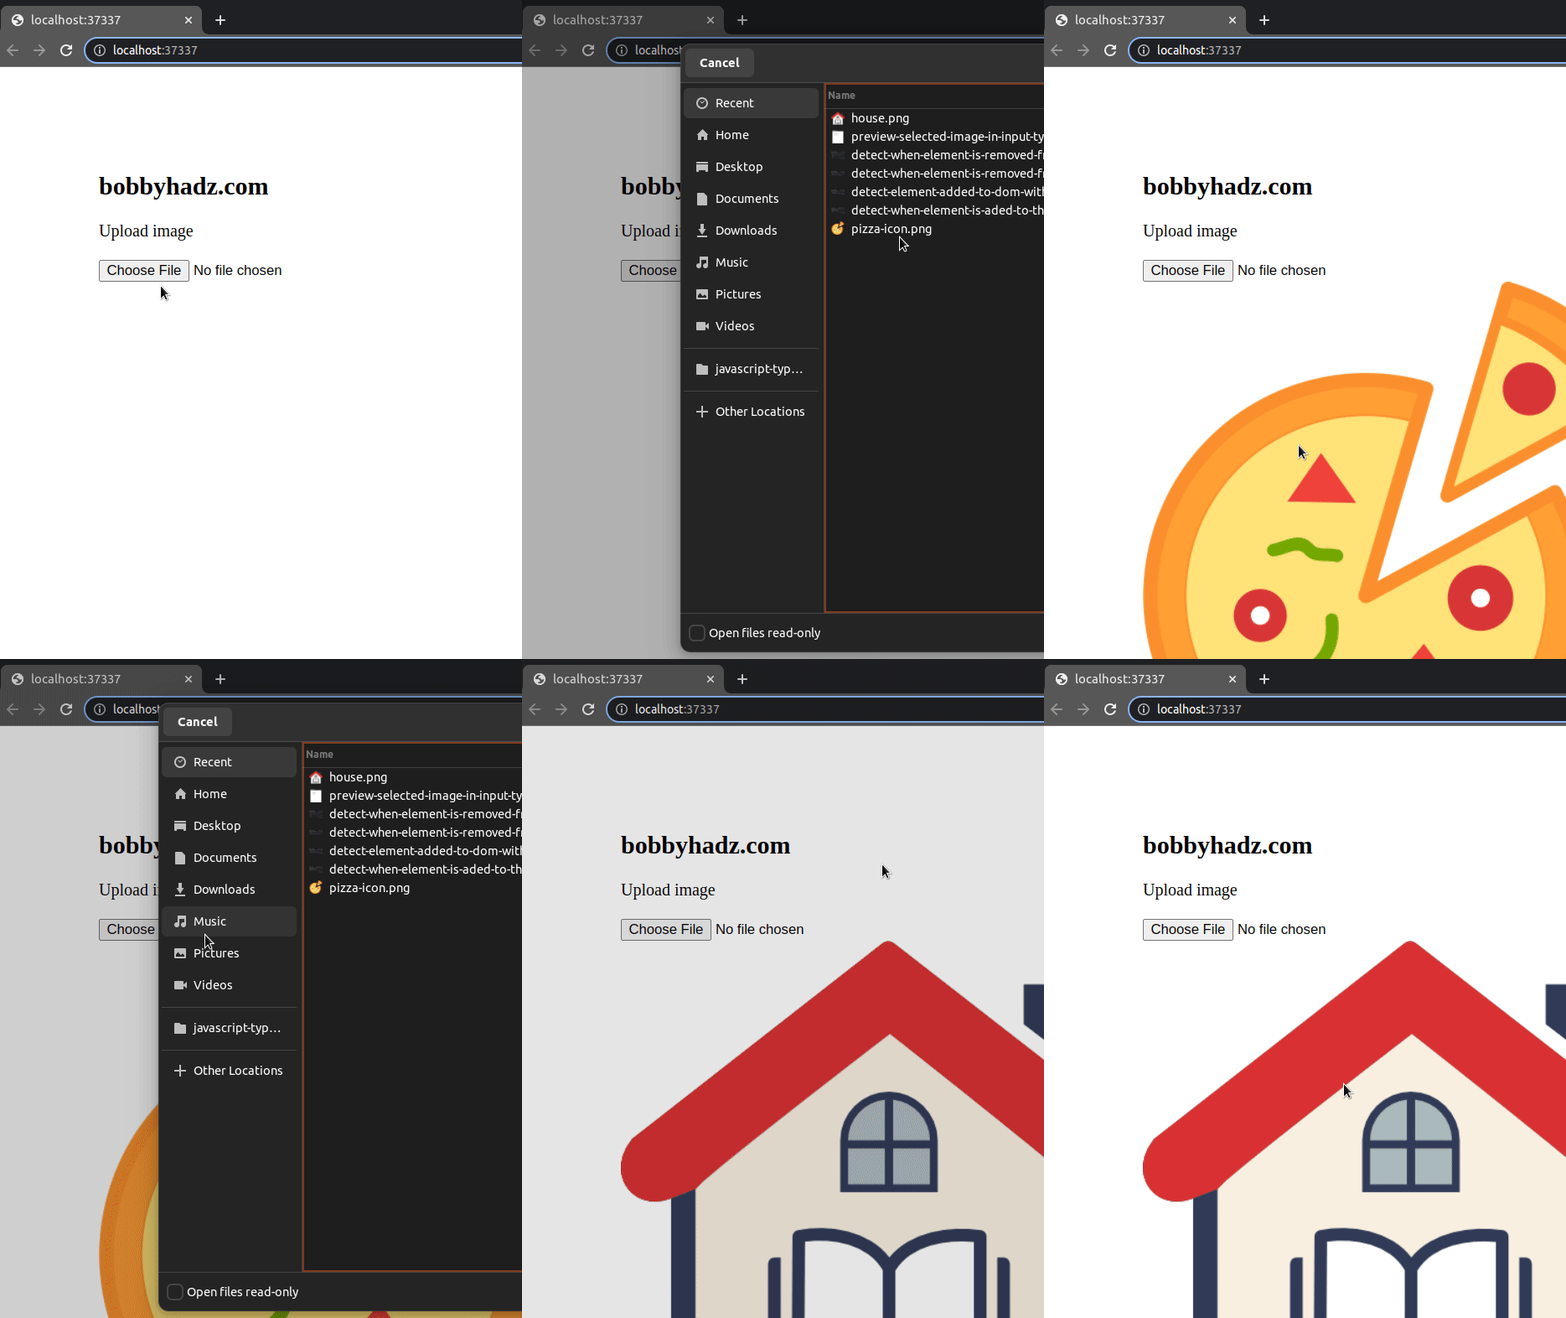
You can also use the FileReader API to preview the selected image in an input
type file.
Here is the HTML for the example.
<!DOCTYPE html> <html lang="en"> <head> <meta charset="UTF-8" /> <style> body { margin: 100px; } #preview-image { display: none; } </style> </head> <body> <h2>bobbyhadz.com</h2> <label for="file-input">Upload image</label> <br /> <br /> <input id="file-input" type="file" accept="image/*" /> <br /> <img id="preview-image" src="#" alt="example image" /> <script src="index.js"></script> </body> </html>
And here is the related JavaScript code.
const fileInput = document.getElementById('file-input'); const previewImage = document.getElementById('preview-image'); fileInput.addEventListener('change', event => { if (fileInput.files.length > 0) { const fileReader = new FileReader(); fileReader.onload = function handleLoad() { previewImage.src = fileReader.result; previewImage.style.display = 'block'; }; fileReader.readAsDataURL(fileInput.files[0]); } // 👇️ reset file input once you're done fileInput.value = null; });

The example is similar to the one from the previous subheading but this time we
used the FileReader API.
The
FileReader()
constructor creates a new FileReader object.
FileReader objects enable us to asynchronously read the contents of files
stored on the user's computer.
const fileReader = new FileReader(); fileReader.onload = function handleLoad() { previewImage.src = fileReader.result; previewImage.style.display = 'block'; }; fileReader.readAsDataURL(fileInput.files[0]);
File objects are usually obtained from a FileList object returned when a user
selects files using an input element with type of file.
Note that the FileReader API can only access the contents of files that the
user has explicitly selected using an input element with type of file or
drag and drop.
The result property of the FileReader object returns the file's contents.
However, the property is only valid after the read operation is complete.
We used the
readAsDataURL()
method to read the contents of the File.
fileReader.readAsDataURL(fileInput.files[0]);
result property contains the data as a data: URL representing the file's data as a base64 encoded string.Once the contents of the image file are read, the result property is populated
and we update the image's src attribute.
fileReader.onload = function handleLoad() { previewImage.src = fileReader.result; previewImage.style.display = 'block'; };
The last step is to set the display CSS property of the image to block to
show it.
Note that using the URL.createObjectURL() method is more efficient than using
the FileReader API, especially when working with large images.
# How to Preview multiple Images before uploading in JavaScript
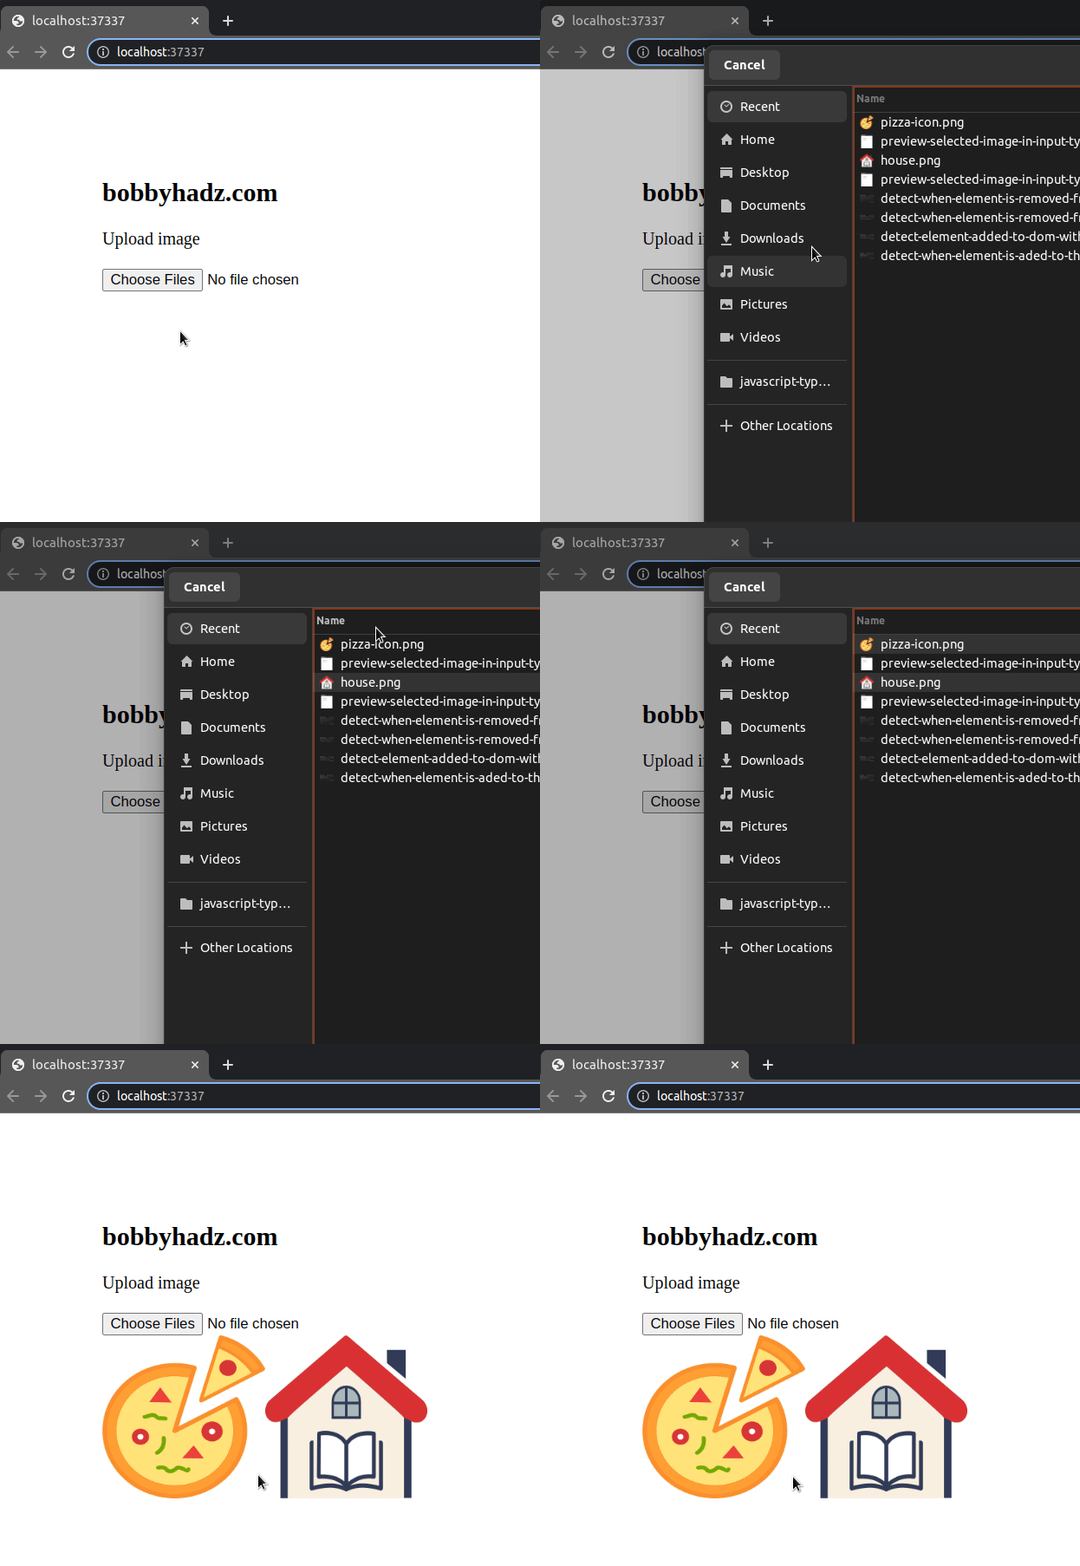
To preview multiple images before uploading:
- Select the file input element and add a
changeevent listener to it. - Iterate over the selected files in a
changeevent listener. - Use the
URL.createObjectURL()method to create an object URL. - Set the
srcof each image to the created object URL.
Here is the HTML for the example.
<!DOCTYPE html> <html lang="en"> <head> <meta charset="UTF-8" /> <style> body { margin: 100px; } #preview-image { display: none; } </style> </head> <body> <h2>bobbyhadz.com</h2> <label for="file-input">Upload image</label> <br /> <br /> <input id="file-input" type="file" accept="image/*" multiple /> <br /> <div id="box"></div> <script src="index.js"></script> </body> </html>
And here is the related JavaScript code.
const fileInput = document.getElementById('file-input'); const box = document.getElementById('box'); fileInput.addEventListener('change', event => { if (fileInput.files.length > 0) { for (const file of fileInput.files) { const previewImage = document.createElement('img'); previewImage.src = URL.createObjectURL(file); previewImage.style.height = '150px'; previewImage.style.width = '150px'; // ✅ free memory by releasing the object URL previewImage.onload = function handleLoad() { URL.revokeObjectURL(previewImage.src); }; // previewImage.style.display = 'block'; box.appendChild(previewImage); } } // 👇️ reset file input once you're done fileInput.value = null; });

We used the document.getElementById() method to select the file input and the
container div and added a change event listener to the file input.
When the change event is triggered, we use a for...of loop to iterate over the selected images.
for (const file of fileInput.files) { const previewImage = document.createElement('img'); previewImage.src = URL.createObjectURL(file); previewImage.style.height = '150px'; previewImage.style.width = '150px'; // ✅ free memory by releasing the object URL previewImage.onload = function handleLoad() { URL.revokeObjectURL(previewImage.src); }; // previewImage.style.display = 'block'; box.appendChild(previewImage); }
The for...of statement is used to loop over iterable objects like arrays,
strings, Map, Set and NodeList objects and generators.
On each iteration, we use the
document.createElement() method to
create an img element.
const previewImage = document.createElement('img');
The URL.createObjectURL() method creates a string containing a URL that represents the supplied object.
We set the src attribute of the image to the result of calling
URL.createObjectURL.
previewImage.src = URL.createObjectURL(file); previewImage.style.height = '150px'; previewImage.style.width = '150px';
We also set the height and width of the img elements to 150px but you can
adjust this depending on your use case.
The URL.revokeObjectURL() method is used to release the created object URLs
after we're done working with them.
The last step is to use the appendChild() method to add each img element to
the div.
box.appendChild(previewImage);

Notice that the multiple attribute is set on the input element in the
index.html file.
<input id="file-input" type="file" accept="image/*" multiple />
This enables the user to select multiple files by pressing and holding the
Ctrl key.
I've also written an article on how to download images using JavaScript.
# Additional Resources
You can learn more about the related topics by checking out the following tutorials:

