How to Use an Image as a Link in React.js
Last updated: Apr 6, 2024
Reading time·3 min

# Using an external Image as a Link in React.js
To use an image as a link in React, wrap the image in an <a> tag or a Link
tag if using React Router.
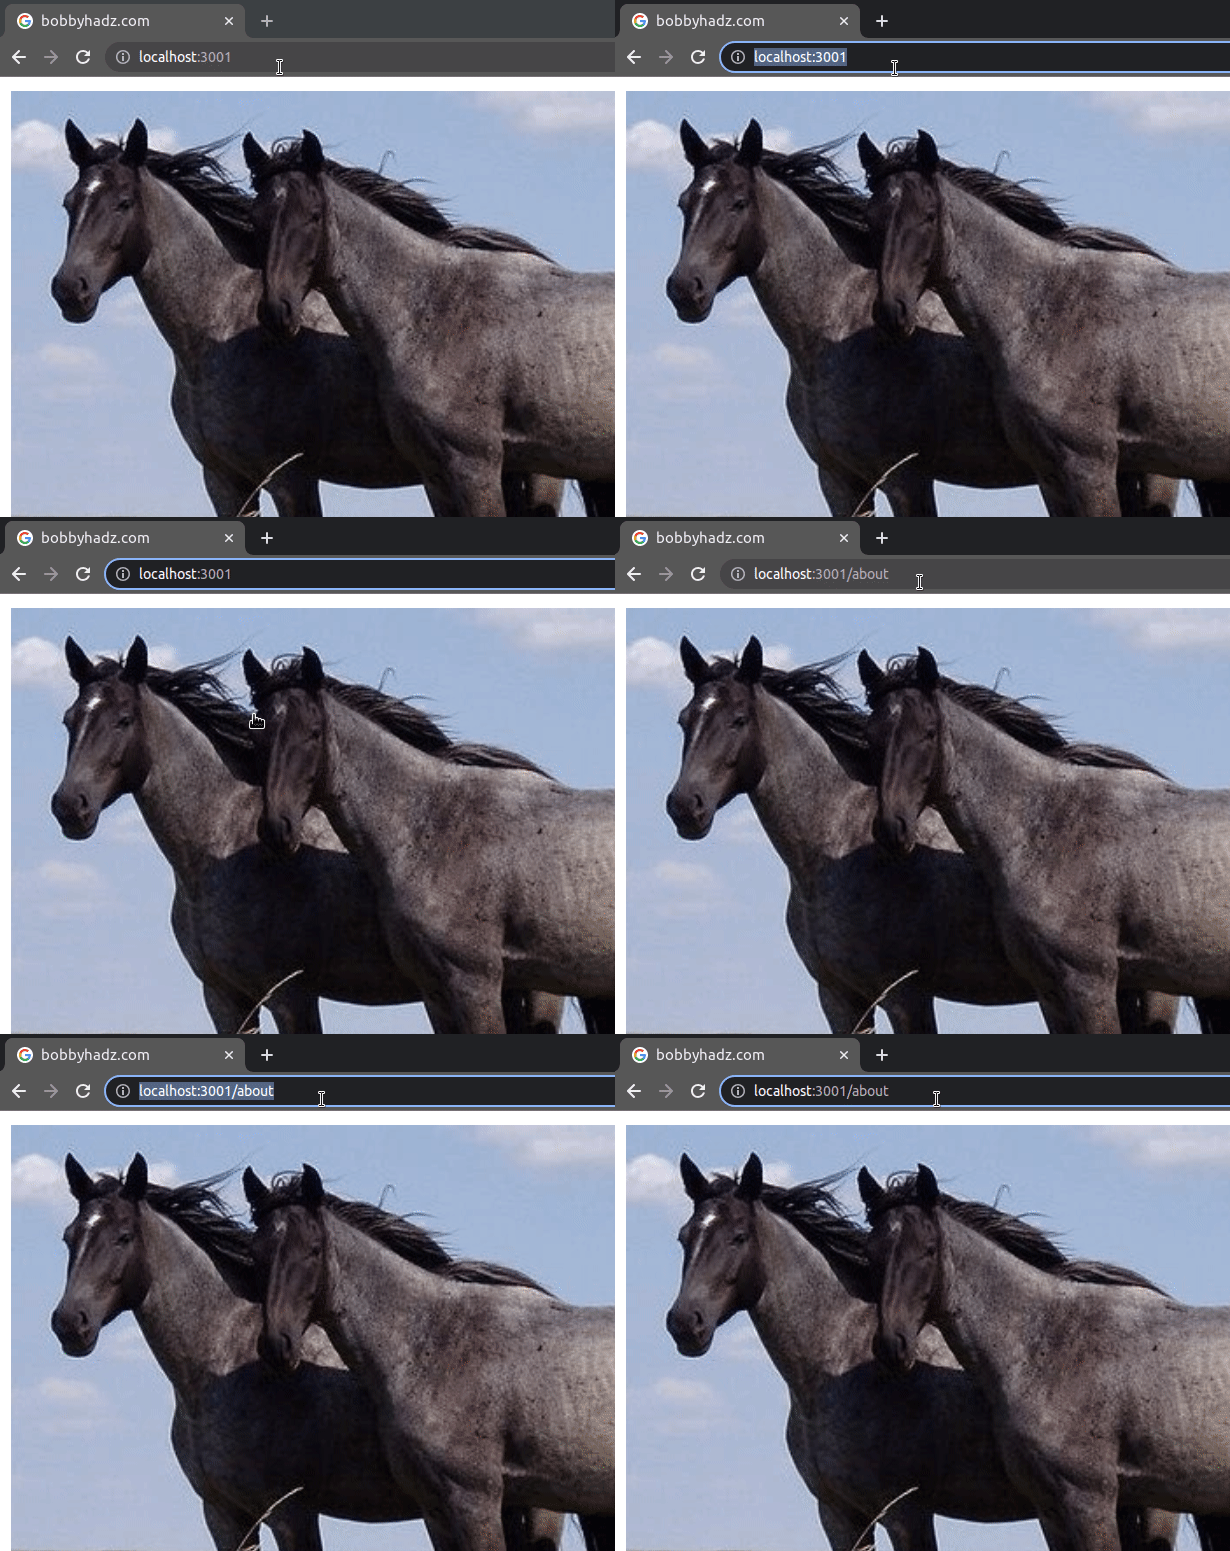
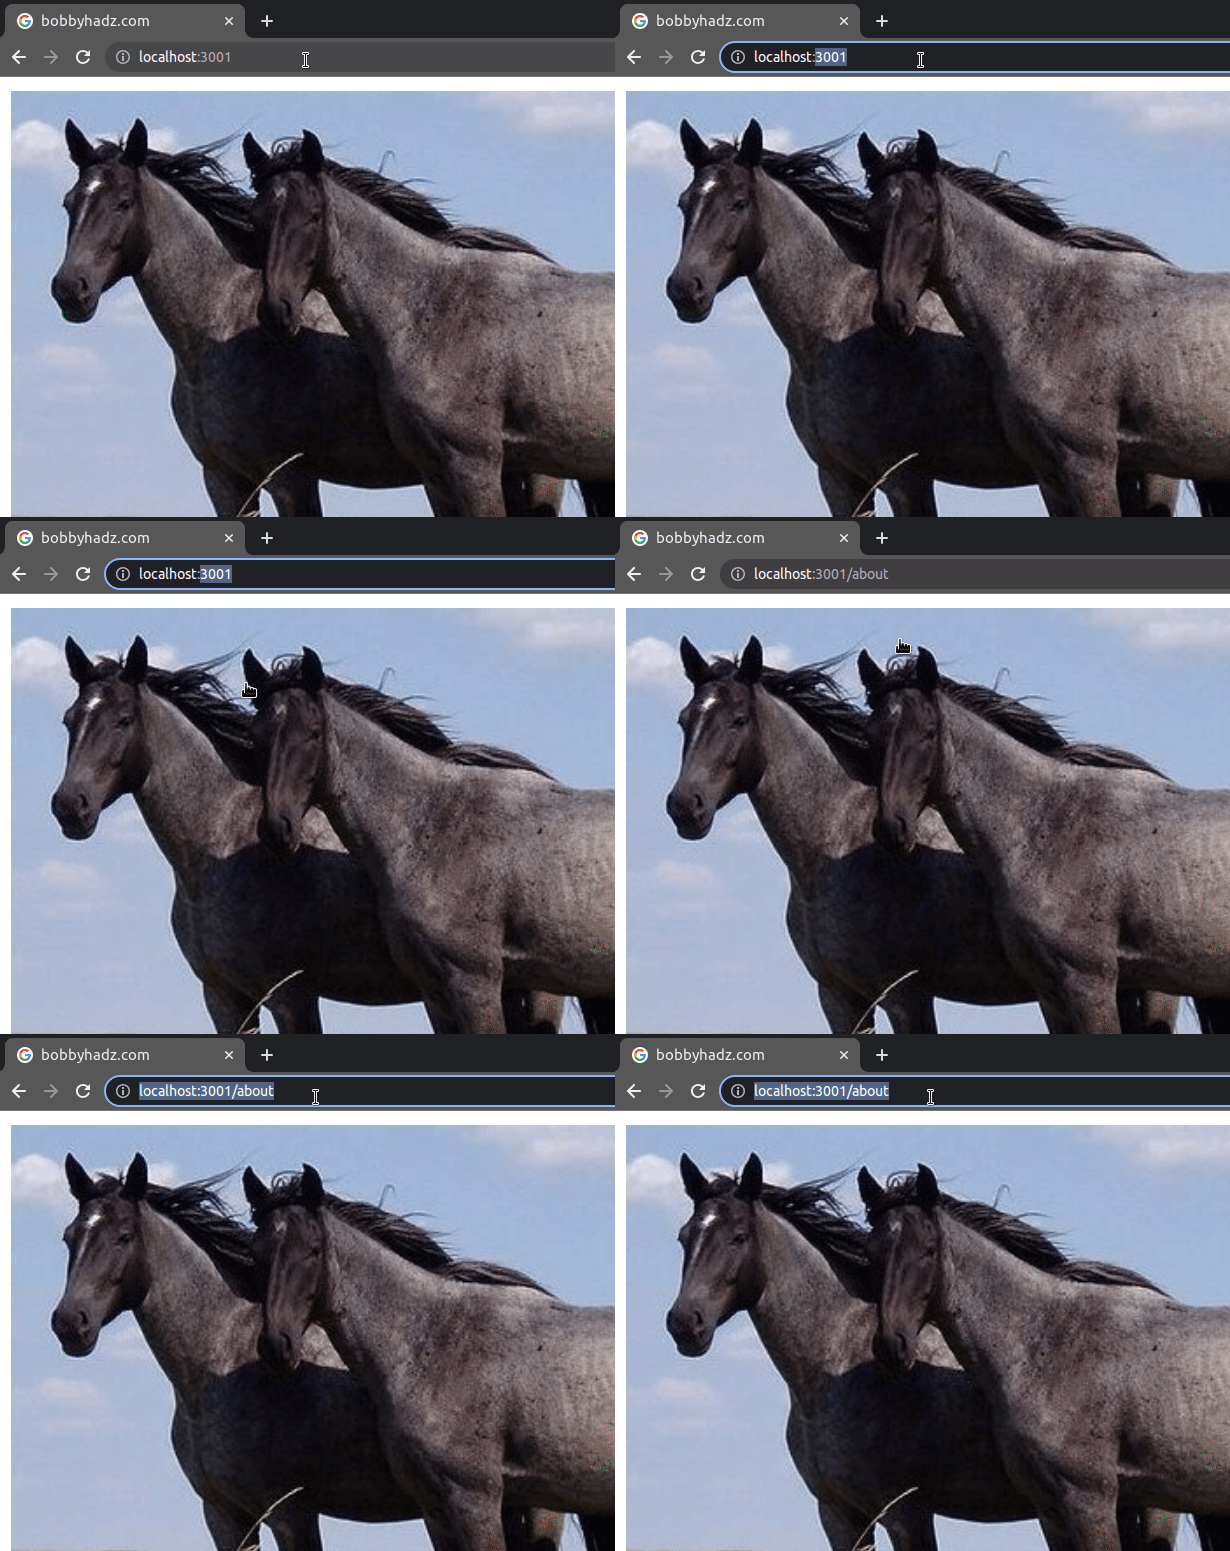
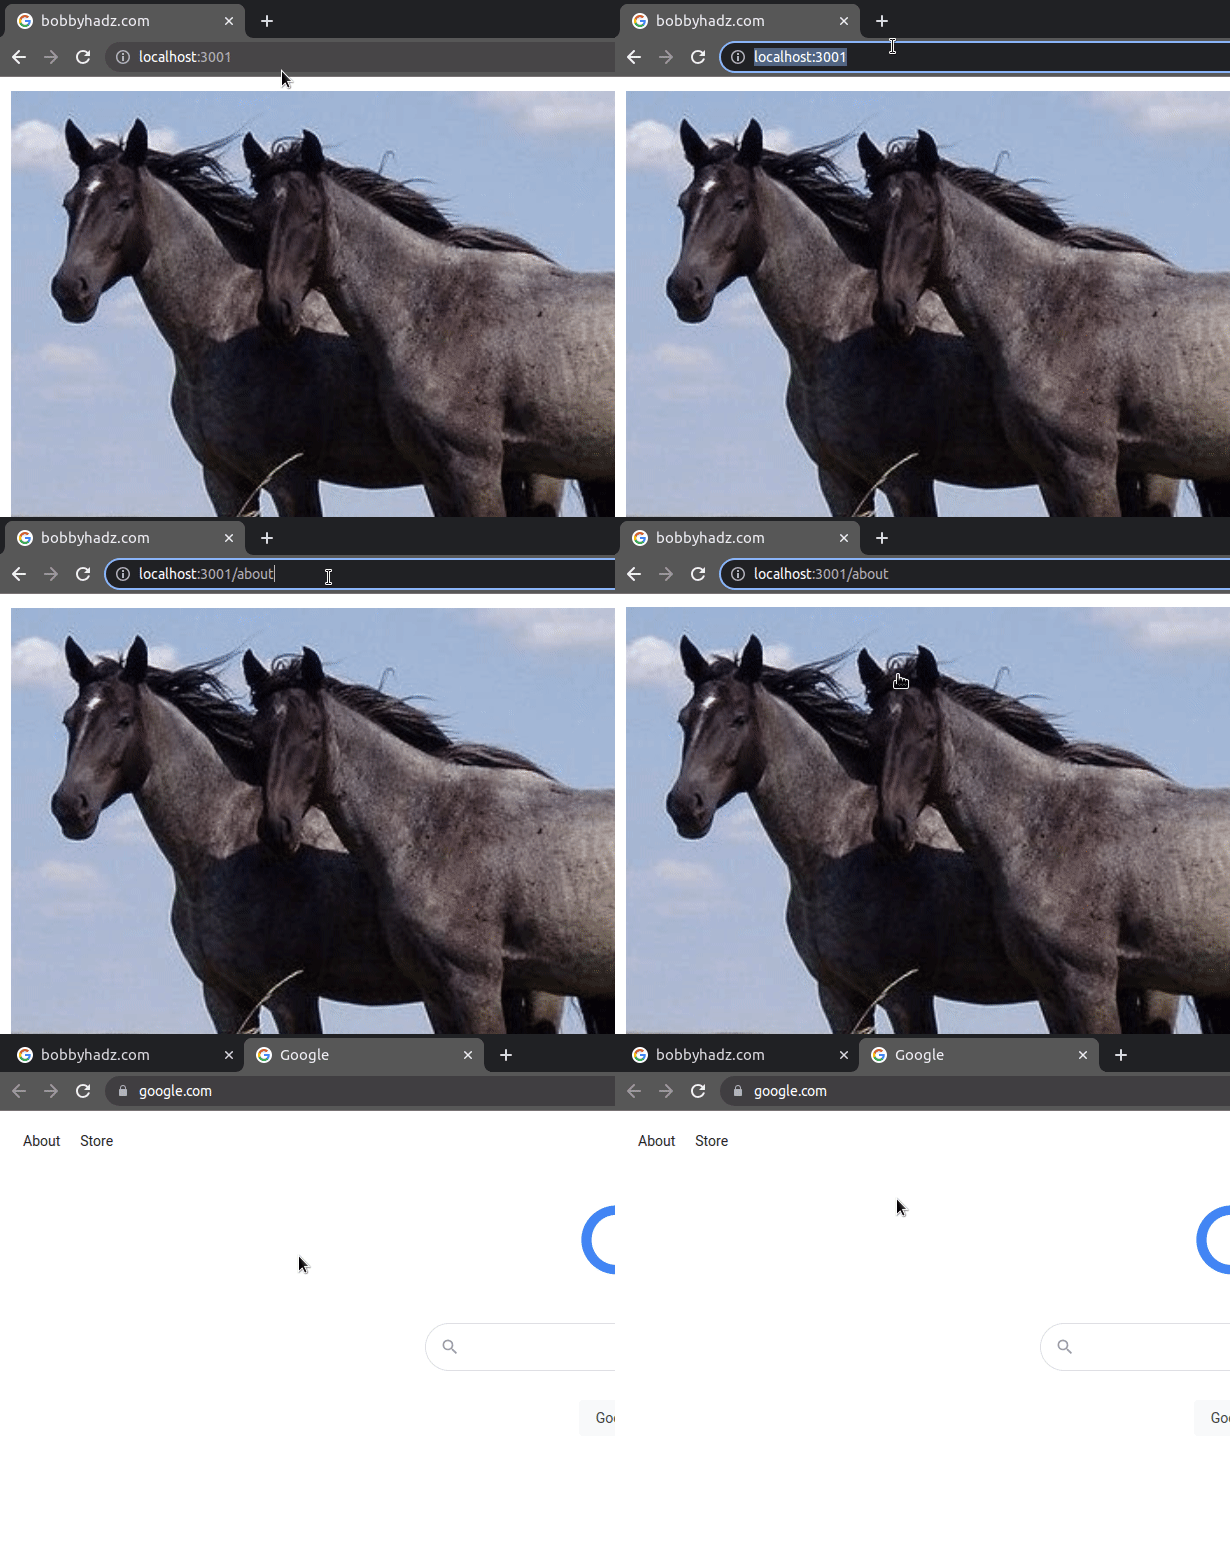
The image will get rendered instead of the link and clicking on the image will cause the browser to navigate to the specified page.
import {Link} from 'react-router-dom'; export default function App() { return ( <div> {/* 👇️ React Router link */} <Link to="/about"> <img src="https://bobbyhadz.com/images/blog/react-usestate-dynamic-key/thumbnail.webp" alt="example" /> </Link> <br /> <br /> {/* 👇️ Anchor link */} <a href="https://google.com" target="_blank" rel="noreferrer"> <img src="https://bobbyhadz.com/images/blog/react-prevent-page-refresh-on-form-submit/thumbnail.webp" alt="example" /> </a> </div> ); }

The code snippet shows how to use an image as a link in React for both React Router links and native anchor tags.
Under the hood, the Link component is really just an <a> tag, so the same
approach applies.
I have also written a detailed guide on how to display an image from a URL or local path in React.
# Using a local Image as a Link in React.js
To use a local image as a link in React:
- Import the image at the top of the file and set it to the
srcprop of theimgelement. - Wrap the image in a Link component or an Anchor tag.
import {Link} from 'react-router-dom'; // 👇️ Import the image import myImage from './thumbnail.webp'; export default function App() { return ( <div> {/* 👇️ React Router link */} <Link to="/about"> <img src={myImage} alt="example" /> </Link> <br /> <br /> {/* 👇️ Anchor link */} <a href="https://google.com" target="_blank" rel="noreferrer"> <img src={myImage} alt="example" /> </a> </div> ); }

The image has to be located in the src directory of your project.
The example above assumes that there is a thumbnail.webp file in the same
directory as the App.js component.
If you link to an external URL, make sure to use the <a> tag and not the
Link component.
The React Router Link component is intended to only be used for internal
navigation.
When the target attribute on the a element is set to _blank, the external
link is opened in a new tab. You can remove
the attribute if you want to open the external URL in the same tab.
If you have difficulties importing the image, check out my other article on importing images in React.
# Using a local Image as a Link with require()
You might also be able to use the require() function to use the image in your
App without importing it.
import {Link} from 'react-router-dom'; export default function App() { return ( <div> {/* 👇️ React Router link */} <Link to="/about"> <img src={require('./thumbnail.webp')} alt="example" /> </Link> <br /> <br /> {/* 👇️ Anchor link */} <a href="https://google.com" target="_blank" rel="noreferrer"> <img src={require('./thumbnail.webp')} alt="example" /> </a> </div> ); }

Make sure to specify the correct path as the require() function doesn't help
you with autocomplete as a regular import statement does.
If you need to set an onClick listener on a Link element, click on the
following article.
# Using a local Image from the public directory as a Link
If your images are located in the public directory, use an absolute path when
setting the src prop on the img element.
For example, if you have an image located at public/images/thumbnail.webp, you
would set the src of the img element to "/images/thumbnail.webp".
import {Link} from 'react-router-dom'; export default function App() { return ( <div> {/* 👇️ React Router link */} <Link to="/about"> <img src="/images/thumbnail.webp" alt="example" /> </Link> <br /> <br /> {/* 👇️ Anchor link */} <a href="https://google.com" target="_blank" rel="noreferrer"> <img src="/images/thumbnail.webp" alt="example" /> </a> </div> ); }

The code sample assumes that you have an image named thumbnail.webp located
under public/images/thumbnail.webp.
# Additional Resources
You can learn more about the related topics by checking out the following tutorials:
- Import and use an Image in a React component
- Setting a background image with inline Styles in React
- Where to store images in a React application
- How to download a File in React.js (local or remote file)
- Error with Permissions-Policy header: Unrecognized feature
- How to replace plain URLs with links using JavaScript
- React: Namespace tags are not supported by default
- Set background-image as a base64 encoded image in JavaScript

