How to Show and Set Line endings in Visual Studio Code
Last updated: Apr 6, 2024
Reading time·4 min

# Changing the end of line (EOL) sequence in VS Code
To change the end of line sequence for a specific file:
- Click on the "CRLF" or "LF" label in the status bar at the bottom.
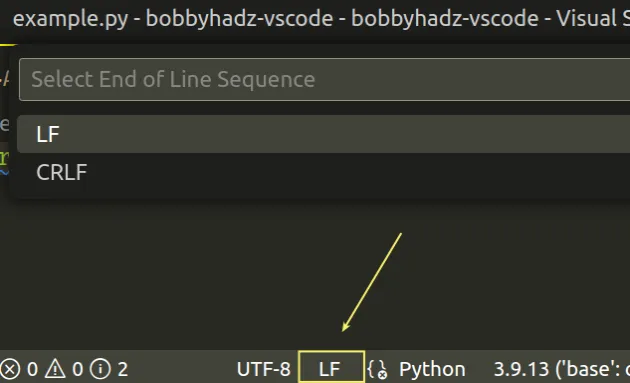
- Select your preferred end of line sequence from the dropdown menu.
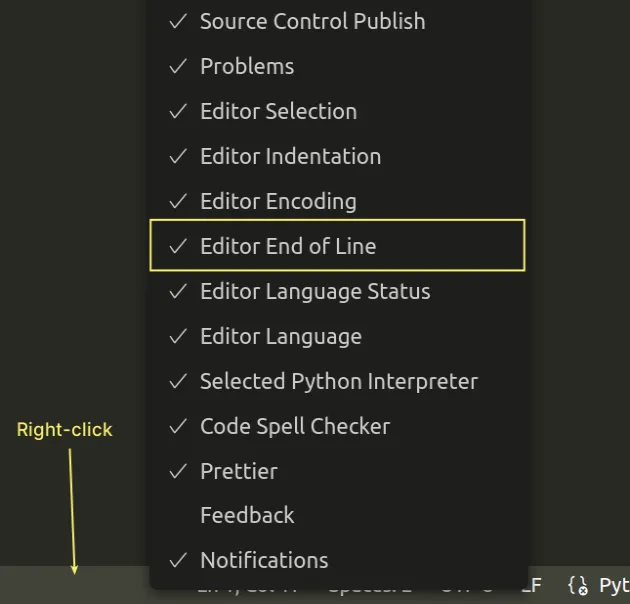
If you don't see the CRLF or LF label in the status bar at the bottom,
right-click on the status bar and make sure "Editor End of Line" is ticked.
# Set the end of line sequence using the Command Palette
An alternative way to set the end of line sequence is to use the Command Palette.
- Press:
Ctrl+Shift+Pon Windows and Linux.Command+Shift+Pon macOS.
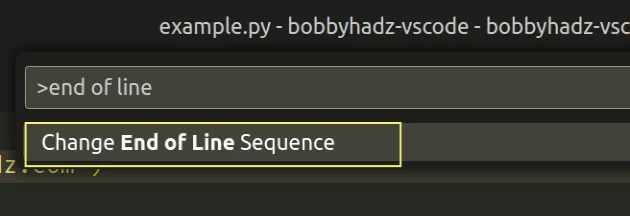
F1 to open the Command Palette.- Type end of line and select Change End of Line Sequence.
- Select your preferred end of line sequence from the list.
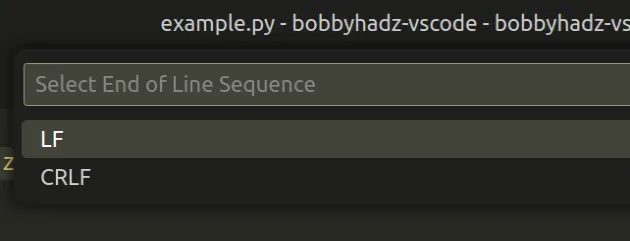
This allows you to set the line endings for the file.
# Changing the default value of the end of line sequence globally
If you want to change the default value of the end of line sequence globally:
- Press
Ctrl+Shift+P(orCommand+Shift+Pon macOS).
F1 to open the Command Palette.- Type user settings and select Preferences: Open User Settings.
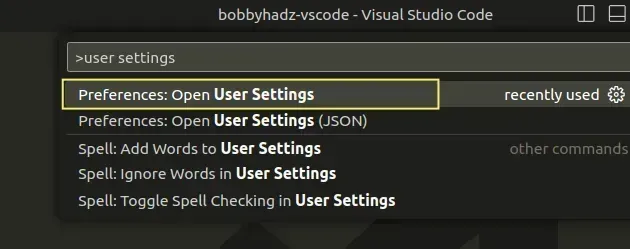
You can also open the settings screen by pressing Ctrl + , on Windows and
Linux or Cmd + , on macOS.
- Type file end of line and set the value of the Files: Eol setting.
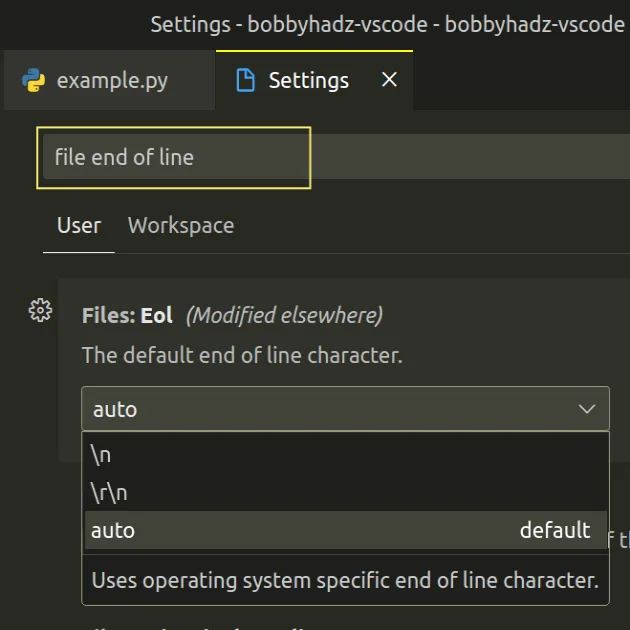
The Files: Eol setting has 3 possible values:
auto- uses operating system-specific end of line character.\n- uses LF (LineFeed) character. Suitable for macOS and Linux.\r\n- uses CRLF (CarriageReturn + LineFeed) characters. Suitable for Windows.
Note that updating the setting globally only changes the default line ending character for newly created files.
It won't change the line endings for your existing files.
# Setting the line ending character for a specific project
If you only want to apply the setting to your current project:
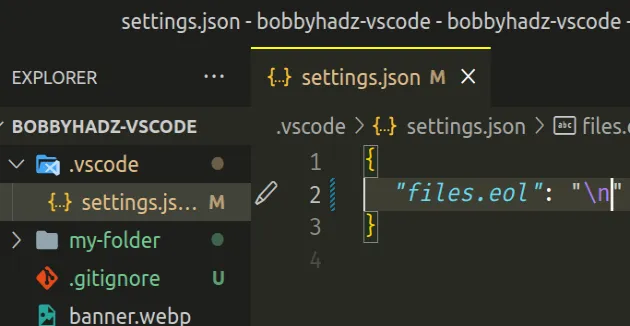
In the root directory of your project, create a .vscode folder.
Create a
settings.jsonfile in the.vscodefolder.Set the
files.eolproperty in your settings.json file.
{ "files.eol": "\n" }
The possible values are: \n, \r\n and auto.
{ "files.eol": "\r\n" }
And here is an example that sets the property to auto (operating
system-specific end of line character).
{ "files.eol": "auto" }
Updating the files.eol setting in .vscode/settings.json only applies to your
current project (workspace) and overrides any global configuration of the
property.
As previously noted, the setting only changes the default line ending for newly created files.
It won't change the line endings for your existing files.
# How to show Line endings in Visual Studio Code
VS Code doesn't have a native way to show line endings on each line, however, you can use an extension.
- Click on Extensions in the left sidebar.
- You can also open the Extensions menu by pressing:
Ctrl+Shift+Xon Windows or Linux.Command+Shift+Xon macOS.
- Type render line endings.
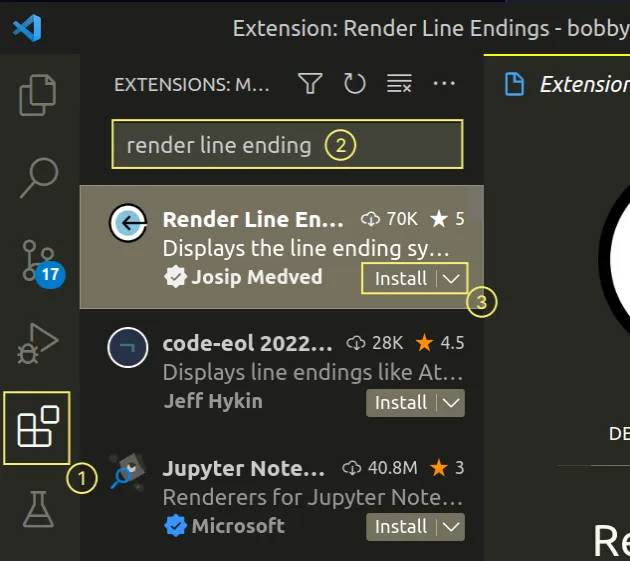
- Click on the Install button.
Make sure to install the correct Render Line Endings extension as shown in the screenshot.
- Press
Ctrl+Shift+P(orCommand+Shift+Pon macOS).
F1 to open the Command Palette.Type user settings json.
Click on Preferences: Open User Settings (JSON)

- Add the following settings to your
settings.jsonfile.
{ "editor.renderWhitespace": "trailing", "code-eol.newlineCharacter": "↓", "code-eol.returnCharacter": "←", "code-eol.crlfCharacter": "↵", // your other settings }
You can also set the renderWhitespace property to all to render all
whitespace characters.
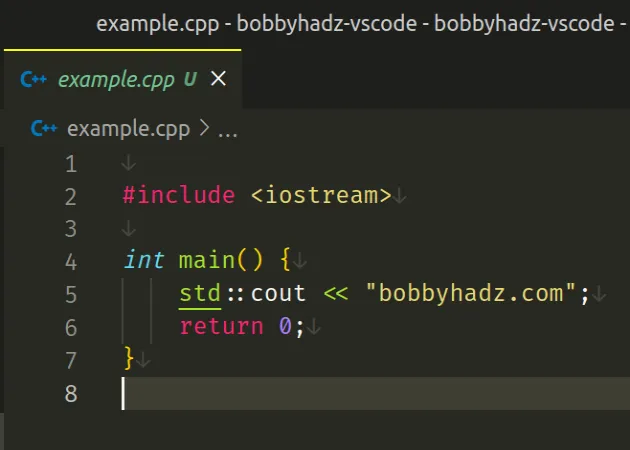
When you open a file, you will be able to see the EOL characters at the end of each line.
# Changing the EOL character for all files from CRLF to LF
If you need to change the EOL character for all files from CRLF (Windows) to LF (macOS and Linux):
- Commit your changes before running the following commands.
- Set
autocrlftofalseby issuing the following command.
git config core.autocrlf false
- Delete all files except those that you have edited from the current directory.
git rm --cached -r .
- Return the deleted files to a state where they all have their LF line endings.
git reset --hard
# Changing the EOL character for all files from CRLF to LF using Prettier
If you use prettier in your environment, you can also issue a command to change the EOL character for all files from CRLF to LF.
npx prettier --end-of-line lf --write
You can also set the endOfLine option to lf in your .prettierrc file.
"endOfLine": "lf"
Now when you issue the npx prettier --write command, it automatically converts
the EOL character for all files from CRLF to LF.
npx prettier --write
I've also written a guide on how to use VS Code as your default Git editor, difftool and mergetool.
# Additional Resources
You can learn more about the related topics by checking out the following tutorials:
- Change the indentation in VS Code (2 or 4 spaces, Tab size)
- Wrap Tabs to Multiple Lines in Visual Studio Code
- Remove trailing spaces automatically in Visual Studio Code
- VS Code: Hide specific Files/Folders from the Left Sidebar
- How to remove Duplicate Lines in Visual Studio Code
- How to render Whitespace Characters in Visual Studio Code
- How to change the File Encoding in Visual Studio Code
- How to clear the Cache in Visual Studio Code
- How to Duplicate a Line or a Selection in VS Code

