How to clear the Cache in Visual Studio Code
Last updated: Apr 6, 2024
Reading time·5 min

# Table of Contents
- Clearing VS Code editor history
- Clearing VS Code search history
- Clearing the Cache in Visual Studio Code
- Clearing the Visual Studio Code cache on Windows
- Clearing the Visual Studio Code cache on macOS
- Clearing the Visual Studio Code cache on Linux
- Clearing the Local Storage cache in Visual Studio Code
# Clearing VS Code editor history
When you modify a file, a copy of the old contents is kept in local history.
This allows you to compare a file with an older version from history, however, it can sometimes slow VS Code.
If you need to clear the editor history:
- Press:
Ctrl+Shift+Pon Windows and Linux.Command+Shift+Pon macOS.
F1 to open the Command Palette.- Type Clear editor history and select the option.
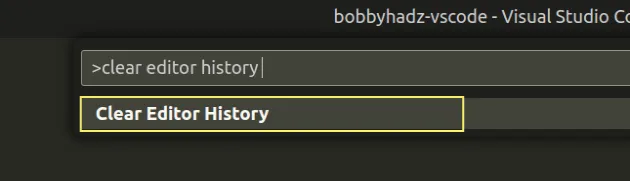
Here is a short gif that demonstrates the process of clearing the editor
history.
This option is especially useful for clearing deleted or moved files.
# Clearing VS Code search history
Visual Studio Code also keeps track of your searches.
To clear the search history:
- Press:
Ctrl+Shift+Pon Windows and Linux.Command+Shift+Pon macOS.
F1 to open the Command Palette.- Type "Clear search history".
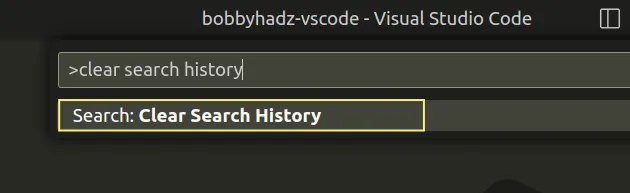
- Select Search: Clear Search History.
Here is a short GIF that demonstrates the process.
The same approach can be used to clear your command history.
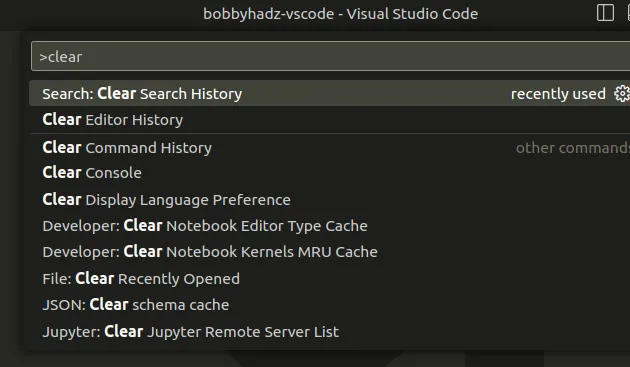
Once you start typing clear after you press Ctrl + Shift + P, the
options are shown.
# Clearing the Cache in Visual Studio Code
The article has instructions on how to delete your VS Code cache on Windows, macOS and Linux.
VS Code has 2 folders that you have to delete Cache and CachedData.
# Clearing the Visual Studio Code cache on Windows
On Windows, the Cache and CachedData folders are located under:
C:\Users\<YOUR_USER>\AppData\Roaming\Code
Make sure to replace the YOUR_USER placeholder with your actual username.

You can also access the folder by pasting %APPDATA%\Code in Explorer.
%APPDATA%\Code is the equivalent of the previous path.
Once you find the directory, open the CachedData folder and delete its
contents.
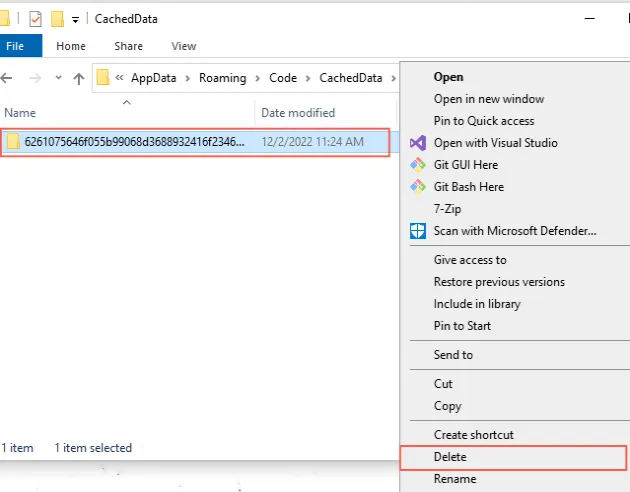
You can delete all folders in the CachedData directory to clear the cache.
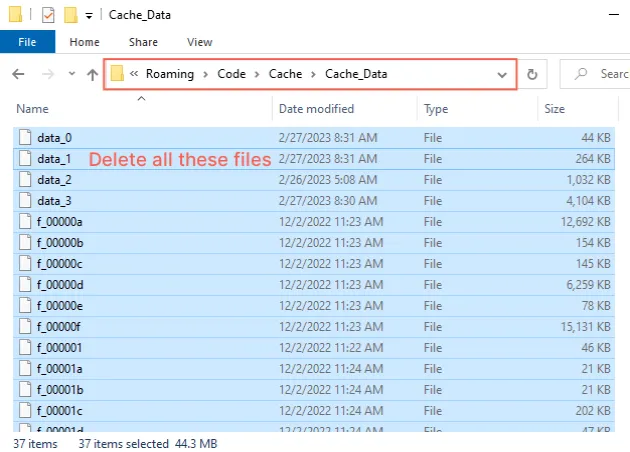
Then go up one directory and open the Cache directory.
If your Cache directory contains a CachedData directory, open the
CachedData directory and delete its contents.
Otherwise, delete the contents of the Cache directory.
Alternatively, you can use a command to delete the contents of the CachedData
and Cache directories.
Open the command prompt (CMD) application and run the following commands.
The following command deletes the contents of the Cache directory.
del /S "%APPDATA%\Code\Cache\*"
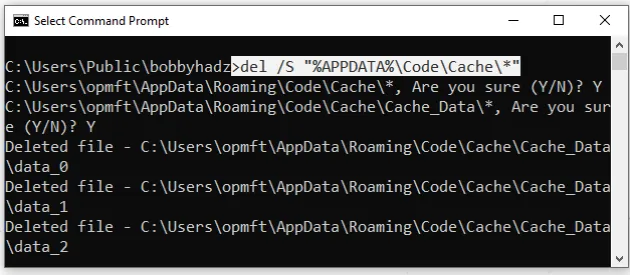
Y and press Enter.If you want to delete the folder without a prompt for confirmation, use
del /F /Q.
del /F /Q /S "%APPDATA%\Code\Cache\*"
The following command deletes the contents of the CachedData directory.
del /S "%APPDATA%\Code\CachedData\*"
Y and press Enter.If you want to delete the contents without a prompt for confirmation, use
del /F /Q.
del /F /Q /S "%APPDATA%\Code\CachedData\*"
Once you clear the cache, make sure to restart VS Code by closing it completely and reopening it.
# Clearing the Visual Studio Code cache on macOS
On macOS, the Cache and CachedData folders are located under:
$HOME/Library/Application\ Support/Code
You might also access the path as:
~/Library/Application\ Support/Code
The easiest way to clean the cache on macOS is to use the rm command.
You can first print the contents of the directories before deleting them.
Open a bash shell and run the following commands.
echo ~/Library/Application\ Support/Code/Cache/* echo ~/Library/Application\ Support/Code/CachedData/*
The following command deletes the contents of the Cache directory.
rm -rf "~/Library/Application\ Support/Code/Cache/*"
You might get prompted. Type y and press Enter if you do.
The following command deletes the contents of the CachedData directory.
rm -rf "~/Library/Application\ Support/Code/CachedData/*"
Once you clear the cache, make sure to restart VS Code by closing it completely and reopening it.
# Clearing the Visual Studio Code cache on Linux
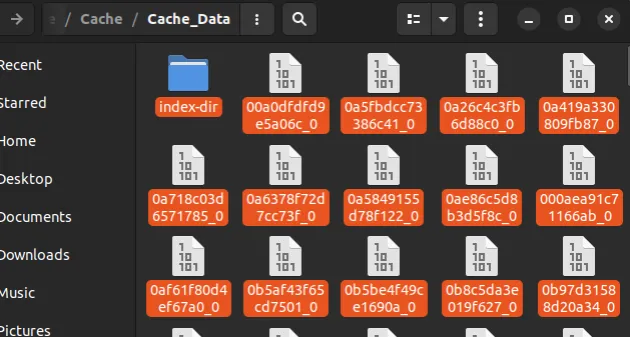
On Linux, the Cache and CachedData folders are located under:
$HOME/.config/Code
One way to delete the contents of the directories is to enter the following commands in your terminal.
cd $HOME/.config/Code nautilus .
The commands will open the Code directory.
You can then open the Cache directory and delete its contents and then open
the CachedData directory and delete its contents.
Alternatively, you can use a command.
You can first print the contents of the directories before deleting them.
Open a bash shell and run the following commands.
echo $HOME/.config/Code/Cache/* echo $HOME/.config/Code/CachedData/*
The following command deletes the contents of the Cache directory.
rm -rf "$HOME/.config/Code/Cache/*"
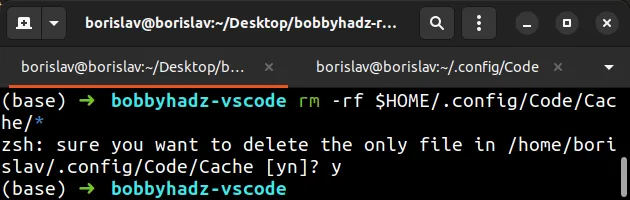
You might get prompted. Type y and press Enter if you do.
The following command deletes the contents of the CachedData directory.
rm -rf "$HOME/.config/Code/CachedData/*"
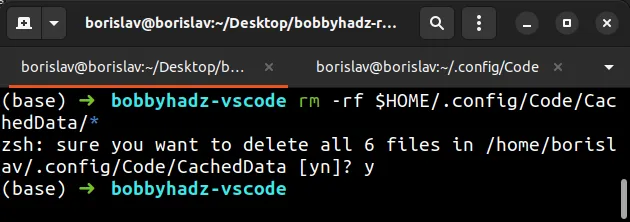
Once you clear the cache, make sure to restart VS Code by closing it completely and reopening it.
# Clearing the Local Storage cache in Visual Studio Code
Visual Studio Code also stores information about which tabs were open before you closed the editor.
This sometimes causes issues, such as the editor always opening multiple projects at launch.
To clear the local storage:
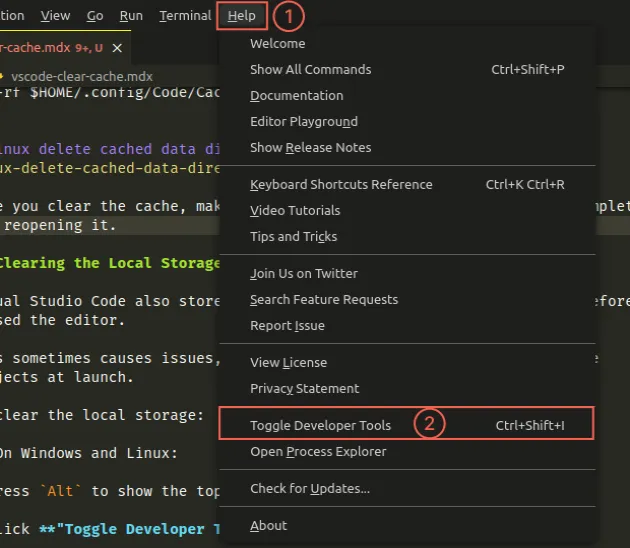
- On Windows and Linux:
Press
Altto show the top bar and click on Help.Click "Toggle Developer Tools".
- On macOS:
- Click on Help in the top bar and click "Toggle Developer Tools".
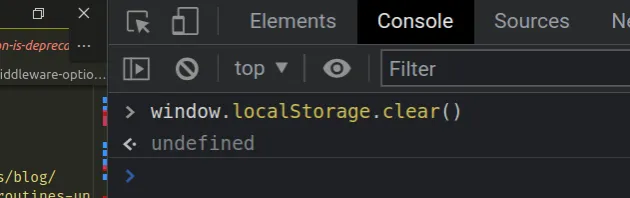
On both platforms, enter the window.localStorage.clear() command in your
developer tools.
window.localStorage.clear()
Once you issue the command, restart VS Code.
You can also clear the local storage in Visual Studio code by issuing a command.
The location of the local storage directory is:
- on Windows:
%APPDATA%\Code\Local Storage - On macOS:
~/Library/Application\ Support/Code/Local\ Storage - On Linux:
$HOME/.config/Code/Local\ Storage
If you need to delete the contents of the local storage directory on Windows, open CMD and issue the following command:
# Windows del /S "%APPDATA%\Code\Local Storage\*"
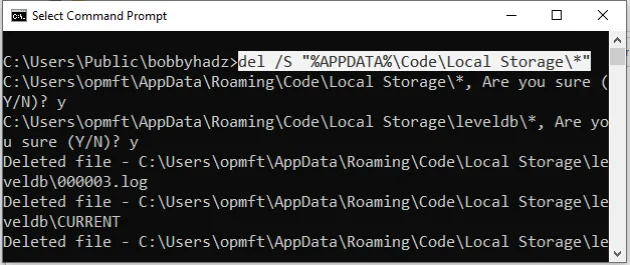
Make sure to type y and press Enter when you get prompted for confirmation.
To delete the contents of the local storage directory on macOS, issue the following command.
# macOS rm -rf "~/Library/Application\ Support/Code/Local\ Storage/*"
Make sure to type y and press Enter when you get prompted for confirmation.
To delete the contents of the local storage directory on Linux, issue the following command.
# Linux rm -rf "$HOME/.config/Code/Local\ Storage/*"
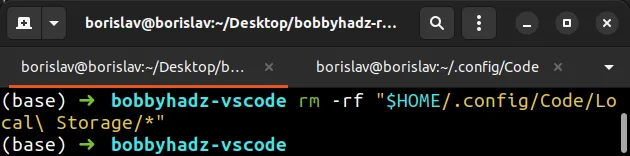
Make sure to type y and press Enter when you get prompted for confirmation.
Once you delete the local storage directory, close VS Code completely and then reopen it.
I've also written an article on how to solve the issue where VS Code takes up too much memory or CPU.
# Additional Resources
You can learn more about the related topics by checking out the following tutorials:

