Limit the maximum files chosen or the file size in JS input
Last updated: Mar 7, 2024
Reading time·6 min

# Table of Contents
- Limit the maximum files chosen in an Input field in JavaScript
- Limit the file upload size using JavaScript
- Limit the allowed file type of a file input field
Note: if you need to limit the file upload size, click on the second subheading.
# Limit the maximum files chosen in an Input field in JavaScript
To limit the maximum files chosen in an input field using JavaScript:
- Add a
changeevent listener to the input field. - Check if the
event.target.filesproperty has a length greater than N. - If the uploaded number of files exceeds the limit, notify the user and return.
- Otherwise, proceed with uploading the files to the remote server.
Here is the HTML for the example.
<!DOCTYPE html> <html lang="en"> <head> <meta charset="UTF-8" /> </head> <body> <h2>bobbyhadz.com</h2> <input type="file" id="file-input" name="file-input" multiple /> <script src="index.js"></script> </body> </html>
And here is the code for the index.js file.
const fileInput = document.getElementById('file-input'); fileInput.addEventListener('change', event => { const files = event.target.files; console.log(files); if (files.length > 3) { alert('A maximum of 3 files are allowed'); return; } // Your code for uploading the file to the remote server (e.g. AWS S3) });
We used the document.getElementById() method to select the file input element.
The next step is to
add a change event listener
to the input.
In our event handler function, we:
- Access the
filesproperty on theevent.targetobject. - Check if the selected files are more than 3.
- If the condition is met, we notify the user using an alert and return from the function.
- If the condition is not met, then the user uploaded 3 files or fewer.
fileInput.addEventListener('change', event => { const files = event.target.files; console.log(files); if (files.length > 3) { alert('A maximum of 3 files are allowed'); return; } // Your code for uploading the file to the remote server (e.g. AWS S3) });
The event.target.files property returns a
FileList object that contains the
selected files.
The event.target property refers to the input field.
You could also directly access the files property on the input element.
const fileInput = document.getElementById('file-input'); fileInput.addEventListener('change', event => { // 👇️ Accessing `files` property on `fileInput` element const files = fileInput.files; console.log(files); if (files.length > 3) { alert('A maximum of 3 files are allowed'); return; } // Your code for uploading the file to the remote server (e.g. AWS S3) });
You can also display a message to notify the user if they select more than N files.
Here is the HTML for the example.
<!DOCTYPE html> <html lang="en"> <head> <meta charset="UTF-8" /> <style> body { margin: 100px; } </style> </head> <body> <h2>bobbyhadz.com</h2> <input type="file" id="file-input" name="file-input" multiple /> <h2 id="status"></h2> <script src="index.js"></script> </body> </html>
And here is the related JavaScript code.
const fileInput = document.getElementById('file-input'); const statusElement = document.getElementById('status'); fileInput.addEventListener('change', event => { const files = fileInput.files; console.log(files); if (files.length > 3) { statusElement.innerHTML = `You selected ${files.length} files but a maximum of 3 files are allowed.`; return; } statusElement.innerHTML = ''; // Your code for uploading the file to the remote server (e.g. AWS S3) });
We added an h2 element which we'll use to display a message if the user
selects more than 3 files.
# Only taking the first N files that the user selected
An alternative approach is to only take the first N files that the user selected.
For example, if the user selects 5 files, you can only take the first 3.
Here is the HTML for the example.
<!DOCTYPE html> <html lang="en"> <head> <meta charset="UTF-8" /> </head> <body> <h2>bobbyhadz.com</h2> <input type="file" id="file-input" name="file-input" multiple /> <script src="index.js"></script> </body> </html>
And here is the related JavaScript code.
const fileInput = document.getElementById('file-input'); fileInput.addEventListener('change', event => { const maxAllowedFiles = 3; const files = Array.from(fileInput.files).slice( 0, maxAllowedFiles, ); console.log(files); // Your code for uploading the file to the remote server (e.g. AWS S3) });
We used the Array.from() method to
convert the FileList to an array.
The next step is to use the Array.slice() method to only take the first N files from the array.
# Limit the file upload size using JavaScript
To limit the file upload size using JavaScript:
- Access the
sizeproperty on the file. - Check if it is greater than the maximum allowed size.
- If the condition is met, notify the user.
- Otherwise, upload the file to the remote server.
Here is the HTML for the example.
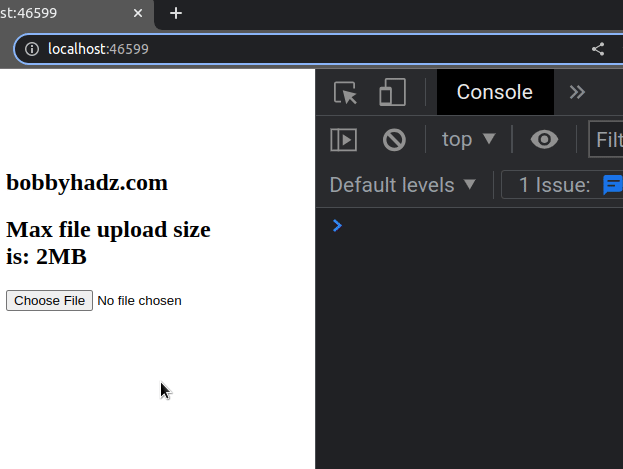
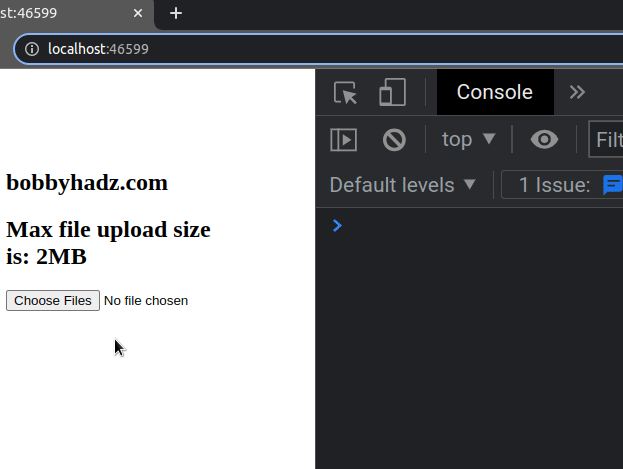
<!DOCTYPE html> <html lang="en"> <head> <meta charset="UTF-8" /> </head> <body> <h2>bobbyhadz.com</h2> <h2>Max file upload size is: 2MB</h2> <input type="file" id="file-input" name="file-input" /> <h2 id="status"></h2> <script src="index.js"></script> </body> </html>
And here is the related JavaScript code.
const fileInput = document.getElementById('file-input'); const statusElement = document.getElementById('status'); fileInput.addEventListener('change', event => { const file = fileInput.files[0]; const maxFileSizeInMB = 2; const maxFileSizeInKB = 1024 * 1024 * maxFileSizeInMB; if (file.size > maxFileSizeInKB) { statusElement.innerHTML = `Please select a file that is ${maxFileSizeInMB}MB or less.`; } else { statusElement.innerHTML = 'File uploaded successfully!'; // upload file to remote server here } });
We added a change event listener to the file input element.
The maximum allowed file size in the example is 2MB.
1 Megabyte is equal to 1024 Kilobytes, and the size property of the file
returns the file size in Kilobytes.
If the size of the selected file is greater than 2 Megabytes, we display a message to the user to upload a smaller file.
Otherwise, we notify the user that the file has been uploaded successfully.
The fileInput.files property returns a FileList object that contains the
selected files.
const file = fileInput.files[0];
We accessed the file at index 0 to get the first File object.
You could achieve the same result by using the event.target.files property.
const file = event.target.files[0];
The event.target property refers to the file input element, so the following 2
are equivalent:
event.target.files[0]fileInput.files[0]
# Limit the file upload size for multiple files using JavaScript
If you need to limit the file upload size for multiple files:
- Iterate over the
FileList. - Check if the size of each file is less than N Kilobytes.
- If the uploaded file exceeds the limit, notify the user and
returnfrom the function.
Here is the HTML for the example.
<!DOCTYPE html> <html lang="en"> <head> <meta charset="UTF-8" /> <style> body { margin: 100px; } </style> </head> <body> <h2>bobbyhadz.com</h2> <h2>Max file upload size is: 2MB</h2> <input type="file" id="file-input" name="file-input" multiple /> <h2 id="status"></h2> <script src="index.js"></script> </body> </html>
And here is the related JavaScript code.
const fileInput = document.getElementById('file-input'); const statusElement = document.getElementById('status'); fileInput.addEventListener('change', event => { const files = fileInput.files; const maxFileSizeInMB = 2; const maxFileSizeInKB = 1024 * 1024 * maxFileSizeInMB; for (const file of files) { if (file.size > maxFileSizeInKB) { statusElement.innerHTML = `Each file must be ${maxFileSizeInMB}MB or less.`; return; } } statusElement.innerHTML = 'File uploaded successfully!'; });
We used a for...of loop to iterate over the FileList.
On each iteration, we check if the size of the current file exceeds the
maximum allowed size.
If the condition is met, we notify the user and return from the event handler
function.
Otherwise, we display a success message.
# Limit the allowed file type of a file input field
You can use the accept attribute on the input element to limit the allowed
file type of a file input field.
For example, if the accept attribute is set to image/*, only selecting image
files is allowed.
<!DOCTYPE html> <html lang="en"> <head> <meta charset="UTF-8" /> <style> body { margin: 100px; } </style> </head> <body> <h2>bobbyhadz.com</h2> <!-- Only allow image files --> <input type="file" accept="image/*" /> <!-- Only allow audio files --> <input type="file" accept="audio/*" /> <!-- Only allow video files --> <input type="file" accept="video/*" /> </body> </html>
The first input field only allows the user to select image/ files.
<input type="file" accept="image/*" />
The accept attribute takes a list of one or more file types describing which file types to allow.
For example, if you set the accept argument to image/* and click on the file
input, you will only see image files you can select from.
This includes all image files, e.g. image/avif, image/jpeg, image/png,
etc.
Similarly, setting the accept attribute to audio/* only allows the user to
select audio files.
<input type="file" accept="audio/*" />
If you want to explicitly specify which files are allowed, separate them by a comma.
<input type="file" accept="image/png, image/jpeg" />
The input field above only allows the user to select .png and .jpeg images.
Alternatively, you can specify the extensions of the allowed files.
<input type="file" id="profile_pic" name="profile_pic" accept=".jpg, .jpeg, .png" />
Make sure to specify all of the possible ways a file can be identified.
Here is an example that does that for Microsoft Word files.
<input type="file" id="docpicker" accept=".doc,.docx,application/msword,application/vnd.openxmlformats-officedocument.wordprocessingml.document" />
Here is an example that enables the user to select images or .pdf files.
<input type="file" accept="image/*,.pdf" />
# Additional Resources
You can learn more about the related topics by checking out the following tutorials:
- How to get the MIME type of a File in JavaScript & Node.js
- How to get the status code of an Axios HTTP error
- Get the Status Code of a Fetch HTTP Response in JavaScript
- How to convert an Object to FormData in JavaScript
- How to Make HTTP requests in TypeScript
- File input change event not working in JavaScript [Solved]
- Check image width and height before upload using JavaScript
- Change/Remove "No file Chosen" text of input type "file"

