How to iterate over a FileList in JavaScript [5 Ways]
Last updated: Mar 7, 2024
Reading time·4 min

# Table of Contents
- How to iterate over a FileList in JavaScript
- How to iterate over a FileList using
for...of - How to iterate over a FileList using
Array.forEach() - Using Array.map() with a FileList or a NodeList in JS
- Using Array.filter() with a FileList or a NodeList in JS
# How to iterate over a FileList in JavaScript
To iterate over a FileList in JavaScript:
- Select the file input element.
- Use the
filesproperty to get access to the collection of files. - Use a
forloop to iterate over theFileList.
Here is the HTML for the example.
<!DOCTYPE html> <html lang="en"> <head> <meta charset="UTF-8" /> </head> <body> <h2>bobbyhadz.com</h2> <input multiple type="file" id="file-input" name="file-input" /> <script src="index.js"></script> </body> </html>
And here is the code for the index.js file.
const fileInput = document.getElementById('file-input'); fileInput.addEventListener('change', event => { const files = fileInput.files; console.log(files); for (let index = 0; index < files.length; index++) { console.log(files[index]); console.log('name: ', files[index].name); console.log('size: ', files[index].size); console.log('type: ', files[index].type); console.log('-'.repeat(100)); } });
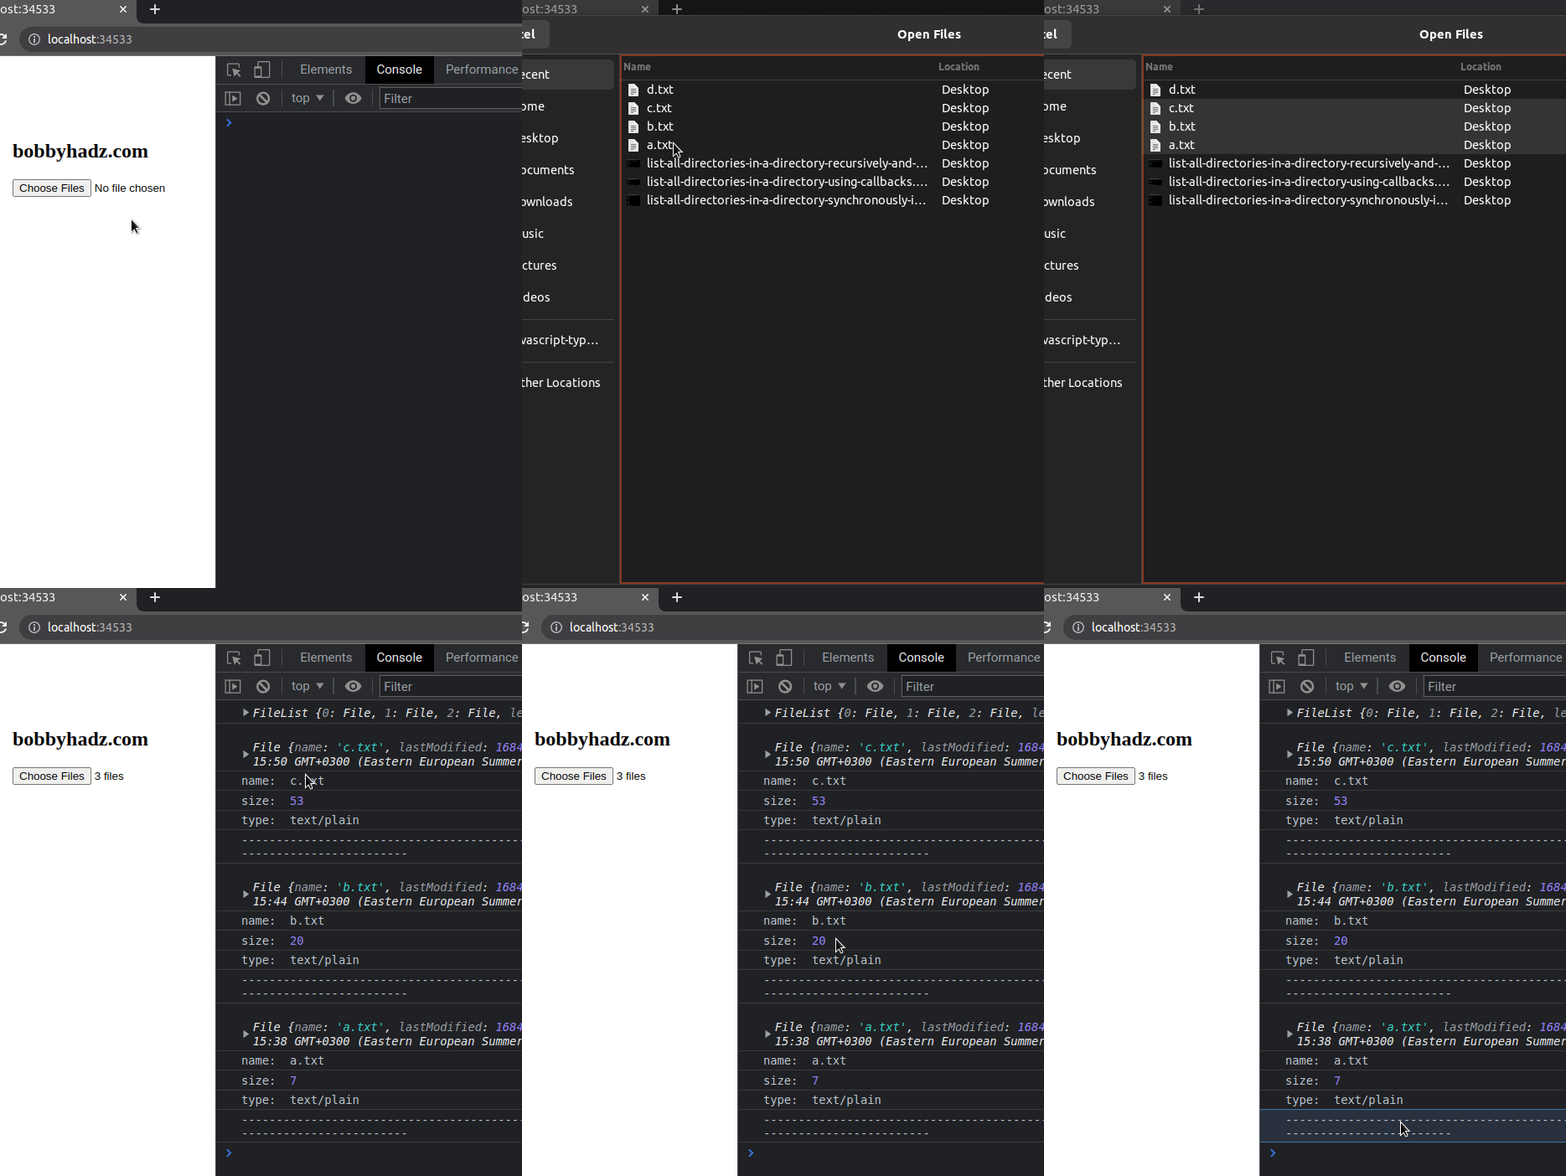
We set the multiple attribute on the file input to be able to select multiple
files by pressing and holding Ctrl and left-clicking on the files.
<input multiple type="file" id="file-input" name="file-input" />
We used the document.getElementById() method to select the file input by its ID attribute.
const fileInput = document.getElementById('file-input');
The next step is to
add a change event listener
to the file input.
fileInput.addEventListener('change', event => { const files = fileInput.files; console.log(files); for (let index = 0; index < files.length; index++) { console.log(files[index]); console.log('name: ', files[index].name); console.log('size: ', files[index].size); console.log('type: ', files[index].type); console.log('-'.repeat(100)); } });
We used the files attribute on the file input element to get a FileList and
use a basic for loop to iterate over the FileList.
Note that you can also access the files property on event.target.
const fileInput = document.getElementById('file-input'); fileInput.addEventListener('change', event => { const files = event.target.files; console.log(files); for (let index = 0; index < files.length; index++) { console.log(files[index]); console.log('name: ', files[index].name); console.log('size: ', files[index].size); console.log('type: ', files[index].type); console.log('-'.repeat(100)); } });
The event.target property refers to the file input element, so the code sample
above is equivalent to the previous example.
# How to iterate over a FileList using for...of
If you don't need access to the index of the current iteration, you can also use
the for...of loop to iterate
over a FileList.
const fileInput = document.getElementById('file-input'); fileInput.addEventListener('change', event => { const files = fileInput.files; console.log(files); for (const file of files) { console.log('name: ', file.name); console.log('size: ', file.size); console.log('type: ', file.type); console.log('-'.repeat(100)); } });
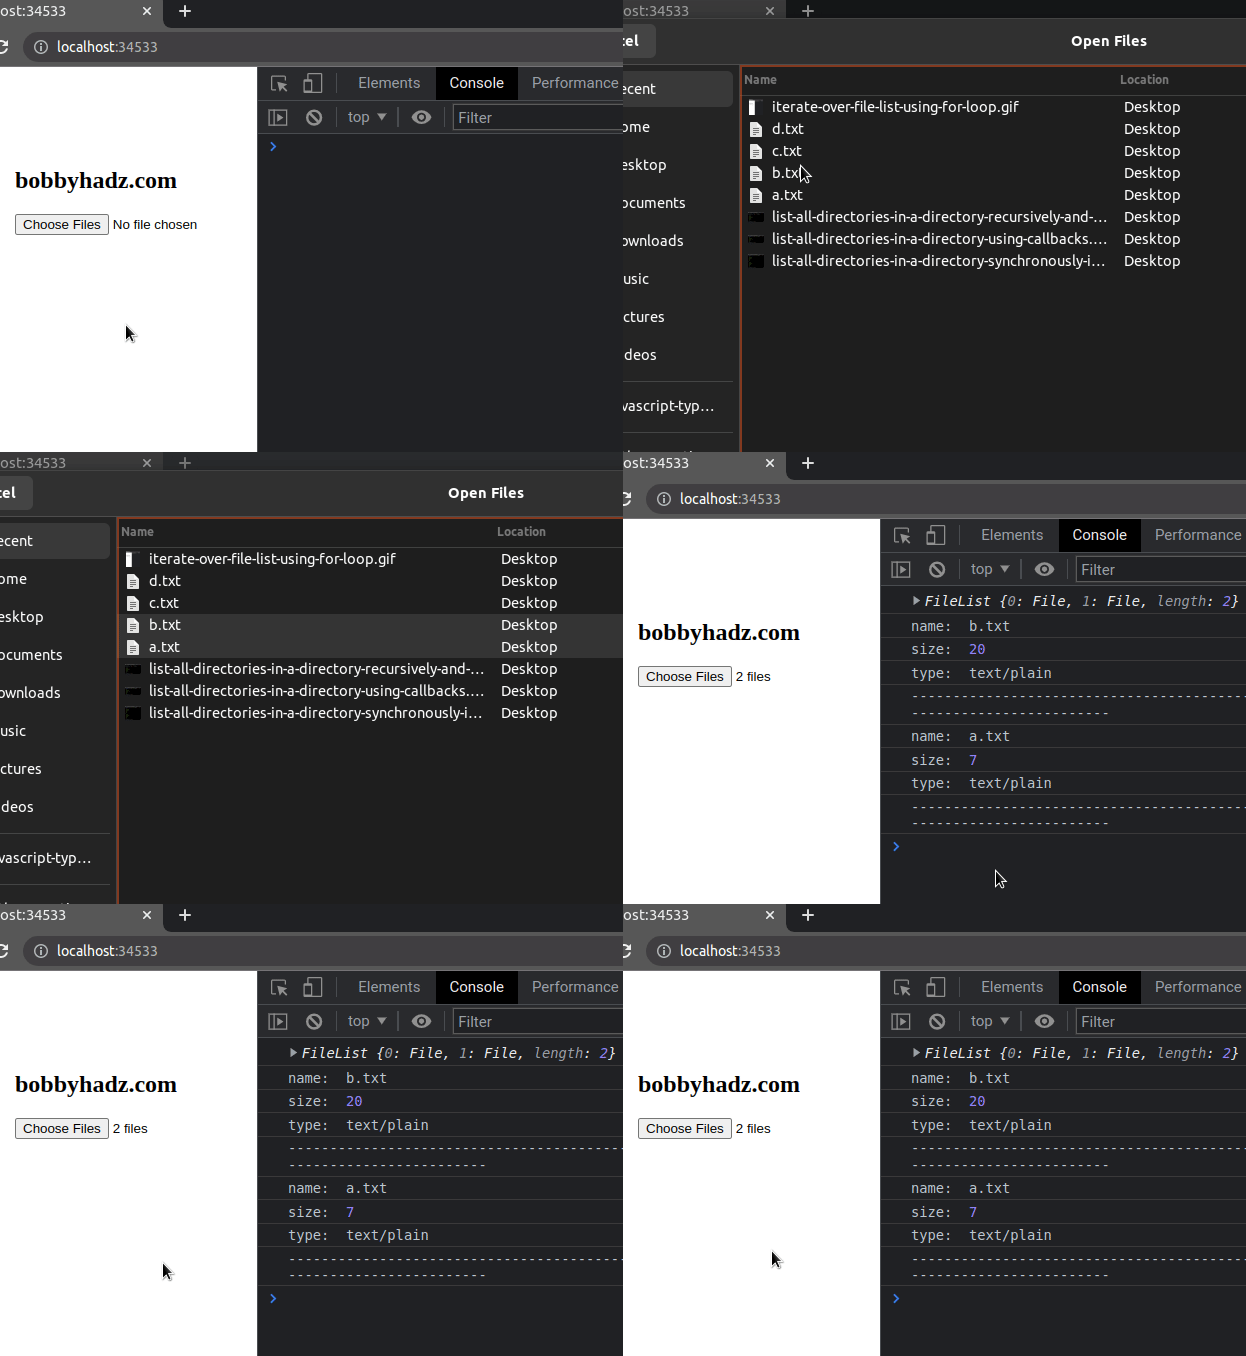
The for...of statement is used to loop over iterable objects like arrays,
strings, Map, Set, NodeList, FileList objects and generators.
The syntax for a for...of loop is a lot cleaner than that of a basic for
loop but we don't have access to the current index in a for...of loop.
# How to iterate over a FileList using Array.forEach()
If you need to iterate over a FileList using the Array.forEach() method:
- Use the
Array.from()method to convert theFileListto an array. - Use the
Array.forEach()method to iterate over the array of files.
const fileInput = document.getElementById('file-input'); fileInput.addEventListener('change', event => { const files = fileInput.files; console.log(files); Array.from(files).forEach((file, index) => { console.log(index); console.log('name: ', file.name); console.log('size: ', file.size); console.log('type: ', file.type); console.log('-'.repeat(100)); }); });
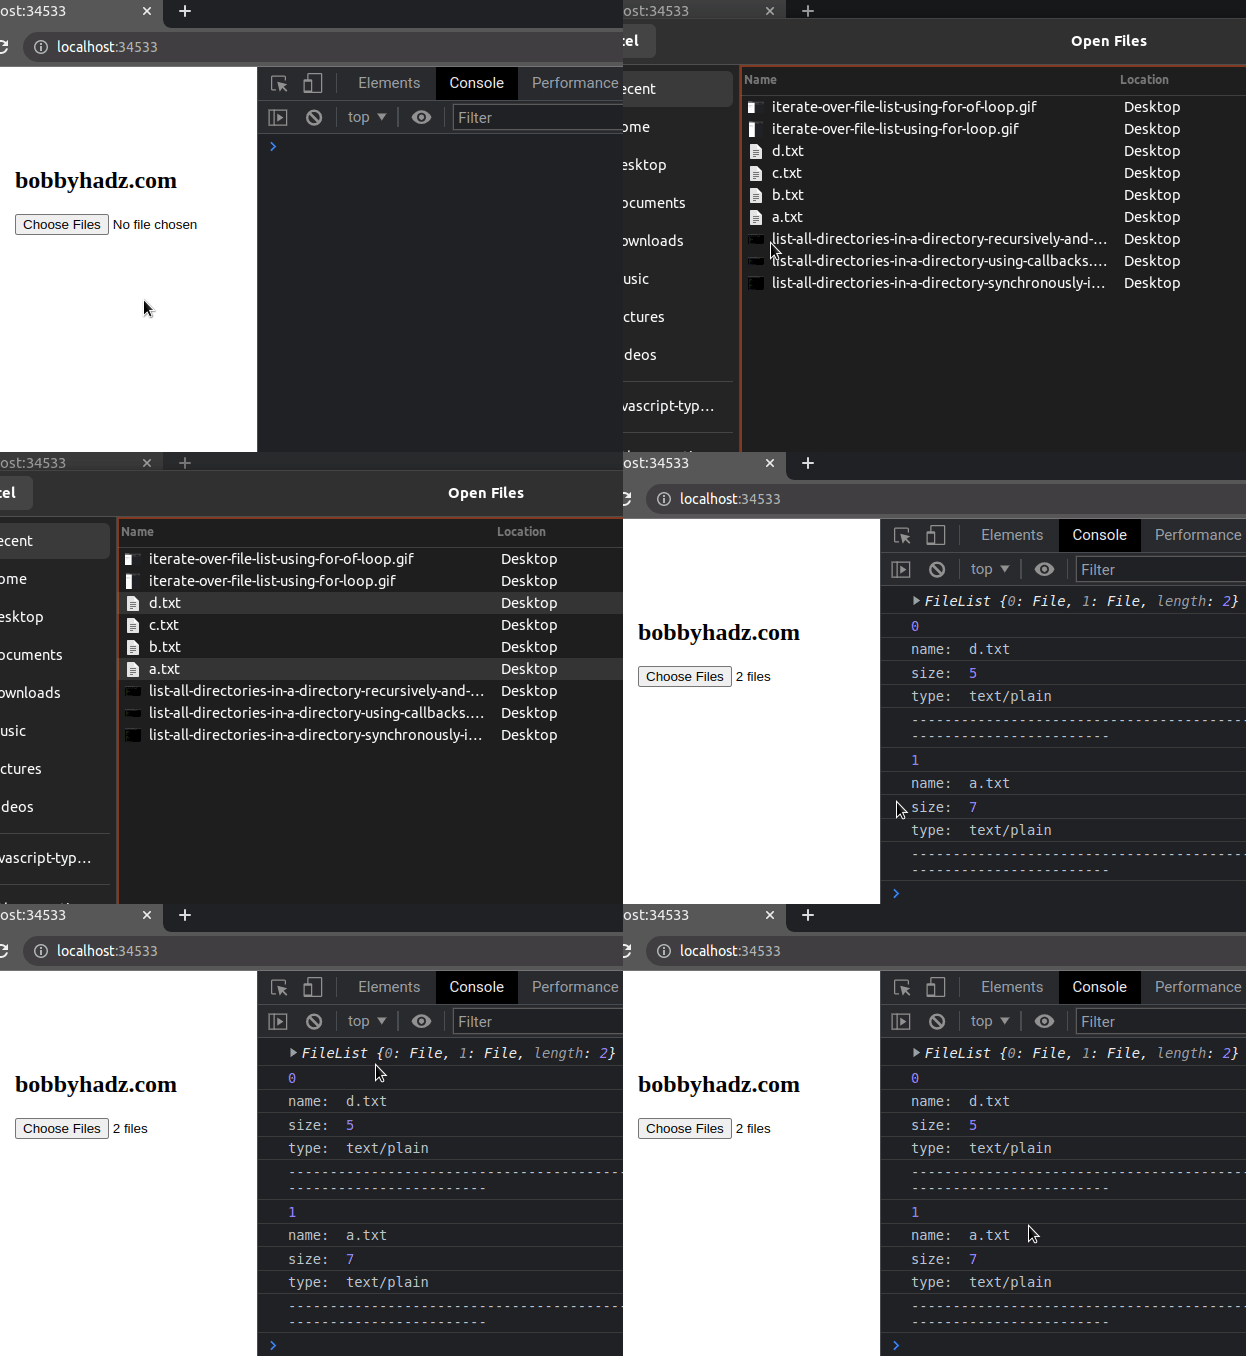
Note that we had to convert the FileList to an array using
Array.from().
We could've also used the
spread syntax (...) to
convert a FileList to an array.
const files = [...fileInput.files]; console.log(files);
Once we convert the FileList to an array, we can use the
Array.forEach() method.
The function we passed to the forEach() method gets called with each file and
the index of the current iteration.
You can remove the index parameter if you don't need it.
# Using Array.map() with a FileList or a NodeList in JS
Here is an example of using the
Array.map method
to map over a FileList or a NodeList.
const fileInput = document.getElementById('file-input'); fileInput.addEventListener('change', event => { const files = fileInput.files; console.log(files); const fileObjects = Array.from(files).map((file, index) => { return { index, name: file.name, size: file.size, type: file.type, }; }); console.log(fileObjects); });
The output of running the code above will look similar to the following.
[ { "index": 0, "name": "c.txt", "size": 53, "type": "text/plain" }, { "index": 1, "name": "a.txt", "size": 7, "type": "text/plain" } ]
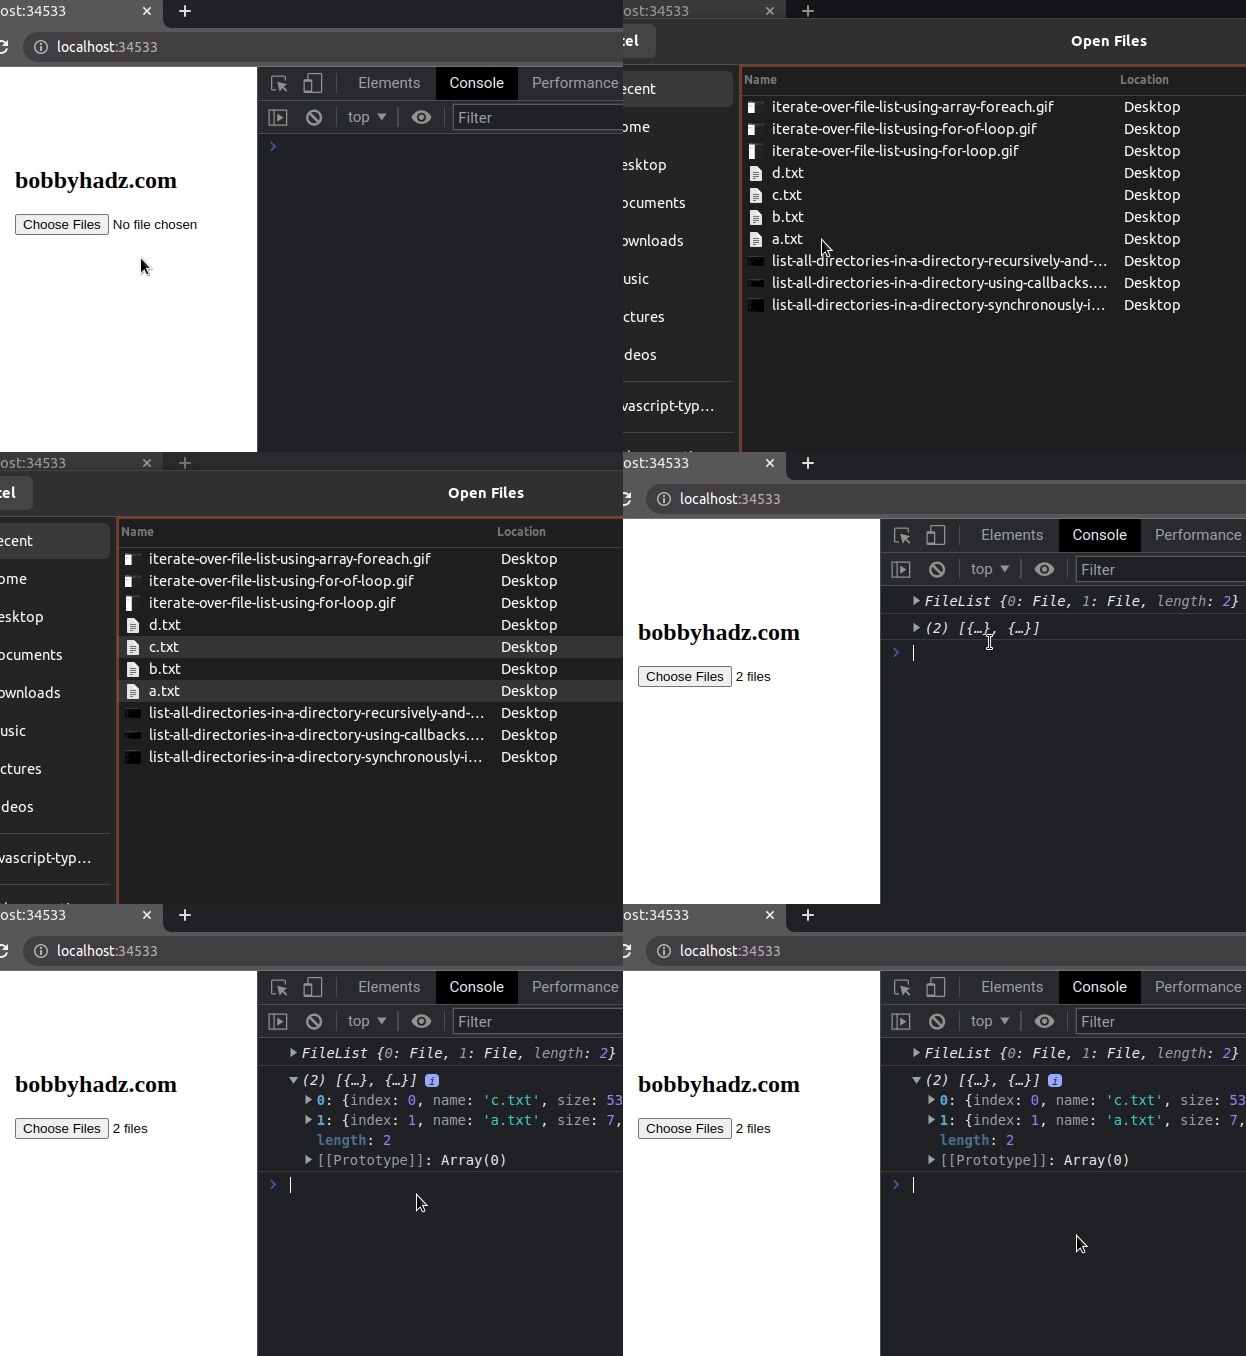
We used the Array.from() method to convert the FileList to an array and used
the Array.map() method to iterate over the array.
const fileObjects = Array.from(files).map((file, index) => { return { index, name: file.name, size: file.size, type: file.type, }; });
The function we passed to the map() method gets called with each file and the
index of the current iteration.
On each iteration, we return an object containing the index, the file's name, its size and type.
# Using Array.filter() with a FileList or a NodeList in JS
The following example uses the
Array.filter()
method with a FileList.
const fileInput = document.getElementById('file-input'); fileInput.addEventListener('change', event => { const files = fileInput.files; console.log(files); const filteredFileObjects = Array.from(files).filter(file => { return file.size > 15; }); console.log(filteredFileObjects); });
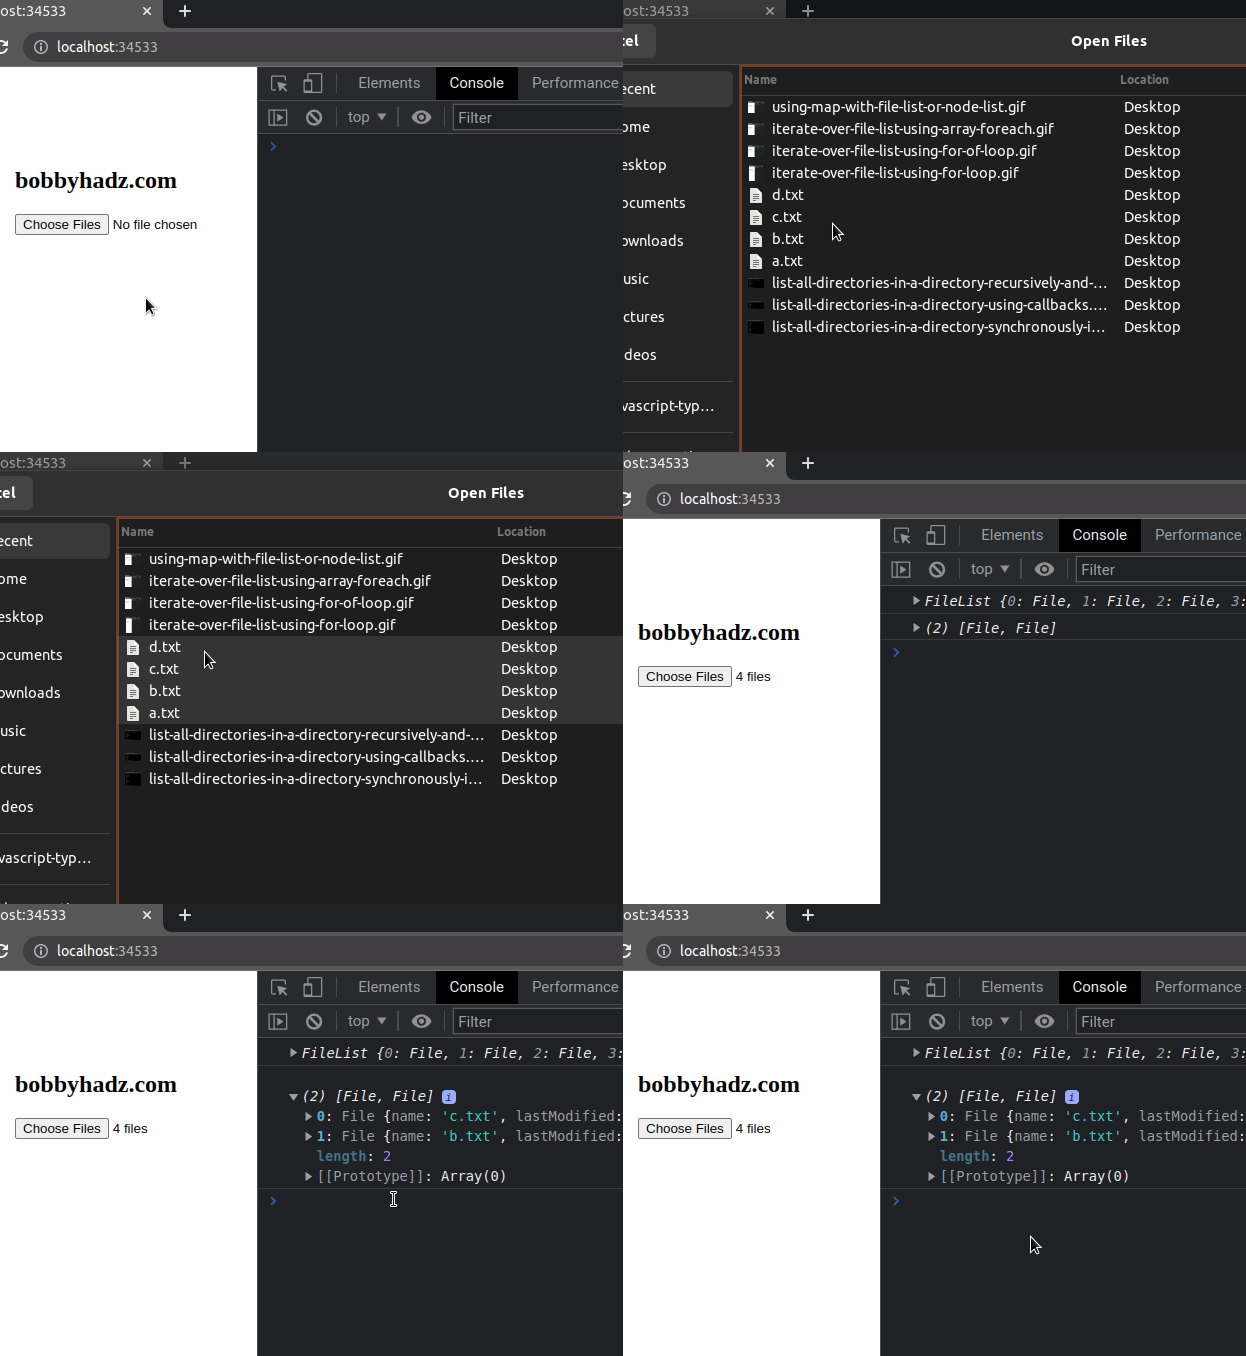
We used the Array.from() method to convert the FileList to an array and then
used the Array.filter() method to filter the array.
The filter() method returns an array containing only the elements for which
the condition is met.
Our condition checks if the size of each file is greater than 15 KB.
# Additional Resources
You can learn more about the related topics by checking out the following tutorials:

