How to save an image to localStorage using JavaScript
Last updated: Apr 4, 2024
Reading time·4 min

# Table of Contents
- How to save an image to localStorage using JavaScript
- How to save multiple images to localStorage using JavaScript
# How to save an image to localStorage using JavaScript
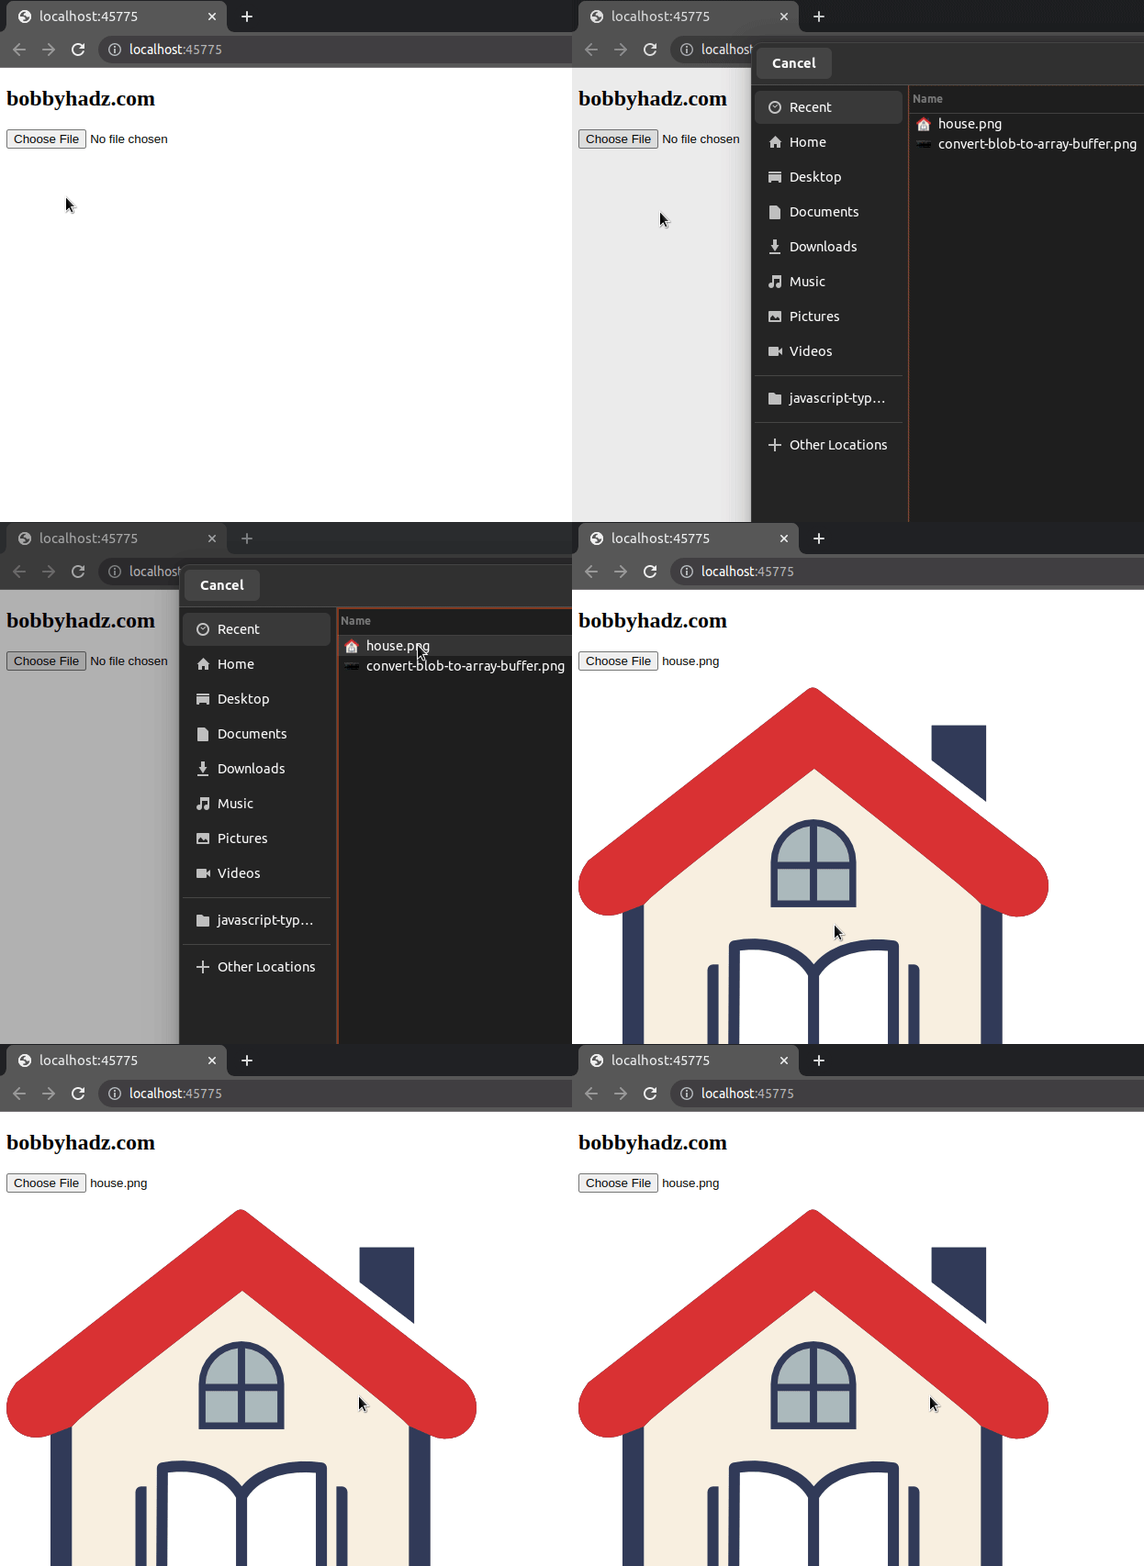
To save an image from an input type file to localStorage in JavScript:
- Use the
FileReader()constructor to read the contents of the image. - Save the result to localStorage.
- Optionally read the image from localStorage using the
localStorage.getItem()method.
Here is the HTML for the example.
<!DOCTYPE html> <html lang="en"> <head> <meta charset="UTF-8" /> </head> <body> <h2>bobbyhadz.com</h2> <input type="file" id="img-input" /> <br /> <br /> <img id="img-from-local-storage" /> <script src="index.js"></script> </body> </html>
And here is the related JavaScript code.
const imageInput = document.getElementById('img-input'); imageInput.addEventListener('change', event => { // 👇️ Save the image to localStorage const image = event.target.files[0]; const reader = new FileReader(); reader.addEventListener('load', () => { localStorage.setItem('image', reader.result); }); if (image) { reader.readAsDataURL(image); } // 👇️ Take the image from localStorage // and display it const newImage = document.getElementById( 'img-from-local-storage', ); newImage.src = localStorage.getItem('image'); });

We accessed the image as event.target.files[0], however, you can also access
the image directly on the input element.
const imageInput = document.getElementById('img-input'); imageInput.addEventListener('change', event => { const image = imageInput.files[0]; } )
We used the
FileReader
constructor to create a new FileReader object.
The FileReader object enables us to asynchronously read the contents of the image.
Note that the FileReader API can only access the contents of files that the
user has explicitly selected, either by using an input field with a type of
file or by using drag and drop.
reader.addEventListener('load', () => { localStorage.setItem('image', reader.result); });
The result property on the FileReader object returns the file's contents.
However, the property is only valid after the read operation is complete.
We used the
readAsDataURL()
method to read the contents of the File.
if (image) { reader.readAsDataURL(image); }
result property contains the data as a data: URL representing the file's data as a base64 encoded string.We then used the
document.getElementById() method to
select an img element and then used the localStorage.getItem() method to set
the src attribute of the image to the stored image.
The image is stored as a data URL (e.g. data:image/png;base64,...) in
localStorage, so we can directly set the element's src attribute to the data
URL string.
You can start a development server by saving the index.html and index.js
files and running the following command.
npx serve .

When using this approach, note that there is a limit of 5MB for strings stored
in localStorage.
# How to save multiple images to localStorage using JavaScript
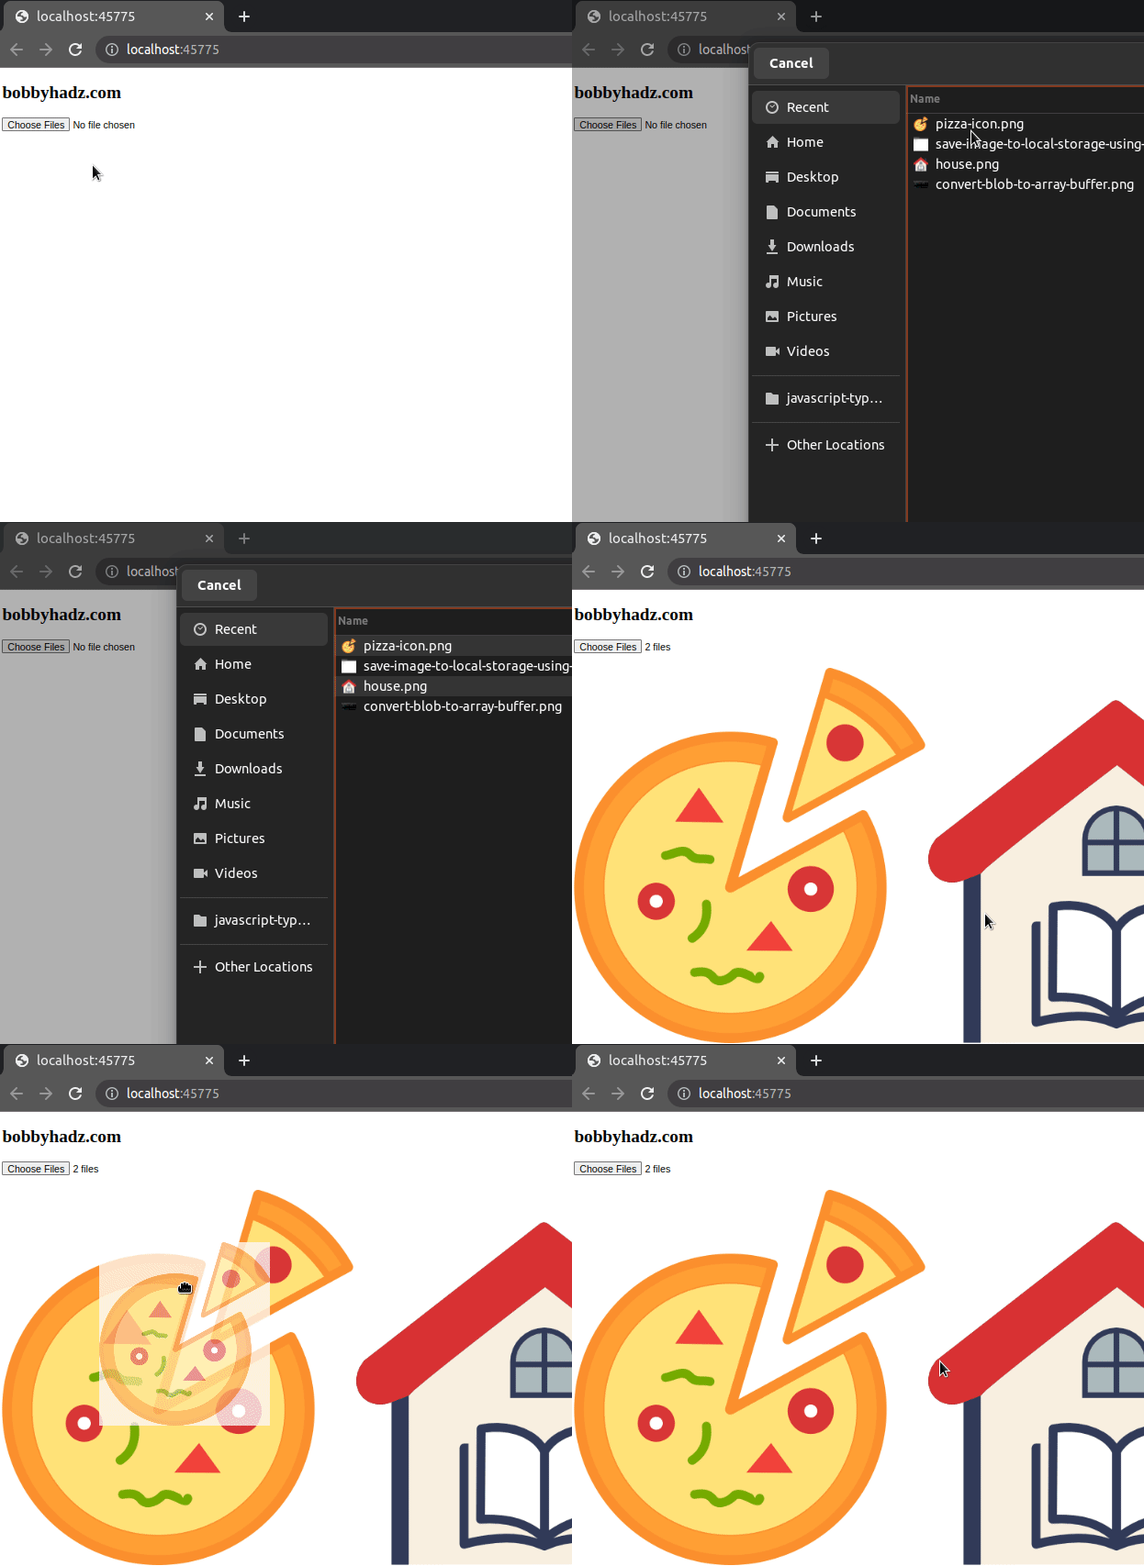
The previous example only saved a single image to localStorage.
However, in some cases, you might have to save multiple images if your input
type file has the multiple attribute set.
Here is the HTML for the example.
<!DOCTYPE html> <html lang="en"> <head> <meta charset="UTF-8" /> </head> <body> <h2>bobbyhadz.com</h2> <input type="file" id="img-input" multiple /> <br /> <br /> <img id="img-0" /> <img id="img-1" /> <script src="index.js"></script> </body> </html>
And here is the related JavaScript.
const imageInput = document.getElementById('img-input'); imageInput.addEventListener('change', event => { const imageFiles = event.target.files; Array.from(imageFiles).forEach((image, index) => { const reader = new FileReader(); reader.addEventListener('load', () => { localStorage.setItem(`img-${index}`, reader.result); }); if (image) { reader.readAsDataURL(image); } }); const imageTags = document.querySelectorAll('#img-0, #img-1'); imageTags.forEach((img, index) => { img.src = localStorage.getItem(`img-${index}`); }); });

We accessed the image files on the event.target property, however, you can
also access them directly on the input element.
const imageInput = document.getElementById('img-input'); imageInput.addEventListener('change', event => { const imageFiles = imageInput.files; } )
We used the Array.from() method to convert the collection of files to an array to be able to use the Array.forEach() method.
Array.from(imageFiles).forEach((image, index) => { const reader = new FileReader(); reader.addEventListener('load', () => { localStorage.setItem(`img-${index}`, reader.result); }); if (image) { reader.readAsDataURL(image); } });
On each iteration, we create a new FileReader object, read the contents of the
current image and save the data URL to localStorage.
You can optionally read the images from localStorage later and display them.
const imageTags = document.querySelectorAll('#img-0, #img-1'); imageTags.forEach((img, index) => { img.src = localStorage.getItem(`img-${index}`); });
We used the document.querySelectorAll() method to select the 2 image elements on the page.
The last step is to set the src attribute of each image to the data URL that
we get from the corresponding localStorage key.
I've also written an article on how to download images using JavaScript.
# Additional Resources
You can learn more about the related topics by checking out the following tutorials:
- Clear Img src attribute using JavaScript
- How to download a File in React.js (local or from URL)
- Check if a URL is an Image using JavaScript
- Refresh an image with a new one at the same URL using JS
- Set background-image as a base64 encoded image in JavaScript
- How to store an Array or Object in localStorage using JS
- Pass a Variable from one HTML page to Another in JavaScript

