How to show the Line Numbers in the Nano text editor
Last updated: Apr 5, 2024
Reading time·5 min

# Table of Contents
- How to show the Line Numbers in the Nano text editor
- Show the Line Numbers in Nano using a keyboard shortcut
- Show the Line Numbers in Nano using your global config file
- Show the current line number in Nano using a keyboard shortcut
- Show the current line number using a command line flag
- Show the current line number using your global config file
- A note on using nano with the
sudoprefix - Useful nano keyboard shortcuts
# How to show the Line Numbers in the Nano text editor
The easiest way to show the line numbers in the nano text editor is to use
the --linenumbers flag.
Issue the command nano --linenumbers myfile.txt to open the file with line
numbers shown.
nano --linenumbers example.txt
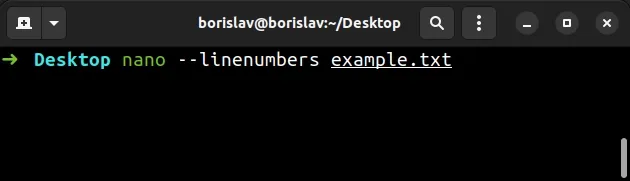
The command above assumes that you are trying to open a file named example.txt
with the line numbers shown.
Here is what the result of issuing the command looks like.
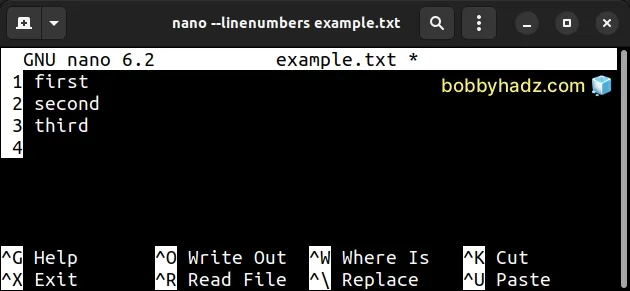
The --linenumbers (or -l) flag displays the line numbers to the left of the
text area as shown in the following clip.
You can also use the -l shorthand flag to achieve the same result.
nano -l example.txt

Make sure to replace example.txt with the name of your actual file.
# Show the Line Numbers in Nano using a keyboard shortcut
You can also use a keyboard shortcut to show the line numbers in the nano editor.
Press Alt + Shift + 3 (or Alt + #) to show or hide the line numbers.
You can also use the Alt + n keyboard shortcut to show or hide the line
numbers.
The keyboard shortcut toggles the display of line numbers in front of the text.
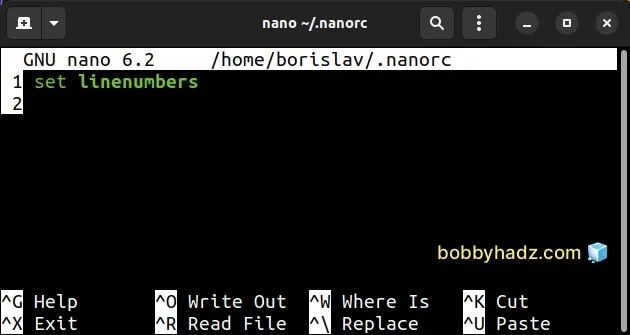
# Show the Line Numbers in Nano using your global config file
You can also enable line numbering in nano by using your global config file
located under ~/.nanorc.
Issue the following command to open the file.
nano ~/.nanorc

The file might be empty if you haven't previously edited it.
Add the following line to show the line numbers.
set linenumbers
Save the file and restart your terminal.
Once you enable the setting, restart your terminal and issue the
nano myfile.txt command.
nano example.txt
Now any file you open will have the line numbers displayed.
# Show the current line number in Nano using a keyboard shortcut
You can also show the current line number in nano by using the Ctrl + C
keyboard shortcut.
You can also use the Alt + Shift + C keyboard shortcut to toggle the
display of the current line number after opening a file.
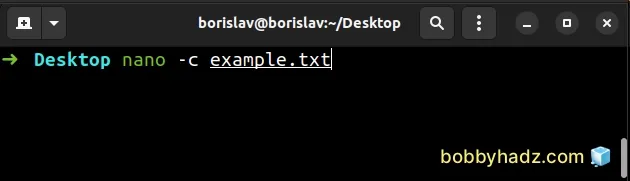
# Show the current line number using a command line flag
You can also enable showing the current line number with the -c command line
flag.
nano -c example.txt
The longer form of the flag is −−constantshow.
nano −−constantshow example.txt
Here is a short clip that demonstrates how this works.

# Show the current line number using your global config file
You can also use your global ~/.nanorc configuration file to show the current
line number.
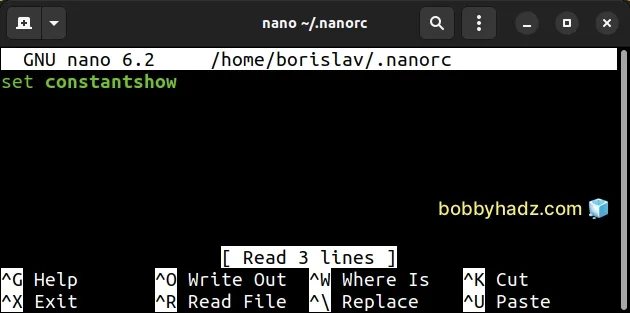
Issue the following command to open the file.
nano ~/.nanorc
The file might be empty if you haven't previously edited it.
Add the following line to show the current line number.
set constantshow
Save the file and restart your terminal.
Issue the nano myfile.txt command.
nano example.txt

Now the current line number will always be displayed at the bottom of the terminal window.
# A note on using nano with the sudo prefix
If you use the nano command with the sudo prefix and have difficulties
showing the line numbers, set the -l or --linenumbers flag when opening the
file.
sudo nano --linenumbers example.txt
The command above assumes that you are trying to open a file named example.txt
with the line numbers shown.
When you use the sudo prefix, you are issuing the nano command as a super
user.
~/.nanorc file to enable the linenumbers setting.You can also show line numbers for the root user via the global /root/.nanorc
config file.
Assuming your ~/.nanorc file has the linenumbers setting enabled.
set linenumbers
You can copy and paste the file to /root/.nanorc by issuing the following
command.
sudo cp ~/.nanorc /root/
You can use the cat command to verify the /root/.nanorc file has been copied
successfully.
sudo cat /root/.nanorc
Your /root/.nanorc file should contain the following line.
set linenumbers
Once set, you should be able to issue the sudo nano myfile.txt command with
line numbers enabled.
sudo nano example.txt
# Useful nano keyboard shortcuts
Here is a table containing some of the most useful nano keyboard shortcuts.
| Keyboard shortcut | Description |
|---|---|
Ctrl + S | Save the current file. |
Ctrl + X | Close the buffer and exit from nano |
Ctrl + C | Cancel or report the current cursor position |
Alt + U | Undo last action. |
Alt + E | Redo last undone action. |
Ctrl + K | Cut the current line into the cut buffer. |
Alt + 6 | Copy the current line into the cut buffer. |
Ctrl + U | Paste the contents of the cut buffer. |
Alt + Del | Delete the current line. |
I've also written an article on:
# Additional Resources
You can learn more about the related topics by checking out the following tutorials:
- 'wget' is not recognized as an internal or external command
- 'sudo' is not recognized as an internal or external command
- Windows Equivalent of the 'ls', 'which' and 'ln' commands
- The Windows equivalent of the Unix 'tee' command
- The Windows equivalent of the Unix 'pwd' command
- Windows equivalent of the Unix 'tail' command

