How to change the href of <a> tag using JavaScript
Last updated: Mar 7, 2024
Reading time·3 min

# How to change the href of <a> tag using JavaScript
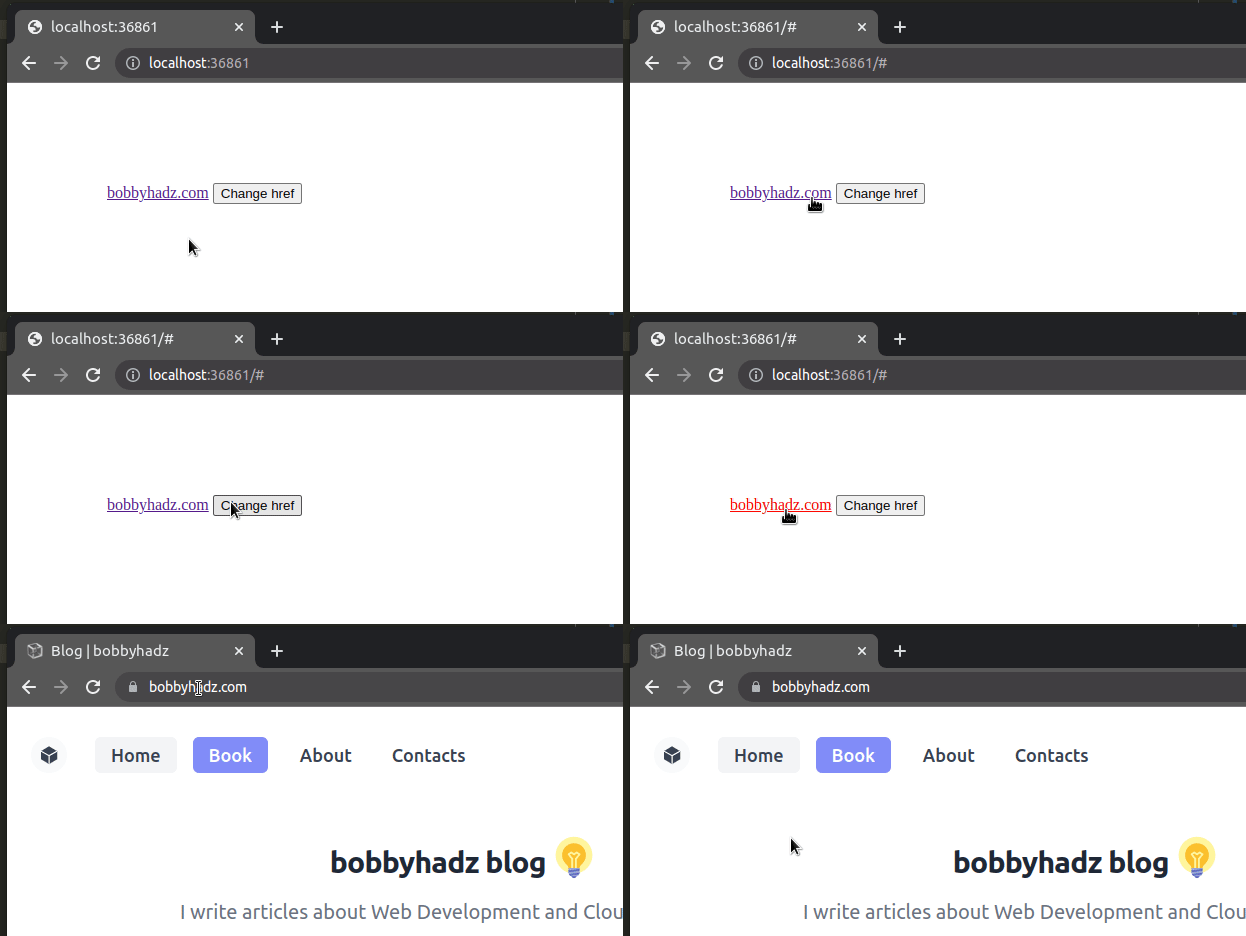
To change the href of an <a> tag using JavaScript:
- Select the button element and the
<a>element. - Add a
clickevent listener to the button. - When the button is clicked, change the
hrefof the<a>element to the given value.
Here is the HTML for the example.
<!DOCTYPE html> <html lang="en"> <head> <meta charset="UTF-8" /> <style> body { margin: 100px; } </style> </head> <body> <a id="link" href="#">bobbyhadz.com</a> <button id="btn">Change href</button> <script src="index.js"></script> </body> </html>
And here is the related JavaScript code.
const btn = document.getElementById('btn'); btn.addEventListener('click', () => { const link = document.getElementById('link'); link.href = 'https://bobbyhadz.com'; return false; });

We used the document.getElementById() method to select the button and the anchor element.
We then used the
addEventListener()
method to add a click event listener to the button.
The <a> tag initially has its href attribute set to a hash #.
<a id="link" href="#">bobbyhadz.com</a>
When the user clicks on the button, the href attribute on the link gets set to
a new value.
const btn = document.getElementById('btn'); btn.addEventListener('click', () => { const link = document.getElementById('link'); link.href = 'https://bobbyhadz.com'; return false; });
If the user clicks on the link after clicking on the button, they'd navigate to
https://bobbyhadz.com.
The code sample uses dot notation to set the value of the href attribute but
you can also use the setAttribute()
method.
const btn = document.getElementById('btn'); btn.addEventListener('click', () => { const link = document.getElementById('link'); link.setAttribute('href', 'https://bobbyhadz.com'); return false; });
The setAttribute() method takes 2 parameters - the name of the attribute you
want to set on the element and its value.
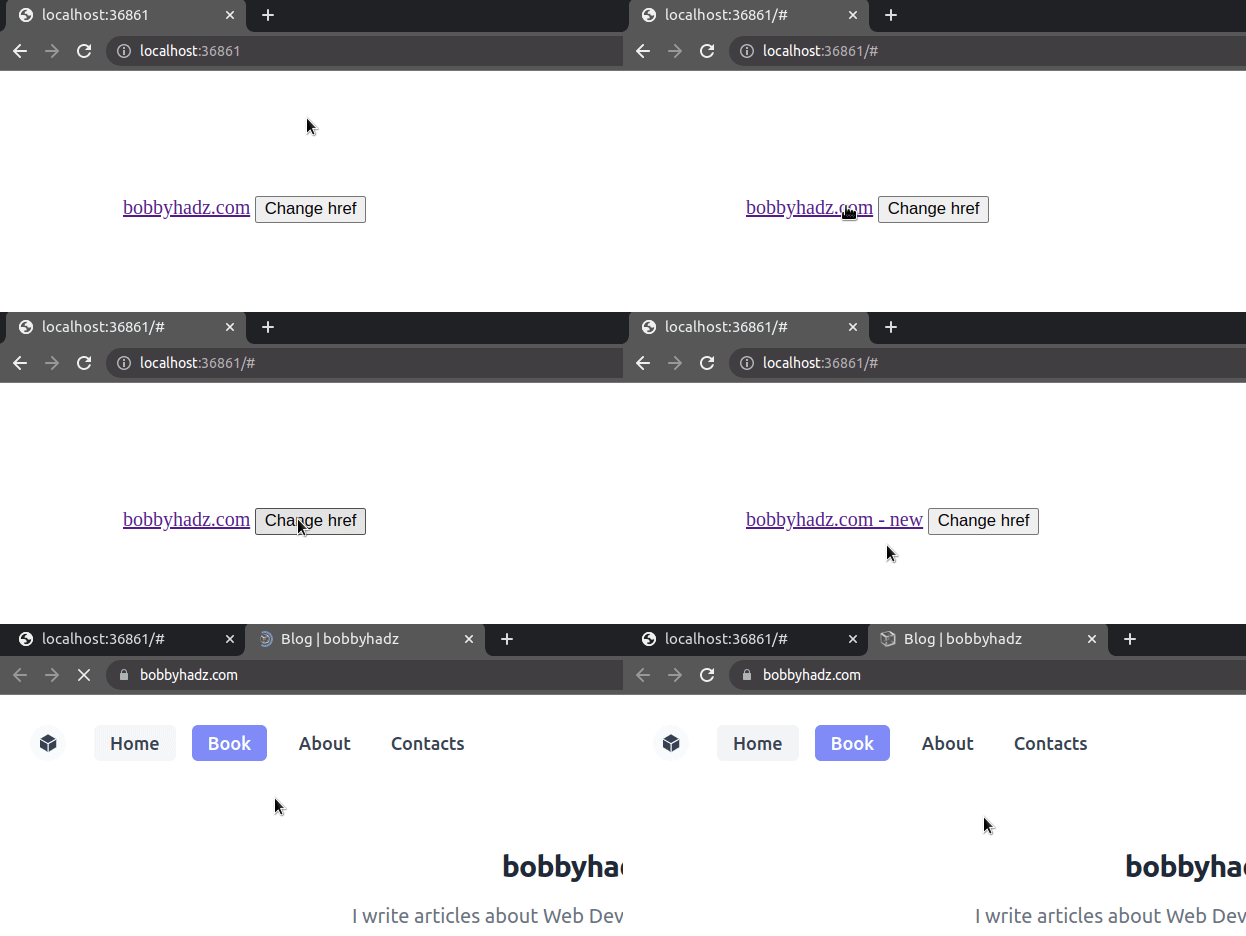
If you also need to update the link's text, use the innerHTML property.
const btn = document.getElementById('btn'); btn.addEventListener('click', () => { const link = document.getElementById('link'); link.setAttribute('href', 'https://bobbyhadz.com'); link.innerHTML = 'bobbyhadz.com - new'; return false; });

If you want to
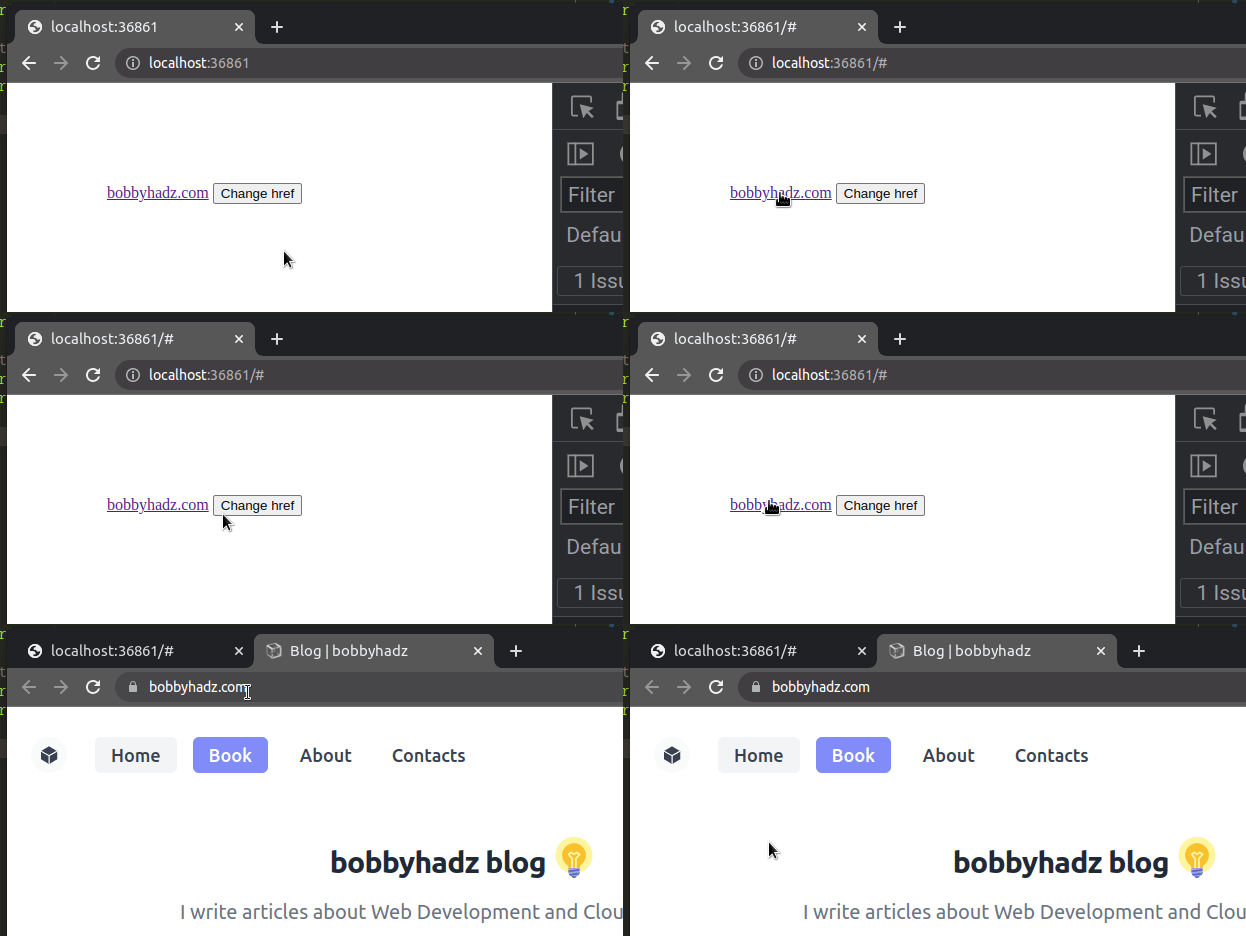
open the link in a new tab
when it's clicked, set the target attribute to _blank.
const btn = document.getElementById('btn'); btn.addEventListener('click', () => { const link = document.getElementById('link'); link.setAttribute('href', 'https://bobbyhadz.com'); // 👇️ open the link in a new tab link.setAttribute('target', '_blank'); link.setAttribute('rel', 'noopener noreferrer'); });

The rel attribute is used for security purposes.
# Change the href of <a> tag using an inline event handler
The previous example used a separate .js file, however, you can also use an
inline event handler.
<!DOCTYPE html> <html lang="en"> <head> <meta charset="UTF-8" /> <script> function changeLinkHref() { console.log('href of link changed'); const link = document.getElementById('link'); link.setAttribute('href', 'https://bobbyhadz.com'); return false; } </script> </head> <body> <a id="link" href="#">bobbyhadz.com</a> <button onclick="changeLinkHref()">Change href</button> </body> </html>
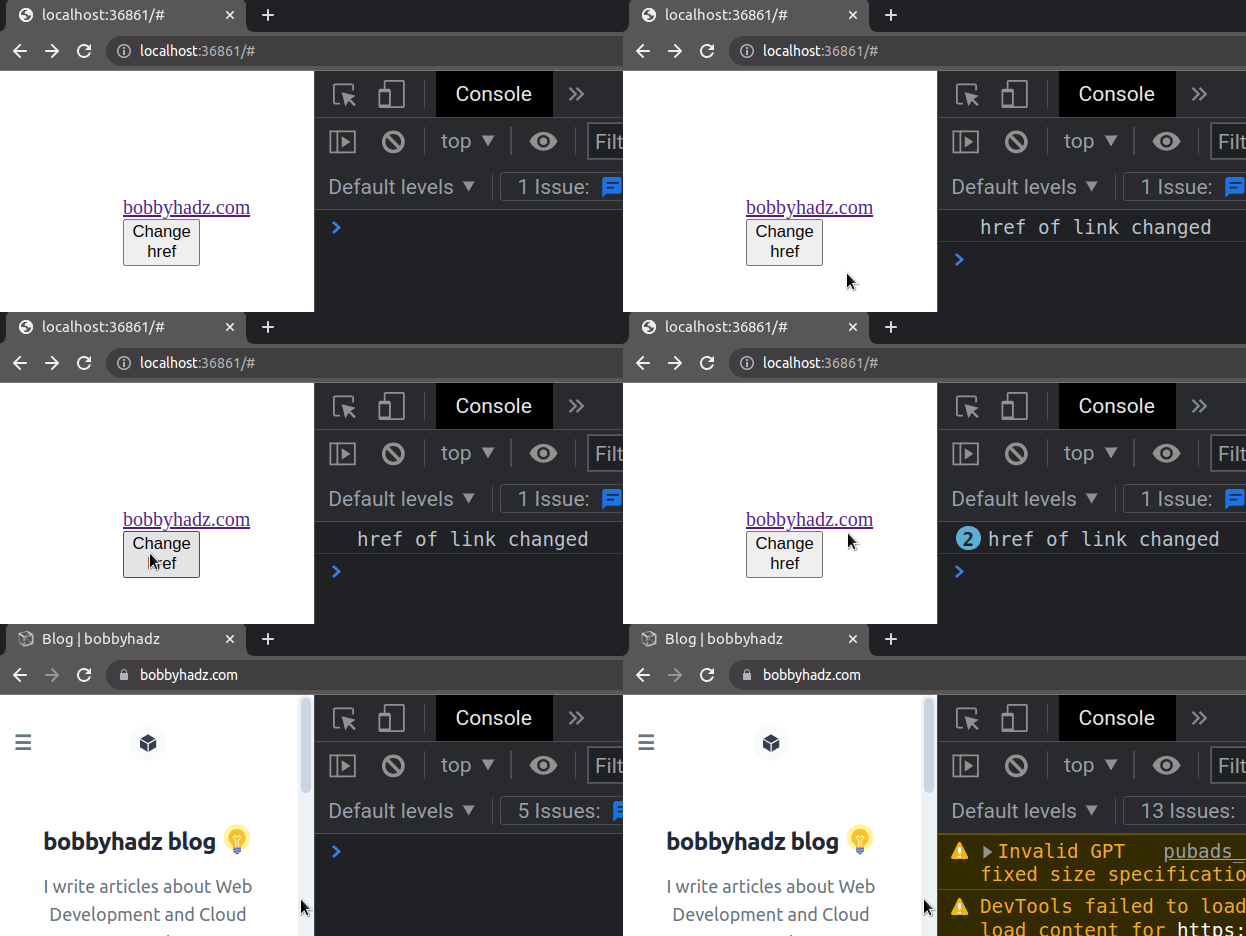
The code sample sets an inline onclick event handler on the button element.
Every time the button is clicked, the changeLinkHref function is invoked.

Here is an example that also opens the link in a new tab and changes its text.
<!DOCTYPE html> <html lang="en"> <head> <meta charset="UTF-8" /> <script> function changeLinkHref() { console.log('href of link changed'); const link = document.getElementById('link'); link.setAttribute('href', 'https://bobbyhadz.com'); link.setAttribute('target', '_blank'); link.setAttribute('rel', 'noopener noreferrer'); link.innerHTML = 'bobbyhadz.com - new'; } </script> </head> <body> <a id="link" href="#">bobbyhadz.com</a> <button onclick="changeLinkHref()">Change href</button> <!-- <script src="index.js"></script> --> </body> </html>

# Additional Resources
You can learn more about the related topics by checking out the following tutorials:
- How to change the Text of an Element in JavaScript
- Open a Link in a new tab on Button click in JavaScript
- Detect if the Browser is in fullscreen mode in JavaScript
- Check if a Window or a Browser Tab has Focus in JavaScript
- Clear the Content of a Div element using JavaScript
- ReferenceError: window is not defined in JavaScript [Solved]
- How to set the Filename of a Blob in JavaScript
- Disable a specific Keyboard key or all keys using JavaScript
- How to replace plain URLs with links using JavaScript
- How to Get the information from a meta tag using JavaScript
- How to use 'mailto' in JavaScript [4 Easy Ways]

