VS Code: Increase the number of Lines shown in the Terminal
Last updated: Apr 6, 2024
Reading time·3 min

# Table of Contents
- VS Code: Increase the number of Lines shown in the Terminal
- Increasing the terminal buffer size in your settings.json file
- Increasing the terminal buffer size for the current project
- Where is the Terminal history saved when using VS Code
# VS Code: Increase the number of Lines shown in the Terminal
By default, the VS Code terminal only keeps 1,000 lines in its buffer.
For example, if I run the following JavaScript file that loops 2,000 times, I can only see the last 1,000 messages.
for (let index = 0; index < 2001; index++) { console.log(index) }
To increase the number of lines that are shown in the terminal:
- Press
Ctrl+Shift+P(orCommand+Shift+Pon macOS).
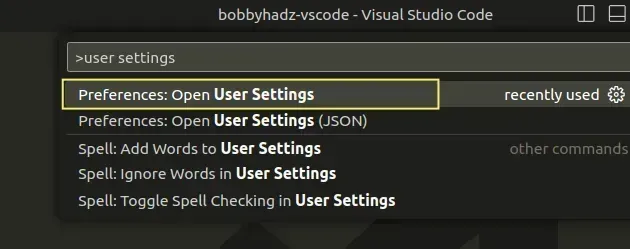
F1 to open the Command Palette.- Type user settings and select Preferences: Open User Settings.
You can also open the settings screen by pressing Ctrl + , on Windows and
Linux or Cmd + , on macOS.
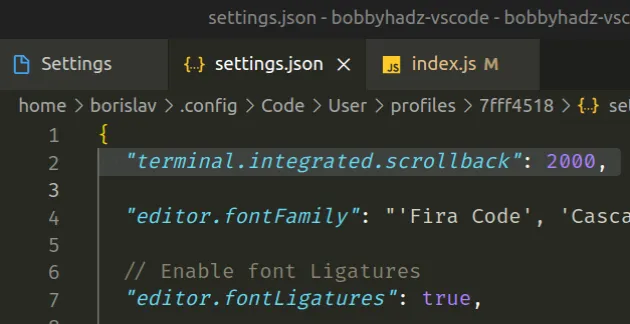
- Type terminal scrollback and increase the lines using the Terminal Integrated Scrollback setting.
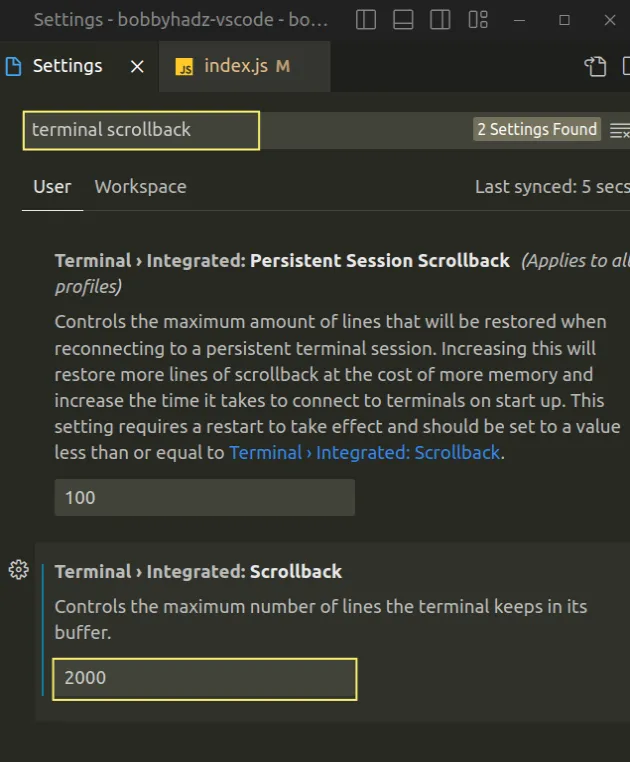
The setting controls the maximum number of lines the terminal keeps in its buffer.
The default value is 1,000. Note that setting the value too high might consume more memory and slow down VS Code if you work with programs that produce a lot of output.
There is also a Persistent Session Scrollback setting.

The setting controls the maximum number of lines that are restored when reconnecting to a persistent terminal session and is set to 100 by default.
Now that I've set the terminal scrollback setting to 2,000, I can run the following code and see the entire output in my terminal.
for (let index = 0; index < 2001; index++) { console.log(index) }
# Increasing the terminal buffer size in your settings.json file
You can also increase the VS Code terminal buffer size directly in your settings.json file.
- Press
Ctrl+Shift+P(orCommand+Shift+Pon macOS).
F1 to open the Command Palette.Type user settings json.
Click on Preferences: Open User Settings (JSON)

- Set the
terminal.integrated.scrollbackproperty to the number of lines you want to keep in memory.
"terminal.integrated.scrollback": 2000,
If no properties follow, remove the trailing comma.
# Increasing the terminal buffer size for the current project
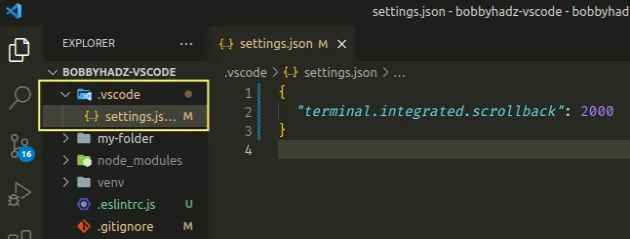
If you only want to increase the terminal buffer size for the current project,
edit your local .vscode/settings.json file.
In the root directory of your project, create a .vscode folder.
Create a
settings.jsonfile in the.vscodefolder.Add the following code to your
settings.jsonfile.
{ "terminal.integrated.scrollback": 2000 }
The configuration in .vscode/settings.json overrides any global configuration
and only applies to the current project (workspace).
# Where is the Terminal history saved when using VS Code
VS Code uses an external shell:
- PowerShell on Windows.
bashorzshon Linux and macOS.
The PowerShell terminal history file is located at:
%APPDATA%\Microsoft\Windows\PowerShell\PSReadLine
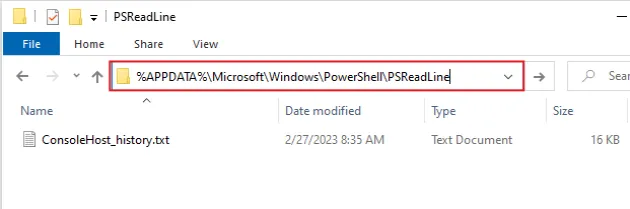
You can paste the path directly in Explorer as shown in the screenshot.
The path resolves to:
C:\Users\YOUR_USER\AppData\Roaming\Microsoft\Windows\PowerShell\PSReadline
You can use the type command to read it directly from your terminal.
The following command assumes that the file is named ConsoleHost_history.txt.
type %APPDATA%\Microsoft\Windows\PowerShell\PSReadLine\ConsoleHost_history.txt
On macOS and Linux, open your terminal and issue the following command:
echo $HISTFILE
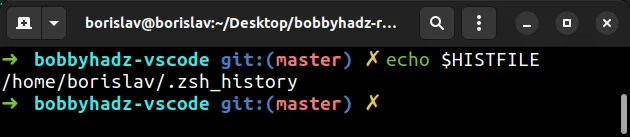
You can use the cat command to read the file directly from your terminal.
The following command assumes that the path to your terminal history file is
~/.zsh_history.
cat ~/.zsh_history
You can also pipe the output to the less command to be able to scroll.
cat ~/.zsh_history | less
Press q to quit the interactive command.
I've also written an article on how to change the default terminal in VS Code.
# Additional Resources
You can learn more about the related topics by checking out the following tutorials:
- How to Change the Integrated Terminal Colors in VS Code
- Switch focus between the Terminal and the Editor in VS Code
- VS Code: Increase the number of Lines shown in the Terminal
- Move the Sidebar or Terminal to the Right in VS Code
- VS Code: Open terminal in directory of currently opened file
- Configure a shortcut for console.log() in VS Code

