How to customize Vertical Rulers in Visual Studio Code
Last updated: Apr 6, 2024
Reading time·6 min
# Table of Contents
- Creating and Customizing a Vertical Ruler in Visual Studio Code
- Changing the color of the vertical ruler
- Rendering multiple vertical Rulers in VS Code
- Setting the colors of multiple rulers
- Defining language-specific vertical rulers in VS Code
- Setting the Maximum Line Length in VS Code
# Creating and Customizing a Vertical Ruler in Visual Studio Code
You can use the editor.rulers setting to define a vertical ruler in VS Code:
- Press
Ctrl+Shift+P(orCommand+Shift+Pon macOS).
F1 to open the Command Palette.Type user settings json.
Click on Preferences: Open User Settings (JSON)

- Set the
editor.rulersproperty to an array.
"editor.rulers": [80],
Make sure to remove the trailing comma if the property comes last.
Also, ensure the editor.rulers property is not already set in your
settings.json file as it shouldn't be
duplicated.
The editor.rulers property is used to render vertical rulers after a certain
number of characters (80 in the example).
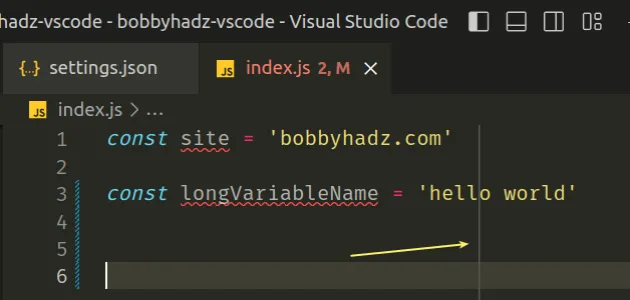
No rulers are rendered if the array is empty.
Vs Code rulers provide a visual right-side boundary, however, they don't automatically set the max length of a line.
If you can't see the ruler applied, try to zoom out with Ctrl + - or Cmd +
- on macOS and reload VS Code.
You can reload the editor by pressing F1 and typing Reload Window.
# Changing the color of the vertical ruler
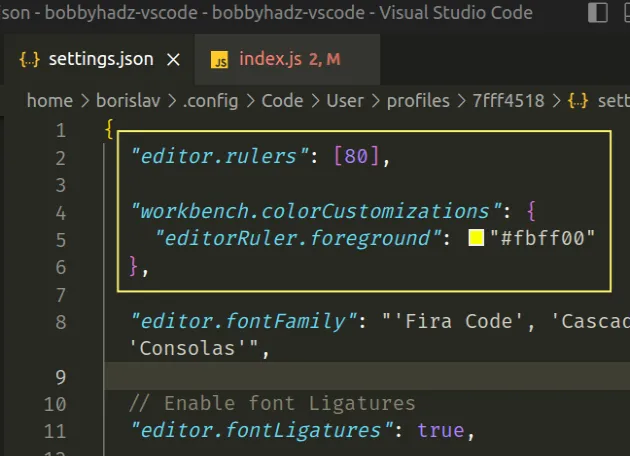
You can use the workbench.colorCustomizations property to change the color of
the vertical ruler.
"editor.rulers": [80], "workbench.colorCustomizations": { "editorRuler.foreground": "#fbff00" },
If you already have the workbench.colorCustomizations object defined in your
settings.json file, add the editorRuler.foreground property to the existing
object.
The editorRuler.foreground property changes the default color of vertical
rulers. The color can also be set for each specific ruler to override the
property.
The color can be set using the following formats:
#RGB#RGBA#RRGGBB#RRGGBBAA
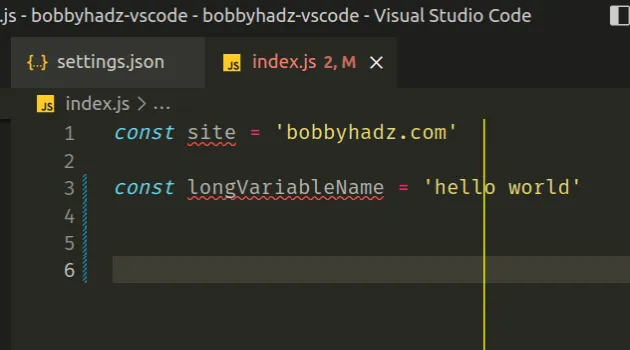
Here is a screenshot of a colored vertical ruler.
# Rendering multiple vertical Rulers in VS Code
Specify multiple values in the array to render multiple rulers.
"editor.rulers": [80, 100, 120],
Remove the trailing comma if the line comes last.
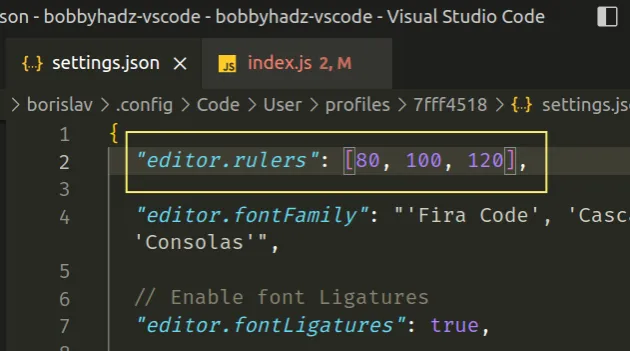
Adjust the number of characters for each ruler as you see fit.
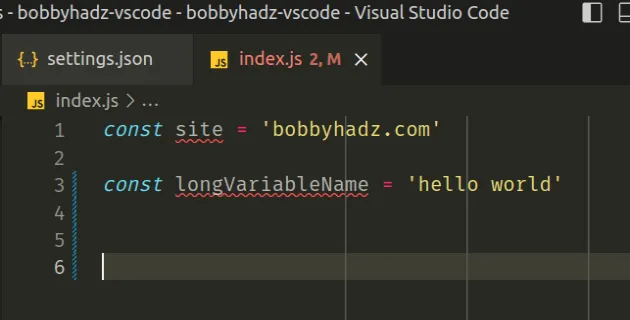
Here is a screenshot that shows what multiple vertical rulers look like.
# Setting the colors of multiple rulers
You can set the editor.rulers property to an array of objects to set the
colors of multiple rulers.
"editor.rulers": [ { "column": 80, "color": "#3cff00" }, { "column": 100, "color": "#ff2fc1" }, { "column": 120, "color": "#ff7700" } ],
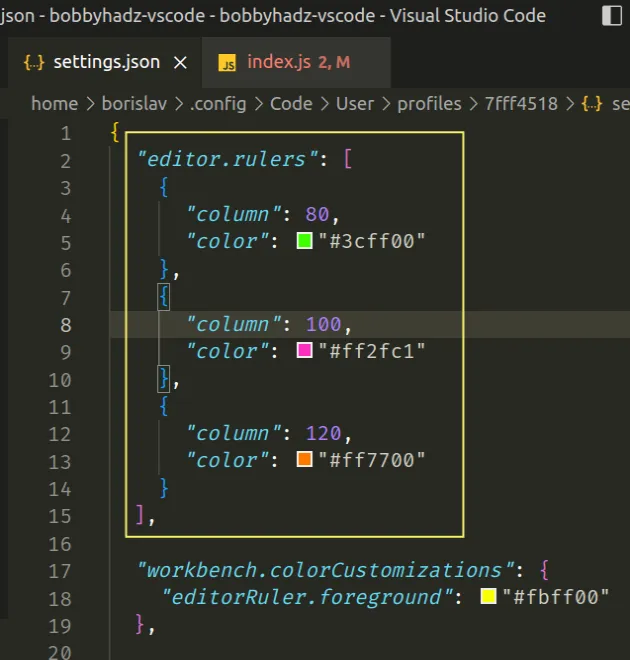
Make sure to remove the trailing comma after the closing bracket ] if the
property comes last.
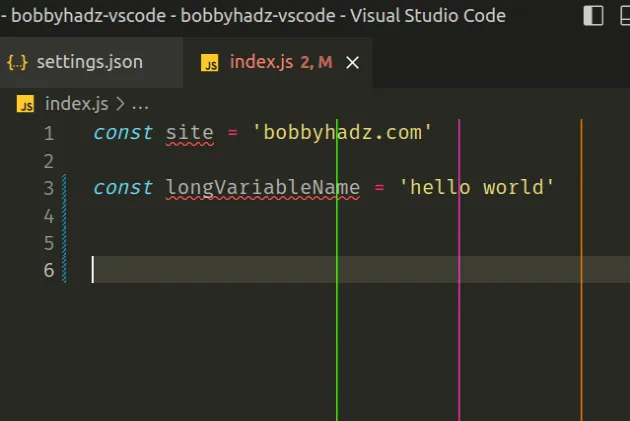
Here is a screenshot of what the rulers look like.
If you want to leave one or more rulers uncolored, simply pass the number of characters at which the ruler should be rendered as an integer.
"editor.rulers": [ 80, // 👈️ Ruler without color set { "column": 100, "color": "#ff2fc1" }, { "column": 120, "color": "#ff7700" } ],
If you want to set a default color for rulers that don't have a color set,
specify the editorRuler.foreground property within the
workbench.colorCustomizations object as in one of the previous examples.
"workbench.colorCustomizations": { "editorRuler.foreground": "#fbff00" },
Make sure to not duplicate the workbench.colorCustomizations property.
If the property is already set in your settings.json file, add the
editorRuler.foreground inside the existing object.
# Defining language-specific vertical rulers in VS Code
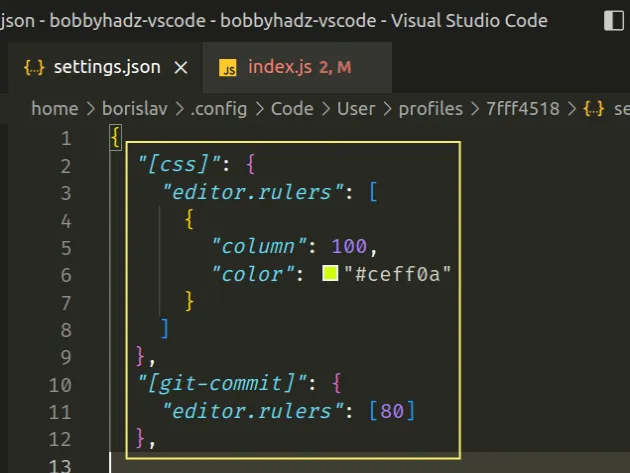
You can use the following syntax to define programming language-specific vertical rulers.
"[css]": { "editor.rulers": [ { "column": 100, "color": "#ceff0a" } ] }, "[git-commit]": { "editor.rulers": [80] },
Make sure to remove the trailing comma if the property comes last.
The language identifier is wrapped in square brackets as shown in the code sample.
You can view all available language identifiers in this table in the docs.
The first object in the array creates a colored vertical ruler for CSS files at the 100th-character mark.
The second object defines a vertical ruler in git commit files at the 80th-character mark.
Defining vertical rulers on a per-language level is useful because different languages have different recommendations regarding line length.
# Setting the Maximum Line Length in VS Code
You can use the word wrap setting to set the maximum length of each line or remove the limitation.
- Press
Ctrl+Shift+P(orCommand+Shift+Pon macOS).
F1 to open the Command Palette.- Type user settings and select Preferences: Open User Settings.
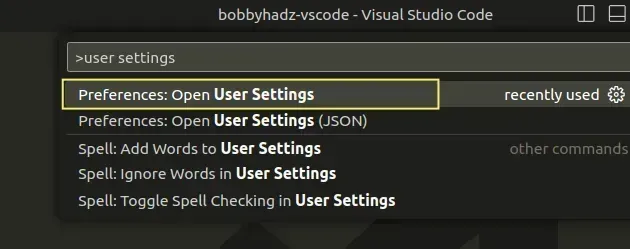
You can also open the settings screen by pressing Ctrl + , on Windows and
Linux or Cmd + , on macOS.
- Search for word wrap.
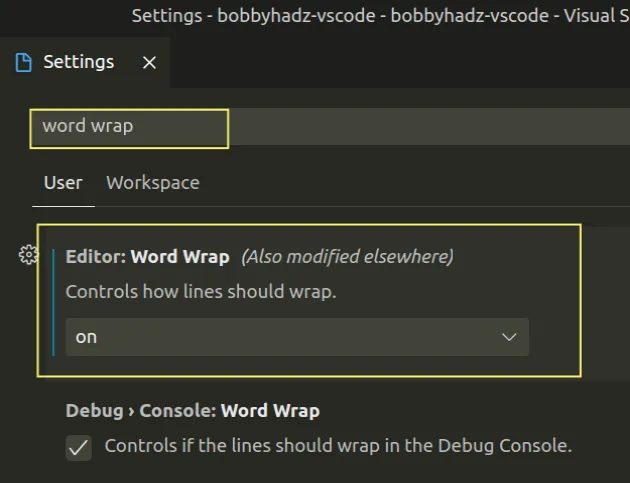
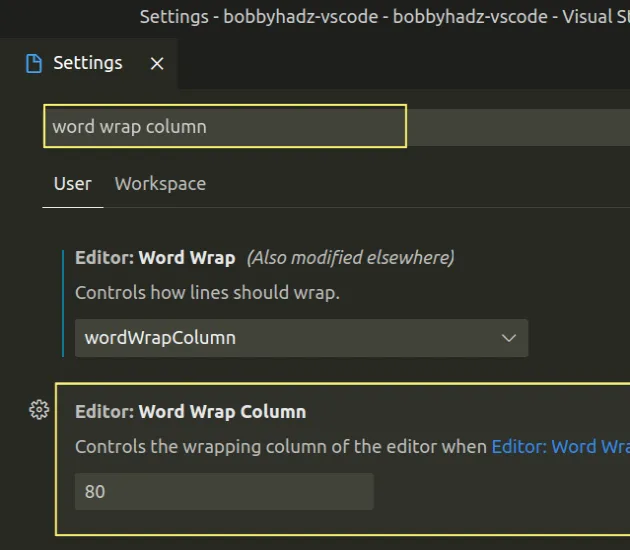
The Editor: Word Wrap setting has 4 possible values:
on- lines will wrap at the viewport width.off- lines will never wrap.wordWrapColumn- lines will wrap at Editor: Word Wrap Column.bounded- lines will wrap at the minimum of the viewport width and Editor: Word Wrap Column.
If you want to remove the limitation of how long lines should be, set Editor:
Word Wrap to off.
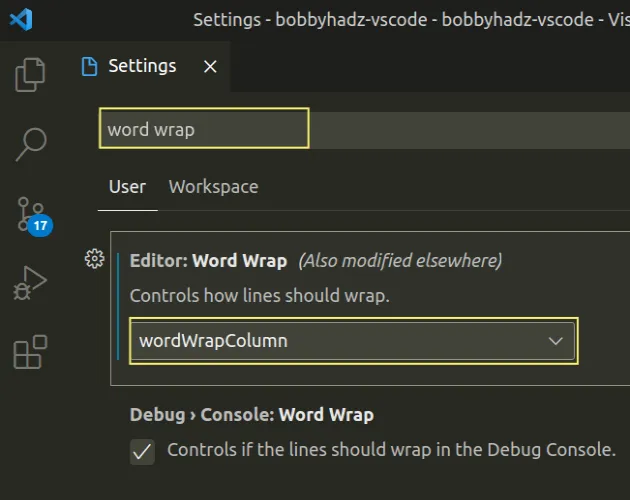
If you want to set the column at which lines should wrap, set Editor: Word
Wrap to wordWrapColumn.
Once the setting is set to wordWrapColumn, we have to update the value of
Editor: Word Wrap Column.
Search for word wrap column and update the value if necessary.
The setting controls the wrapping column of the editor when Editor: Word
Wrap is set to wordWrapColumn or bounded.
By default, it is set to 80.
# Alternatively, set the properties in your settings.json file
You can also set the properties directly in your settings.json file.
- Press
Ctrl+Shift+P(orCommand+Shift+Pon macOS).
F1 to open the Command Palette.Type user settings json.
Click on Preferences: Open User Settings (JSON)
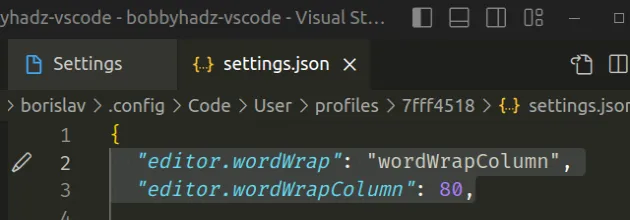
- Add the following properties.
"editor.wordWrap": "wordWrapColumn", "editor.wordWrapColumn": 80,
Make sure to remove the trailing comma if the property comes last.
If you want to disable the length limitation, set the editor.wordWrap property
to off.
"editor.wordWrap": "off",
# Setting the Maximum Line Length when using prettier
If you use prettier in VS Code, you can use the printWidth property to set the
maximum line length.
Here is an example of doing this in your .prettierrc file.
{ "printWidth": 80 }
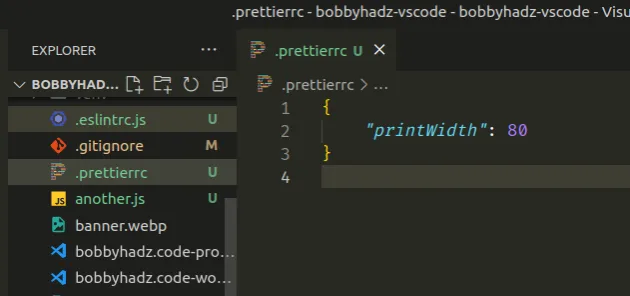
The example sets the maximum line length to 80 characters.
This is a rough estimate and is not strictly followed by Prettier.
The library might make shorter or longer lines but generally strives to meet the
specified printWidth.
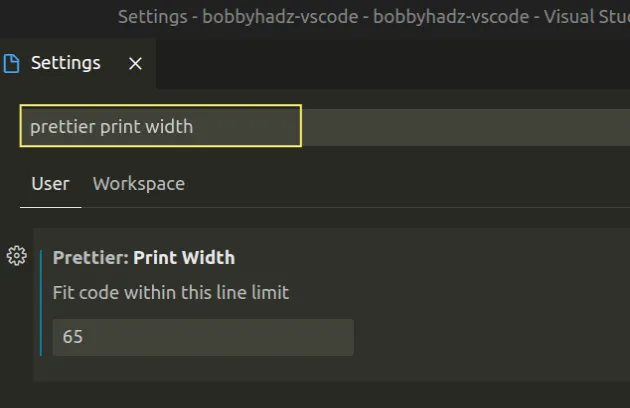
You can also update the setting in VS Code if you don't use a .prettierrc
file.
- Press
Ctrl+Shift+P(orCommand+Shift+Pon macOS).
F1 to open the Command Palette.- Type user settings and select Preferences: Open User Settings.
You can also open the settings screen by pressing Ctrl + , on Windows and
Linux or Cmd + , on macOS.
- Search for prettier print width and update the value of the setting.
I've also written an article on how to do column (box) selection in VS Code.
# Additional Resources
You can learn more about the related topics by checking out the following tutorials:
- VS Code: Split the editor Vertically or Horizontally
- How to change the Color of Comments in Visual Studio Code
- Change the Cursor color, style and animation in VS Code
- How to use the Color Picker in Visual Studio Code
- VS Code: Disable colorized Brackets or change Bracket color
- How to change the Color of Comments in Visual Studio Code

