Tailwind CSS classes not working in Vanilla or React project
Last updated: Apr 5, 2024
Reading time·6 min

# Table of Contents
- Tailwind CSS classes not working
- Correctly configuring a vanilla HTML/CSS Tailwind project
- Configuring Tailwind with Create-React-App
# Tailwind CSS classes not working [Solutions]
There are multiple reasons why your tailwind CSS classes might not be working.
- Try to swap the
@tailwinddirective to@importin your.cssfile.
Replace the following:
@tailwind base; @tailwind components; @tailwind utilities;
With the following
@import 'tailwindcss/base'; @import 'tailwindcss/components'; @import 'tailwindcss/utilities';
Try to restart your tailwind build server and your development server after making the change.
- Make sure the
contentarray in yourtailwind.config.jsfile is configured correctly.
content array of your tailwind.config.js file is where you configure the paths to all your HTML templates, JavaScript components and any other source files that contain Tailwind class names.Make sure that the paths to all your source files in which you use Tailwind CSS
classes are covered in the patterns specified in the content array.
The following example looks for html and js files in a pages/ and
components/ directories.
module.exports = { content: [ './pages/**/*.{html,js}', './components/**/*.{html,js}', ], // ... rest of your config }
You might also have to add different extensions or paths if you use React.js or Vue.js.
module.exports = { content: [ './pages/**/*.{html,js,jsx,ts,tsx}', './components/**/*.{html,js,jsx,ts,tsx}', ], // ... rest of your config }
The example above added the jsx, ts and tsx extensions.
The specified paths are configured as glob patterns, where:
- An
*is used to match anything except slashes and hidden files. - Two asterisks
**are used to match zero or more directories. - A comma is used to separate values between curly braces
{}to match against a list of options (e.g. multiple extensions).
Note that the paths are relative to your project root (where your package.json
file is) and not to your tailwind.config.js file.
In most cases, your tailwind.config.js file should also be at the root of your
project, but if you've specified a custom location, the paths in your content
array are relative to the root of the project and not to tailwind.config.js.
Tailwind will only process the files that are specified in your content array.
- Make sure you have run your build command.
The command below assumes that your main CSS file is at src/input.css and
produces your output CSS file at dist/output.css.
npx tailwindcss -i ./src/input.css -o ./dist/output.css --watch
- Make sure that the path to your output CSS file in your
index.htmlfile is correct.
For example, suppose that we have the following folder structure.
tailwind-project/ └── dist └── index.html └── output.css └── src └── input.css
The index.html file and the output.css files are located in the same
directory, so you have to specify a relative path when loading the output.css
file.
<link href="output.css" rel="stylesheet" />
The link tag above looks for an output.css file that is located in the same
directory as your index.html file.
# Correctly configuring a vanilla HTML/CSS Tailwind project
The example below assumes that you use the following folder structure.
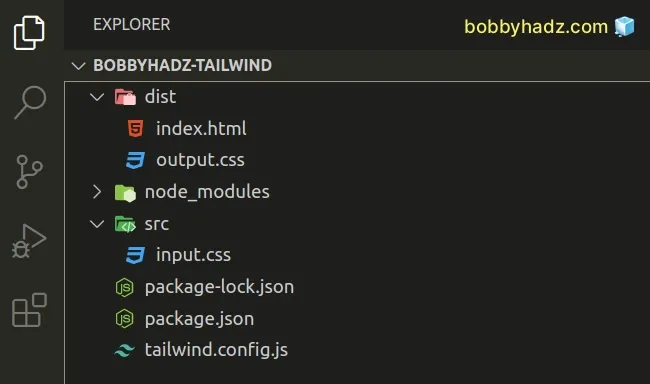
tailwind-project/ └── dist/ └── index.html └── output.css └── src/ └── input.css └── tailwind.config.js
Here is a step-by-step example of how to correctly configure a vanilla HTML/CSS Tailwind project.
Create your project directory, e.g. named
tailwind-project.Open your terminal in your project directory and run the following commands.
# 👇️ Create a package.json file npm init -y # 👇️ Install tailwindcss npm install -D tailwindcss # 👇️ Create your configuration file npx tailwindcss init
- Your
tailwind.config.jsfile should be located in the root directory of your project (where yourpackage.jsonfile is).
Add the following code to your tailwind.config.js file.
/** @type {import('tailwindcss').Config} */ module.exports = { content: ['./dist/**/*.{html,js}'], theme: { extend: {}, }, plugins: [], };
Notice that the content array looks for .html or .js files in the dist
directory of your project.
- Create a
srcdirectory in the root of your project and add aninput.cssfile to it.
This is the code for src/input.css.
@import 'tailwindcss/base'; @import 'tailwindcss/components'; @import 'tailwindcss/utilities';
- Start your tailwind CLI build process by running the following command from your terminal.
npx tailwindcss -i ./src/input.css -o ./dist/output.css --watch
- Create an
index.htmlfile in yourdistdirectory.
Here is the code for dist/index.html.
<!DOCTYPE html> <html> <head> <meta charset="UTF-8" /> <meta name="viewport" content="width=device-width, initial-scale=1.0" /> <link href="output.css" rel="stylesheet" /> </head> <body> <h1 class="text-3xl font-bold underline bg-green-200"> bobbyhadz.com </h1> </body> </html>
Notice that the link tag specifies the path to your output.css file.
<link href="output.css" rel="stylesheet" />
The index.html and output.css files are both located in the dist/
directory, so we can use a relative path.
- Change your terminal to the
distdirectory.
cd dist
- Once your terminal is in the
distdirectory, start your development server.
npx serve .
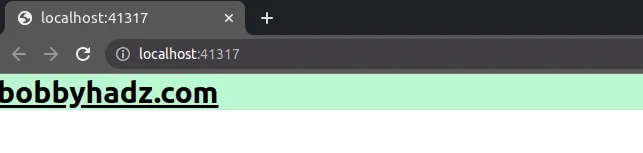
If I open my development server, I can see that the tailwind classes have been applied.
- Make a change to your
dist/index.htmlfile.
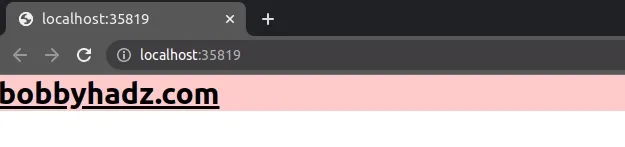
For example, change the background color of the h1 element to bg-red-200.
<!DOCTYPE html> <html> <head> <meta charset="UTF-8" /> <meta name="viewport" content="width=device-width, initial-scale=1.0" /> <link href="../output.css" rel="stylesheet" /> </head> <body> <h1 class="text-3xl font-bold underline bg-red-200"> bobbyhadz.com </h1> </body> </html>
Save the file and switch to your browser.
Note that the tailwind build command has to always be running in the background. It watches your files and rebuilds your CSS when it changes.
npx tailwindcss -i ./src/input.css -o ./dist/output.css --watch
To not have to remember the command, it is best to add it as a script to your
package.json.
{ "scripts": { "build-tailwind": "npx tailwindcss -i ./src/input.css -o ./dist/output.css --watch" }, }
Now you can issue the npm run build-tailwind command instead of having to
remember the long tailwindcss command.
npm run build-tailwind
If you forget to run your npx tailwindcss (or npm run build-tailwind)
command, tailwind won't watch for changes in your dist/index.html and
src/index.css files and won't build the output CSS file at dist/output.css.
The example above assumes that you use the following folder structure.
tailwind-project/ └── dist/ └── index.html └── output.css └── src/ └── input.css └── tailwind.config.js
# Configuring Tailwind with Create-React-App
If you have issues when using tailwind with create-react-app:
- Create your React application by running the following command.
npx create-react-app tailwind-react
- Change your terminal to your project directory.
cd tailwind-react
- Install
tailwindcss.
npm install -D tailwindcss
- Initialize your
tailwind.config.jsfile.
npx tailwindcss init
- Add the following code to your
tailwind.config.jsfile.
/** @type {import('tailwindcss').Config} */ module.exports = { content: ['./src/**/*.{js,jsx,ts,tsx}'], theme: { extend: {}, }, plugins: [], };
The example above assumes that your source files are placed in your src/
directory and have .js, .jsx, .ts or .tsx extensions.
- Add the following tailwind directives to your
src/index.cssfile.
@tailwind base; @tailwind components; @tailwind utilities;
- Make sure your
index.cssfile is imported into yourindex.jsfile.
import './index.css';
- Issue the
npm run startcommand from the root of your project.
npm run start
- Add the following code to your
src/App.jsfile.
export default function App() { return ( <h1 className="text-3xl font-bold underline bg-red-200"> bobbyhadz.com </h1> ); }
- Open your React development server.
If I visit http://localhost:3000, I can see that the tailwind CSS classes are loaded successfully.

- Make a change to your
src/App.jsfile to change the background color of theh1element.
export default function App() { return ( <h1 className="text-3xl font-bold underline bg-green-200"> bobbyhadz.com </h1> ); }
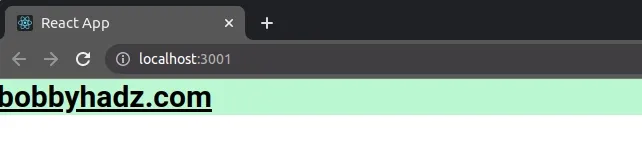
If I save the file and switch to my browser, I can see that the change has been applied and the background color is now green.
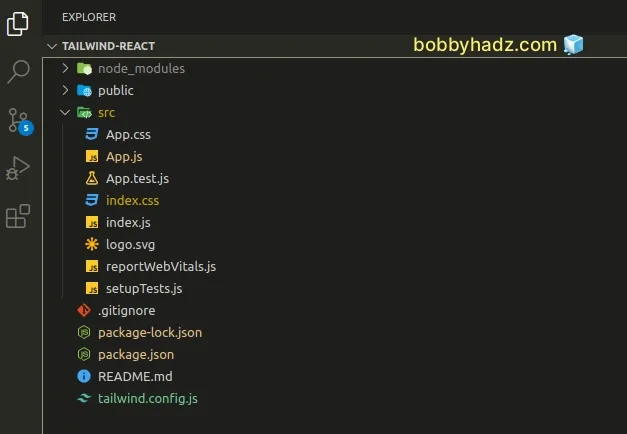
The example assumes that you have the following project structure:
tailwind-react/ └── tailwind.config.js └── src/ └── index.css └── index.js └── App.js
If you get the warning "Unknown at rule @tailwindcss(unknownAtRules) warning" in
your .css file, check out the
following article.
# Additional Resources
You can learn more about the related topics by checking out the following tutorials:
- Cannot find module 'tailwindcss' error [Solved]
- How to Change Text color on Mouseover in JavaScript
- Add a class to the Clicked Element using JavaScript
- Check if Element was Clicked using JavaScript
- Hide element when clicked outside using JavaScript
- Set min-margin, max-margin, min-padding & max-padding in CSS
- How to adjust a Button's width to fit the Text in CSS
- Tailwind CSS extending colors not working [Solutions]

