How to highlight modified lines in Visual Studio Code
Last updated: Apr 6, 2024
Reading time·3 min

# How to highlight modified lines in Visual Studio Code
To highlight the modified lines in Visual Studio Code:
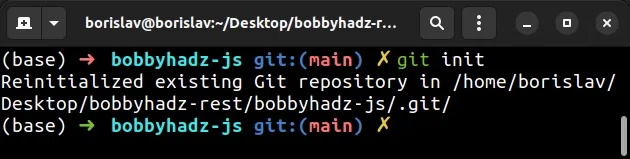
- Initialize a git repository with the
git initcommand.
git init
If you need to open VS Code in the current directory, use the following command.
code .
Make changes to a specific file.
You can stage and commit the changes with the following commands.
git add . git commit -m 'your commit message'
- If you make changes again to the files you track with version control, the modified lines will be highlighted.
In order to highlight the modified lines in VS Code, you have to use version control (Git).
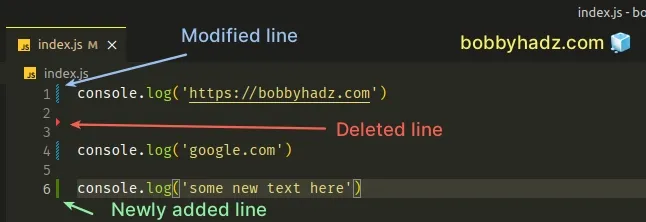
Notice that there are left borders with multiple different colors depending on the modification.
- A blue bar to the left means that the lines have been modified. In other words, you previously staged and committed the code and have since made modifications.
- A green bar to the left means that the lines have been added. In other words, the last time you committed your changes, these lines were not in the file.
- The red triangle to the left is placed where lines have been deleted.
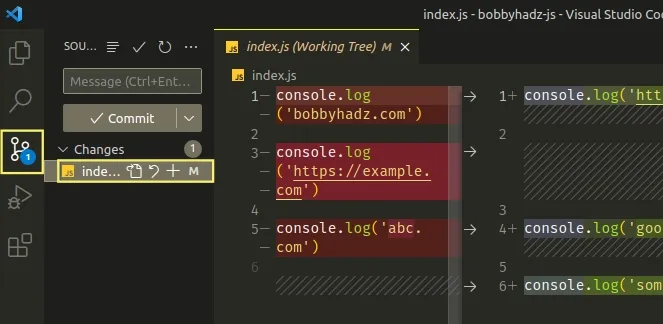
You can view the exact changes that were made to the file by:
Clicking on Source Control in the left sidebar.
Selecting the specific file.
You can also focus the Source Control view with a keyboard shortcut:
Ctrl+Shift+G(works on Windows, macOS and Linux).
Once you select the file a side-by-side view opens where you can view the changes you've made to the file since the last commit.
# Unstage your changes if you don't see the modified lines
Note that if you stage the file, the highlighting of the modified lines disappears.
You can either stage a file with git add . or by clicking on the + icon next
to the file's name in the Source Control pane on the left.
Here is a short clip that demonstrates how this works.

You can also stage and unstage files using the terminal.
git add . git status git restore --staged .
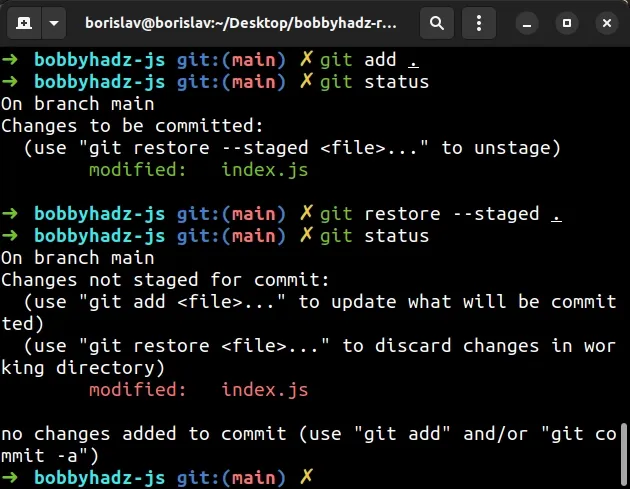
Note that if the file is staged, you won't see the highlighting of the modified lines.
If you still aren't able to see the modified lines after unstaging your files, try to restart VS Code.
I've also written a detailed guide on the
meaning of the U and M file markers
in the left sidebar in VS Code when working with Git.
# Additional Resources
You can learn more about the related topics by checking out the following tutorials:
- What is the .vscode folder and should you Commit it to Git
- VS Code: Hide specific Files/Folders from the Left Sidebar
- Hide or Show the Sidebar or the Activity Bar in VS Code
- Changing the Git user or the GitHub account in VS Code
- What is the .vscode folder and should you Commit it to Git
- VS Code: Git not found. Install it or configure it using the 'git.path' setting
- How to view the Git History in Visual Studio Code
- Please clean your repository working tree before checkout
- How to rename a Directory or a File on the GitHub website

