Python: How to center the Title in Plotly [3 Ways]
Last updated: Apr 12, 2024
Reading time·3 min

# Python: How to center the Title in Plotly
To center the title in Plotly:
- Call the
fig.update_layout()method. - Set the
title_xargument to0.5. - The
title_xargument is a number between 0 and1and sets thexposition of the title.
import plotly.express as px df = px.data.iris() fig = px.scatter( df, x="sepal_length", y="sepal_width", color="species", title="Example title here" ) fig.update_layout(title_text='Example title', title_x=0.5) fig.show()
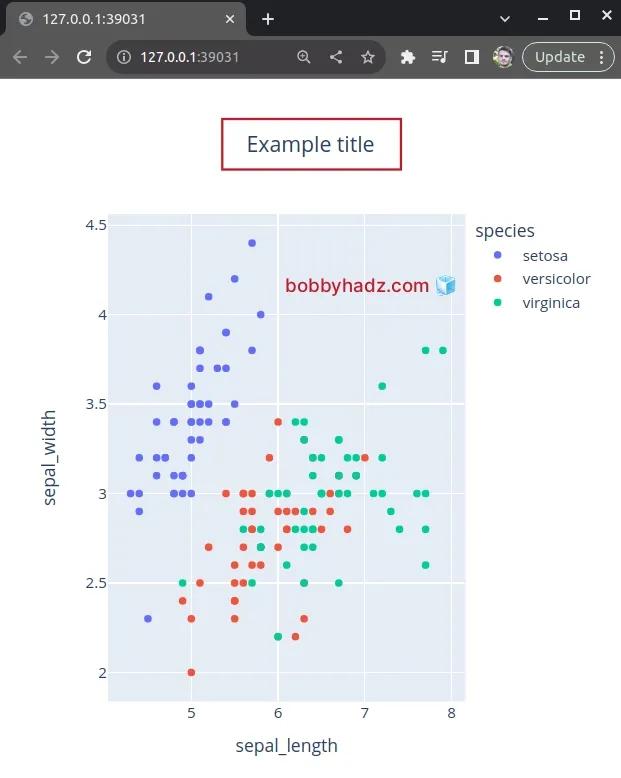
The code sample uses the fig.update_layout() method to center the title.
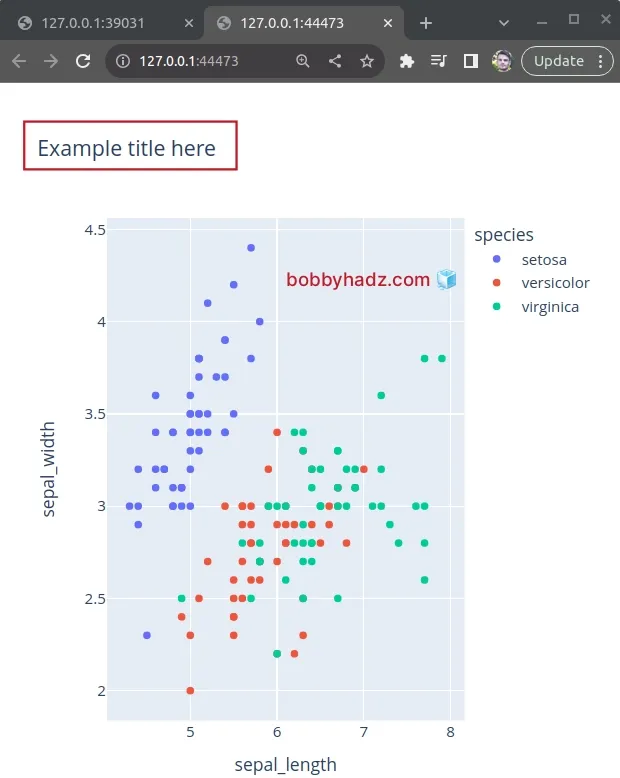
If I remove the method call from the code sample, the title won't be centered.
import plotly.express as px df = px.data.iris() fig = px.scatter( df, x="sepal_length", y="sepal_width", color="species", title="Example title here" ) fig.show()
The following line centers the plot's title.
fig.update_layout(title_text='Example title', title_x=0.5)
The title_text argument is a string that sets the plot's title.
The title_x argument is a number between or equal to 0 and 1.
The number sets the x position from 0 (left) to 1 (right).
We set the title_x argument to 0.5 to center the title but you can play
around with the value depending on your needs.
# You can also pass a dictionary with the title key to fig.update_layout()
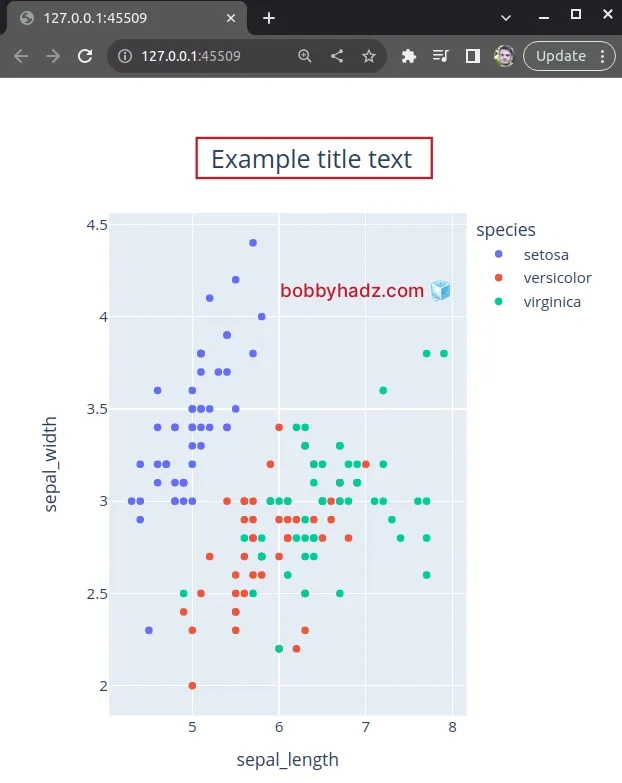
If you need to be more specific when centering the title, you can also pass a
nested dictionary when calling fig.update_layout().
import plotly.express as px df = px.data.iris() fig = px.scatter( df, x="sepal_length", y="sepal_width", color="species", title="Example title here" ) fig.update_layout( { 'title': { 'text': 'Example title text', 'x': 0.5, 'xanchor': 'center', 'yanchor': 'top', 'font': {'size': 20}, } } ) fig.show()
Notice that the dictionary we passed to the method has a title key that stores
a nested dict.
Since the outer dictionary already has the title key, notice that we didn't
use the title_ prefix in the inner dict's keys.
For example, title_text becomes text and title_x becomes x.
fig.update_layout( { 'title': { 'text': 'Example title text', 'x': 0.5, 'xanchor': 'center', 'yanchor': 'top', 'font': {'size': 20}, } } )
The xanchor argument can be set to one of "auto", "left", "center" and
"right".
The argument sets the legend's horizontal position anchor.
x position to the center of the legend.By default, the argument is set to "left".
The yanchor argument can be one of "auto", "top", "middle" and
"bottom".
The font key is a dictionary that may have the color, family and size
keys.
You can view all of the available keys of the title dictionary in
this section of the plotly docs.
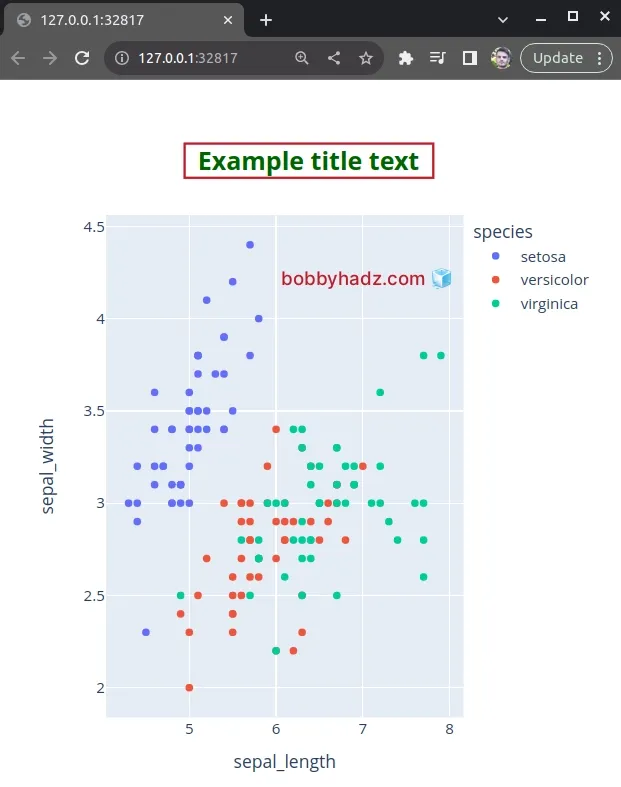
You can also style the Plotly Express title in different ways.
For example, you can wrap the title text in a <b> tag to bold it.
import plotly.express as px df = px.data.iris() fig = px.scatter( df, x="sepal_length", y="sepal_width", color="species", title="Example title here" ) fig.update_layout( { 'title': { 'text': '<b>Example title text</b>', 'x': 0.5, 'xanchor': 'center', 'yanchor': 'top', 'font': {'size': 20, 'color': 'darkgreen'}, } } ) fig.show()
I also set the color key under font to darkgreen.
# Additional Resources
You can learn more about the related topics by checking out the following tutorials:
- ValueError: Index contains duplicate entries, cannot reshape
- Pandas: How to Query a Column name with Spaces
- Annotate Bars in Barplot with Pandas and Matplotlib
- Pandas: Create a Tuple from two DataFrame Columns
- RuntimeError: Expected scalar type Float but found Double
- ValueError: Expected object or value with
pd.read_json() - How to convert an HSV color to RGB in Python

