Get the Value/Text of Select or Dropdown on Change using JS
Last updated: Mar 5, 2024
Reading time·3 min

# Get the Value/Text of Select or Dropdown on Change
To get the value and text of a select element on change:
- Add a
changeevent listener to the select element. - Use the
valueproperty to get the value of the element, e.g.select.value. - Use the
textproperty to get the text of the element, e.g.select.options[select.selectedIndex].text.
Here is the HTML for the examples.
<!DOCTYPE html> <html lang="en"> <head> <title>bobbyhadz.com</title> <meta charset="UTF-8" /> </head> <body> <select id="select" style="font-size: 3rem"> <option value="">--Choose an option--</option> <option value="horse">Horse 🐴</option> <option value="wolf">Wolf 🐺</option> <option value="fox">Fox 🦊</option> </select> <script src="index.js"></script> </body> </html>
And here is the related JavaScript code.
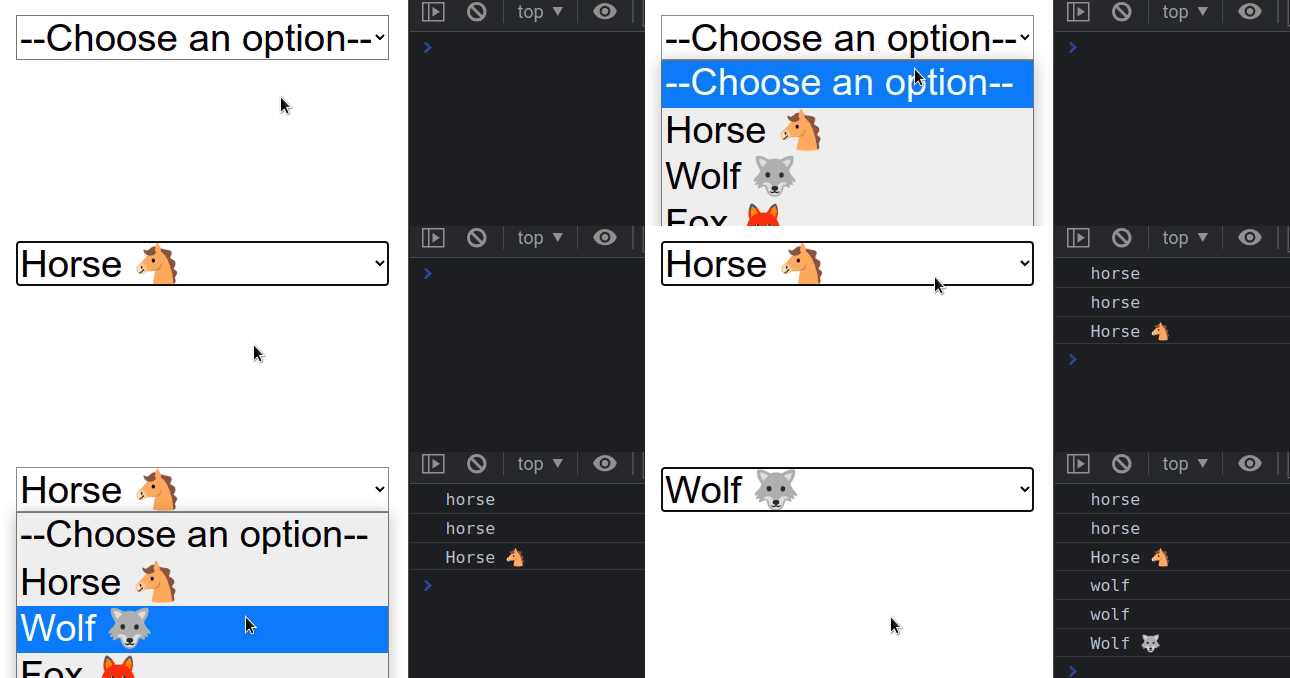
const select = document.getElementById('select'); select.addEventListener('change', function handleChange(event) { console.log(event.target.value); // 👉️ get selected VALUE // 👇️ get selected VALUE even outside event handler console.log(select.options[select.selectedIndex].value); // 👇️ get selected TEXT in or outside event handler console.log(select.options[select.selectedIndex].text); });

We added a change event listener to the
select
element.
handleChange function gets invoked.We used the
target property
on the event object. The target property is a reference to the object
(element) on which the event was dispatched.
In the example, the event.target property points to the select element,
because that is the element on which the event was dispatched.
# Read or set the value of a select element
The value property allows us to read or set the value of the select element.
const select = document.getElementById('select'); // ✅ Read value console.log(select.value); // 👉️ "" // ✅ Set value select.value = 'fox'; console.log(select.value); // 👉️ "fox"
option elements.The options property on the select element returns an array-like object that
contains all of the options of the select element.
const select = document.getElementById('select'); console.log(select.options); // 👉️ [option, option, option, option] select.addEventListener('change', function handleChange(event) { console.log(select.options); // 👉️ [option, option, option, option] });
# Get the index of the currently selected option element
We can use the selectedIndex property to get the index of the currently
selected option.
const select = document.getElementById('select'); console.log(select.selectedIndex); select.addEventListener('change', function handleChange(event) { console.log(select.selectedIndex); });

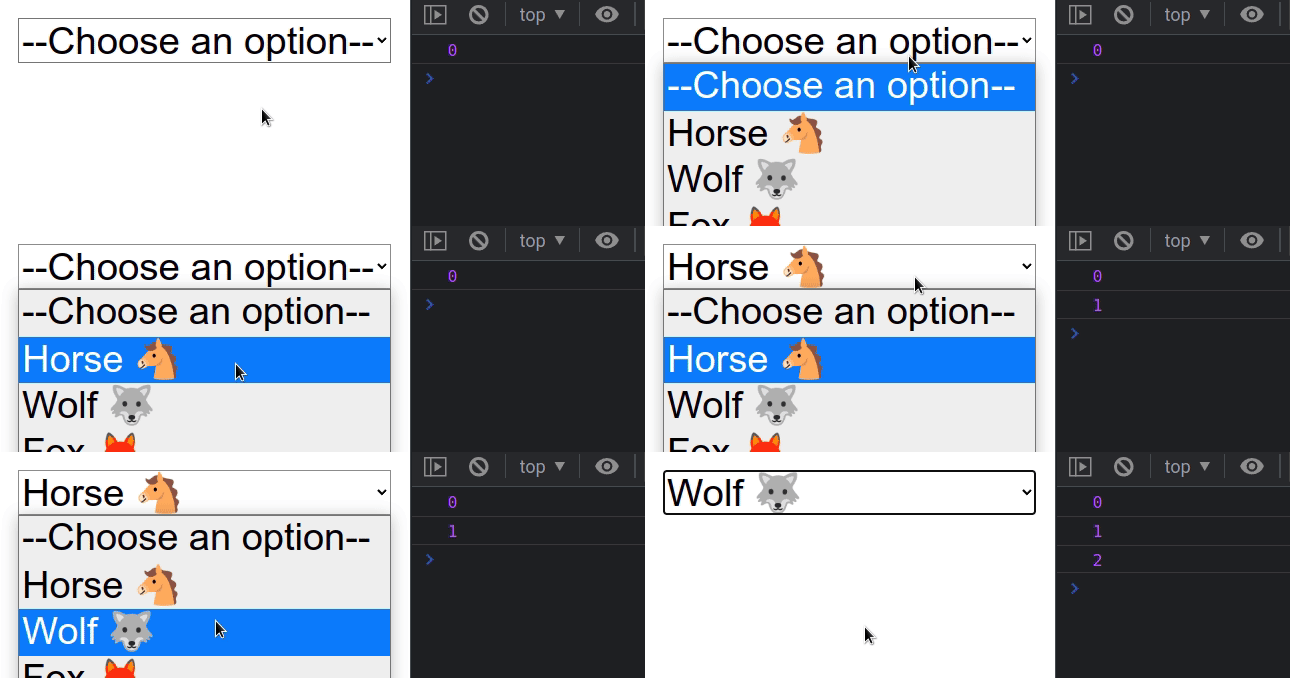
Initially it is set to 0, but if you console.log the selectedIndex in the
handleChange function and change the selected element, you will see the index
change.
# Get the text and value of the selected option using the index
The selectedIndex property can be used to get the index of the currently
selected option element. The index can be used to get the element's value
and text.
const select = document.getElementById('select'); select.addEventListener('change', function handleChange(event) { // 👇️ get selected VALUE even outside event handler console.log(select.options[select.selectedIndex].value); // 👇️ get selected TEXT in or outside an event handler console.log(select.options[select.selectedIndex].text); });
This approach can be used both inside and outside of an event handler function.
I've also written an article on how to set the value of a select element.
# Additional Resources
You can learn more about the related topics by checking out the following tutorials:

