How to edit the Title of an Alert Box in JavaScript
Last updated: Mar 7, 2024
Reading time·4 min

# How to edit the Title of an Alert Box in JavaScript
It is not possible to edit the title of a native alert in JavaScript.
However, you can use the sweetalert2 package to create a custom alert on
which you can set the title.
You can install the sweetalert module using NPM or YARN.
# with NPM npm install sweetalert2 # or with YARN yarn add sweetalert2
Or you can insert the following script into your HTML file.
Here is a simple example using vanilla JavaScript.
<!DOCTYPE html> <html lang="en"> <head> <meta charset="UTF-8" /> <script src="https://cdn.jsdelivr.net/npm/sweetalert2@11"></script> </head> <body> <h2>bobbyhadz.com</h2> <script src="index.js"></script> </body> </html>
And here is the related index.js file.
Swal.fire({ title: 'Informational Alert!', text: 'Some important information', icon: 'info', confirmButtonText: 'OK', });
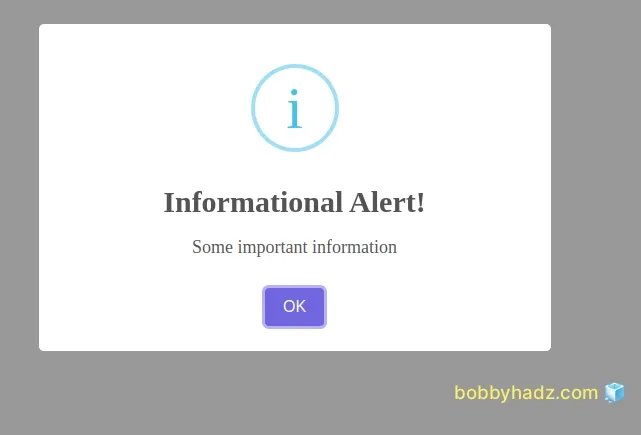
If you use the ES6 import/export syntax into a React.js, Vue or Angular app, you can import and use the module as follows.
// 👇️ using ES6 import/export syntax import Swal from 'sweetalert2' Swal.fire({ title: 'Informational Alert!', text: 'Some important information', icon: 'info', confirmButtonText: 'OK', });
If you use the CommonJS require() syntax, you would use the following import
statement.
// 👇️ using commonJS require() const Swal = require('sweetalert2')
The module also has additional packages that extend its functionality for:
Let's go over the configuration object that is passed to the Swal.fire()
method.
I'll use Vanilla JS for the examples, however, you can use any other of the supported libraries.
This is my basic HTML file.
<!DOCTYPE html> <html lang="en"> <head> <meta charset="UTF-8" /> <script src="https://cdn.jsdelivr.net/npm/sweetalert2@11"></script> </head> <body> <h2>bobbyhadz.com</h2> <script src="index.js"></script> </body> </html>
And this is my starter index.js file.
Swal.fire({ title: 'Informational Alert!', text: 'Some important information', icon: 'info', confirmButtonText: 'OK', });

The first property we set in the object we passed to Swal.fire() is the
title of the popup.
You can customize the title's value according to your needs.
You can even use HTML tags in the title.
Swal.fire({ title: 'My <u>very</u> <i>long title</i>', text: 'Some important information - bobbyhadz.com', icon: 'info', confirmButtonText: 'OK', });
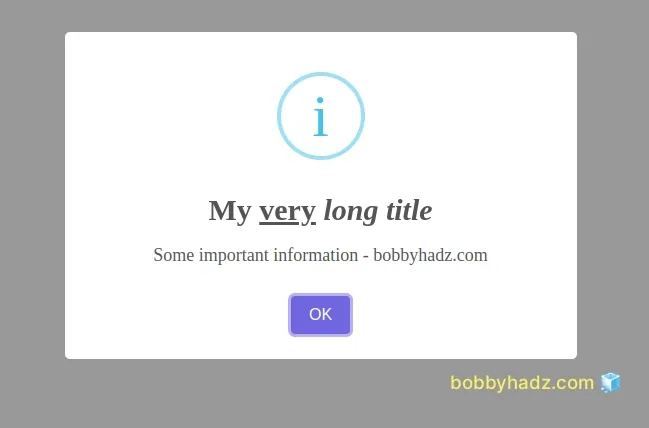
You can also a template literal string if you need to embed variables into the title string.
const fullName = 'Bobby Hadz'; Swal.fire({ title: `Hello ${fullName}!`, text: 'Some important information - bobbyhadz.com', icon: 'info', confirmButtonText: 'OK', });
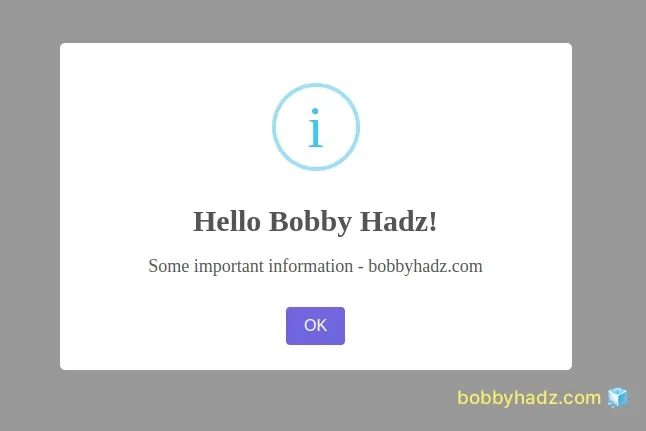
Note that template literals are wrapped in backticks `, not single quotes.
The dollar sign curly braces ${} syntax is used to embed an expression into
the string.
The title property can also contain HTML tags, so the package also enables you
to set a titleText property if you want to disallow the use of HTML tags in
the title.
Swal.fire({ titleText: 'Some title text here', text: 'Some important information - bobbyhadz.com', icon: 'info', confirmButtonText: 'OK', });
This is useful if you happen to take user input to construct the title of the popup.
When using the titleText property, you are not susceptible to HTML injection.
The text property is used to set the alert text that is right below the title.
Swal.fire({ title: 'Some title text here', text: 'Your alert text here - bobbyhadz.com', icon: 'info', confirmButtonText: 'OK', });
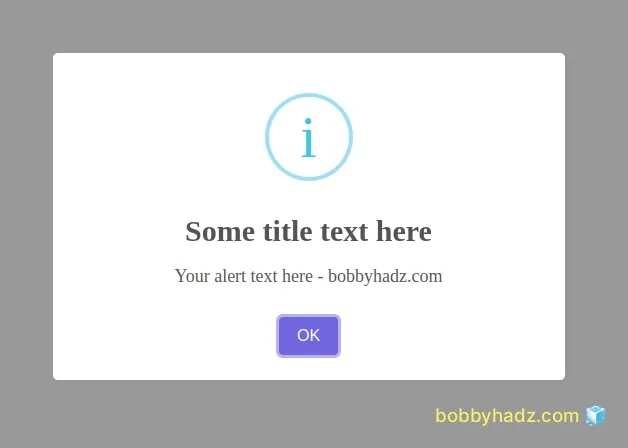
The icon property is used to set the icon of the popup.
You can set the property to the following values:
warningerrorsuccessinfoquestion
Here is an example that uses the error icon.
Swal.fire({ title: 'Some error title text here', text: 'Your alert text here - bobbyhadz.com', icon: 'error', confirmButtonText: 'OK', });
![]()
You can also set the iconColor property to set the color of the icon.
Swal.fire({ title: 'Some title text here', text: 'Your alert text here - bobbyhadz.com', icon: 'info', iconColor: 'lime', confirmButtonText: 'OK', });
![]()
The confirmButtonText is the text of the button that is displayed at the
bottom of the alert.
The Swal.fire() method returns a Promise, so you can use the .then() method
if you need to trigger an action after the Promise is resolved.
Swal.fire({ title: 'Are you sure?', text: "You won't be able to revert this!", icon: 'warning', showCancelButton: true, confirmButtonColor: '#3085d6', cancelButtonColor: '#d33', confirmButtonText: 'Yes, delete it!' }).then((result) => { if (result.isConfirmed) { Swal.fire( 'Deleted!', 'Your file has been deleted.', 'success' ) } })
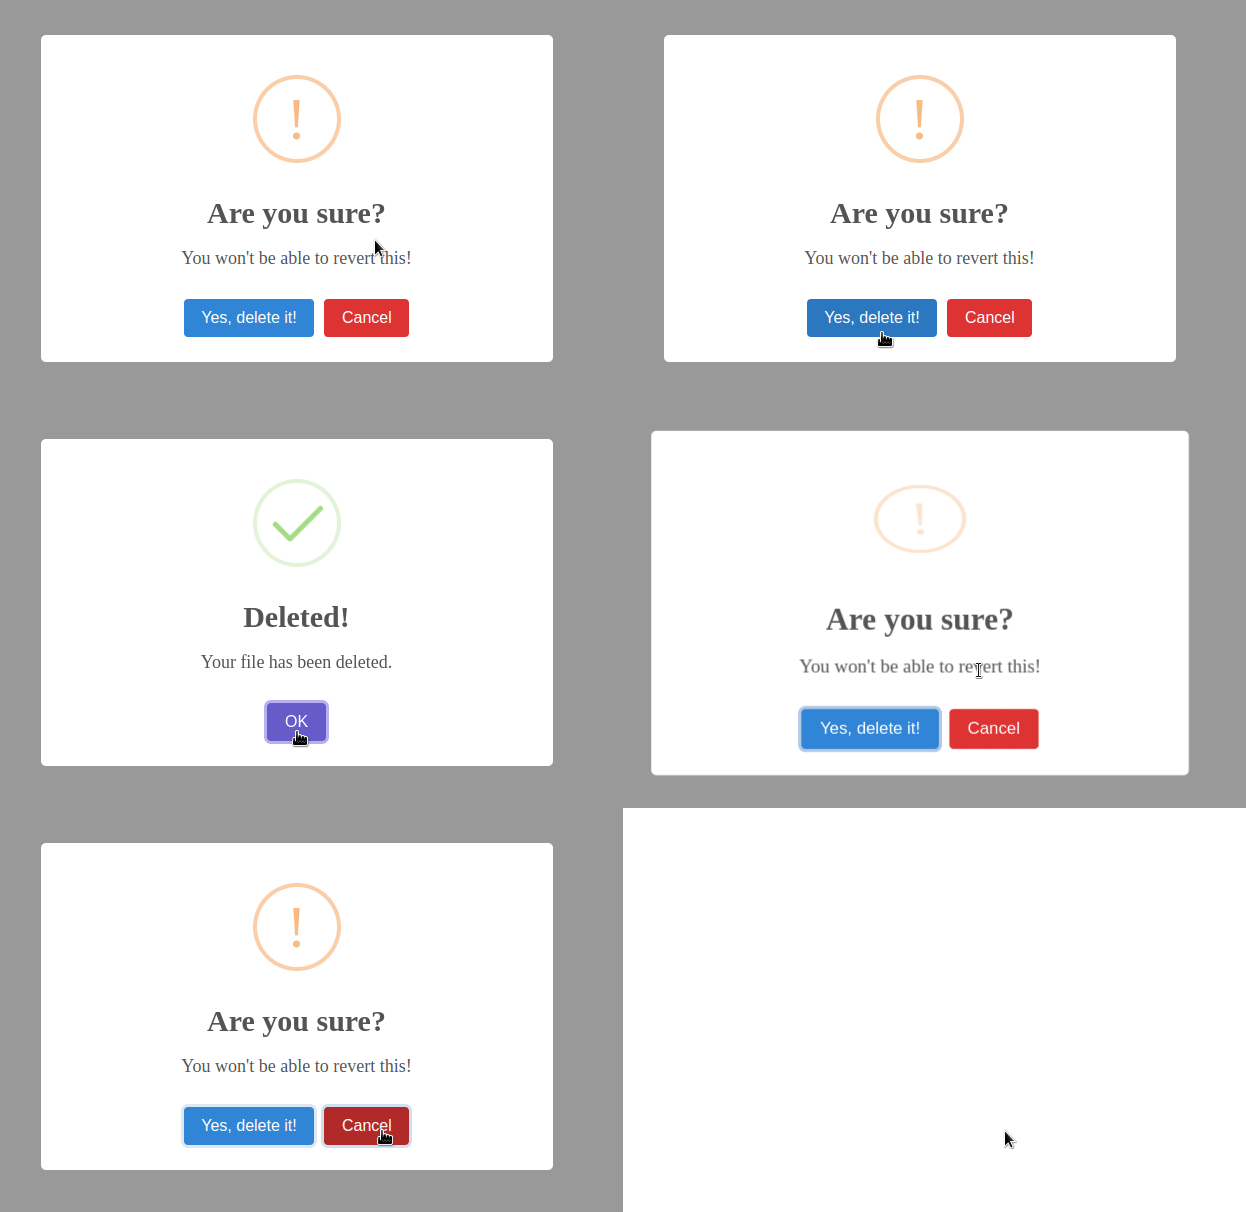
You can also use the async/await syntax to achieve the same result.
async function example() { const result = await Swal.fire({ title: 'Are you sure?', text: "You won't be able to revert this!", icon: 'warning', showCancelButton: true, confirmButtonColor: '#3085d6', cancelButtonColor: '#d33', confirmButtonText: 'Yes, delete it!', }); if (result.isConfirmed) { Swal.fire( 'Deleted!', 'Your file has been deleted.', 'success', ); } } example();
We await the Promise that is returned from the Swal.fire() method and check if
the user confirmed, in which case we show another alert.
You can view more examples of using the sweetalert2 module by visiting the
package's GitHub repository and
clicking on the Examples link.
# Additional Resources
You can learn more about the related topics by checking out the following tutorials:

