webpack: command not found error [Solved]
Last updated: Apr 4, 2024
Reading time·7 min
# Table of Contents
- webpack: command not found error
- webpack is not recognized as an internal or external command
- webpack-dev-server: command not found error
# webpack: command not found error
Use npx to solve the error "webpack: command not found", e.g. npx webpack
or install the package locally by running
npm install --save-dev webpack webpack-cli to be able to use the command in
the scripts section of your package.json file.

The fastest way to solve the error is to use the npx command.
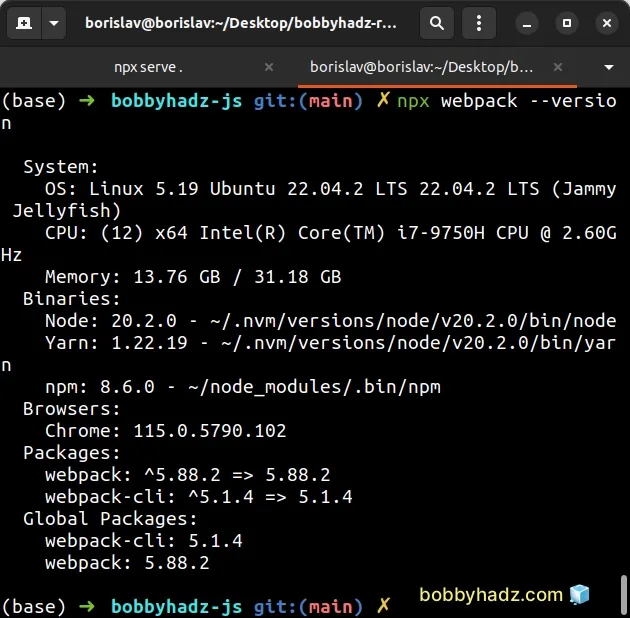
npx webpack npx webpack --version
Alternatively, you can install webpack locally. Open your terminal in your
project's root directory (where your package.json file is located) and run the
following commands:
npm install --save-dev webpack webpack-cli
This will add webpack to the development dependencies of your project.
Now you can use the webpack command in the scripts section of your
package.json file.
{ "scripts": { "build": "webpack --config webpack.config.js" } }
Now you would run the command as npm run build and not use webpack directly
in your terminal.
# Install webpack globally
If the error is not resolved, you can try to install webpack globally. Open
your terminal in your project's root directory (where your package.json file
is located) and run the following commands:
# ✅ Install `Webpack` globally npm install -g webpack webpack-cli # ✅ Create a symbolic link from the global package # to node_modules/ of current folder npm link webpack
The npm link command creates
a symbolic link from the globally installed package to the node_modules/
directory of the current folder.
Once you run the two commands, the error should be resolved.
sudo.# 👇️ If you got a permissions error, run with sudo sudo npm install -g webpack webpack-cli npm link webpack
# Delete your node_modules and reinstall your dependencies
If the error is not resolved, try to delete your node_modules and
package-lock.json (not
package.json) files, re-run npm install and restart your IDE.
# 👇️ delete node_modules and package-lock.json rm -rf node_modules rm -f package-lock.json # 👇️ delete dist or build (the directory where Webpack outputs files) rm -rf dist # 👇️ clean npm cache npm cache clean --force npm install
Make sure to also delete your dist or build folder if you have one. This is
where webpack outputs files.
If you still get the error, open your package.json file and make sure it
contains the webpack package in the devDependencies object.
{ // ... rest "devDependencies": { "webpack": "^5.71.0", "webpack-cli": "^4.9.2" // ... rest } }
You can try to manually add the line and re-run npm install.
npm install
Or install the latest version of the packages:
npm install --save-dev webpack@latest webpack-cli@latest
# webpack is not recognized as an internal or external command
Use npx to solve the error "webpack is not recognized as an internal or
external command, operable program or batch file", e.g. npx webpack or install
the package locally by running npm install --save-dev webpack webpack-cli to
use the command in your package.json file.
The fastest way to solve the error is to use the npx command.
npx webpack npx webpack --version
Alternatively, you can install webpack locally. Open your terminal in your
project's root directory (where your package.json file is located) and run the
following commands:
npm install --save-dev webpack webpack-cli
This will add webpack to the development dependencies of your project.
Now you can use the webpack command in the scripts section of your
package.json file.
{ "scripts": { "build": "webpack --config webpack.config.js" } }
Now you would run the command as npm run build and not use webpack directly
in your terminal.
# Installing webpack globally
If the error is not resolved, you can try to install webpack globally. Open
your terminal in your project's root directory (where your package.json file
is located) and run the following commands:
# ✅ Install Webpack globally npm install -g webpack webpack-cli # ✅ Create a symbolic link from the global package # to node_modules/ of current folder npm link webpack
The npm link command creates
a symbolic link from the globally installed package to the node_modules/
directory of the current folder.
Once you run the two commands, the error should be resolved.
npm install -g webpack webpack-cli npm link webpack
# Update the PATH on Windows
If that doesn't help, run the following command.
npm config get prefix
The command will show you the path where npm puts your globally installed
packages. The global packages will be in the bin directory at the specified
path.
Look at the PATH environment variable on your operating system and add the
path that the npm config get prefix command outputs if it's not already
there.
On Windows, the output of the npm config get prefix command will look
something like: C:\Users\Your_User_Name\AppData\Roaming\npm.
To update the PATH on a Windows machine, you have to:
- Open the start search and type in
envand then click "Edit the system environment variables" - Then click "Environment Variables"
- Edit the
Pathvariable and add the output you got from thenpm config get prefixcommand.
The path should look like C:\Users\Your_User_Name\AppData\Roaming\npm (make
sure to replace the Your_User_name placeholder with your actual username).
If you get the error "webpack cannot be loaded because running scripts is disabled on this system", open your PowerShell as an administrator and set its execution policy with the Set-ExecutionPolicy command.
Set-ExecutionPolicy -ExecutionPolicy RemoteSigned -Scope CurrentUser
Set-ExecutionPolicy command.This effectively removes the execution policy of Restricted, which doesn't
allow us to load configuration files or run scripts. The Restricted execution
policy is the default for Windows client computers.
If that doesn't help try to reinstall Node.js on your
machine and then install webpack globally by running
npm install -g webpack webpack-cli.
npm install -g webpack webpack-cli
webpack fails, you might have to open your command prompt as an administrator and rerun the command.Alternatively, you can see how you can fix the permissions error on this page in the official npm docs.
# webpack-dev-server: command not found error
To solve the error "webpack-dev-server: command not found", install the
package globally by running npm install -g webpack-dev-server and restart your
terminal.
If the command fails, run it with sudo and make sure the correct PATH is set
in your system's environment variable.

Open your terminal and install webpack-dev-server globally by running the following command.
# 👇️ install webpack-dev-server globally npm install -g webpack-dev-server # 👇️ install webpack-dev-server locally to your project npm install webpack-dev-server --save-dev
webpack-dev-server fails, you might have to run the command prefixed with sudo.# 👇️ if you got a permissions error npm install -g webpack-dev-server
# Run the command with npx
Alternatively, you can open your terminal in the directory where your
webpack.config.js file is and run the command npx webpack serve.
npx webpack serve --config webpack.config.js
# Update your PATH environment variable
If that doesn't help, run the following command:
npm config get prefix
The command will show you the path where npm puts your globally installed
packages. The global packages will be in the bin directory at the specified
path.
Look at the PATH environment variable on your operating system and add the
path that the npm config get prefix command outputs if it's not already
there.
If that didn't work, try to add the path to the bin folder (from
npm config get prefix) to your PATH environment variable and restart your
terminal.
For example, on macOS, you can update your path with the following command:
# make sure `path` matches with `npm config get prefix` export PATH=/usr/local/share/npm/bin:$PATH
And on Windows, the output of the npm config get prefix command will look
something like: C:\Users\Your_User_Name\AppData\Roaming\npm.
Edit the environment variable on your machine and add the specified path (replacing the placeholder with your username).
If you are on Linux, you can add the output from the npm config get prefix
command to your .bashrc file.
# 👇️ make sure to update the path with the output # from the command export PATH="/usr/local/share/npm/bin:$PATH"
If that doesn't help try to reinstall Node.js on your machine and then install
webpack-dev-server globally by running npm install -g webpack-dev-server.
# 👇️ install `webpack-dev-server` globally npm install -g webpack-dev-server
webpack-dev-server fails, you might have to run the command prefixed with sudo.# 👇️ if you got a permissions error sudo npm install -g webpack-dev-server
Alternatively, you can see how you can fix the permissions error on this page in the official npm docs.
# Additional Resources
You can learn more about the related topics by checking out the following tutorials:

