How to create and install Conda requirements.txt
Last updated: Apr 13, 2024
Reading time·4 min

# How to create and install Conda requirements.txt
There are multiple ways used to create a Conda requirements.txt file.
If you need to be able to install the requirements.txt file in conda
environments, use the conda list -e > requirements.txt command.
conda list -e > requirements.txt
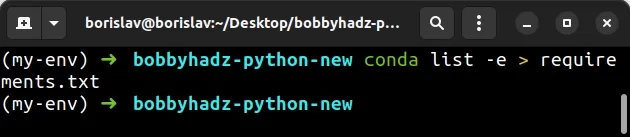
The conda list command lists the installed packages.
The -e or --explicit flag outputs the packages in a format that is suitable
for a requirements.txt file.
conda list -e
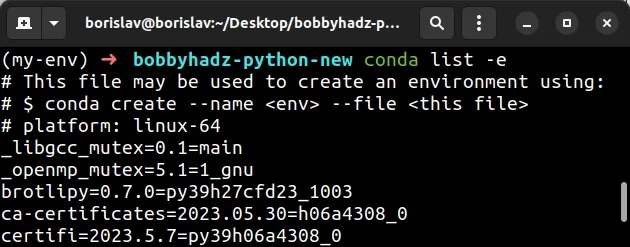
The > bracket redirects the output of the command to a requirements.txt
file.
conda list -e > requirements.txt
# Installing the packages from the requirements.txt file
You can then use this requirements.txt file to install the specified packages.
conda install --file requirements.txt
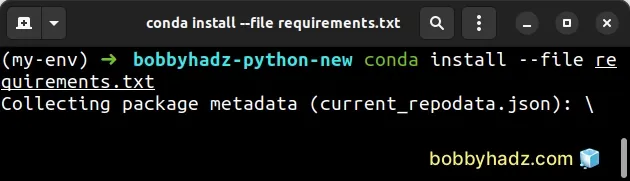
The --file flag enables you to specify a requirements.txt file when using
the conda install command.
Make sure your terminal is located in the same directory as your
requirements.txt file.
# Creating a Conda virtual environment from your requirements.txt file
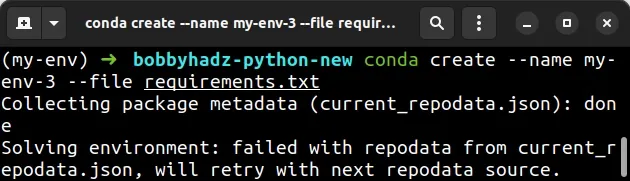
You can also use the --file flag to create a conda virtual environment from
your requirements.txt file.
conda create --name <ENV_NAME> --file requirements.txt
# The requirements.txt file from conda list is not suited for pip
Note that the requirements.txt file created from the
conda list -e > requirements.txt command is not suited to be pip installed.
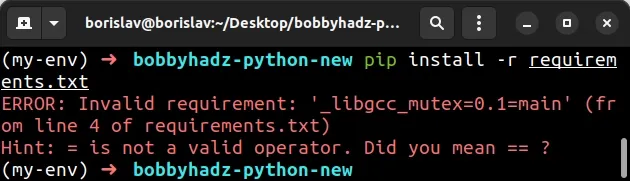
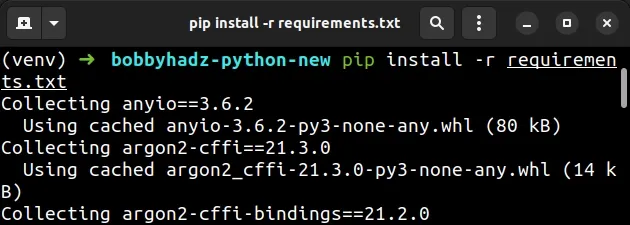
In fact, if you try to run the pip install -r requirements.txt command, you'd
get an error.
# ERROR: Invalid requirement: '_libgcc_mutex=0.1=main' (from line 4 of requirements.txt) # Hint: = is not a valid operator. Did you mean == ? pip install -r requirements.txt
# Creating a requirements.txt file that is suitable for pip install
If you need to create a requirements.txt file that is suitable for
pip install -r requirements.txt:
- Make sure you have a
condaenvironment active.
# 1) If you need to create a Conda environment conda create --name my-env # 2) If you need to activate a Conda environment conda activate my-env
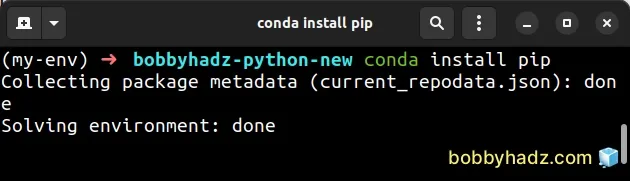
- Install
pipin yourcondaenvironment.
conda install pip
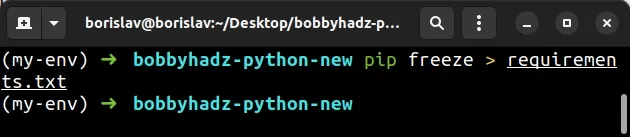
- Use
pipto create your requirements.txt file.
pip freeze > requirements.txt
NOTE: Open your
requirements.txtfile and check the formatting.
On some operating systems, you might get strange paths in your
requirements.txt file.
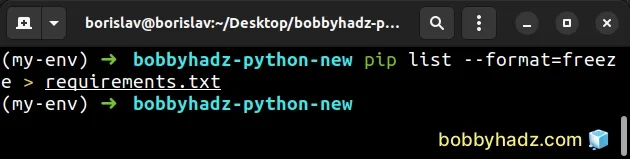
If that is the case, issue the following command instead.
pip list --format=freeze > requirements.txt
Your requirements.txt file should be formatted as package-name==X.Y.Z.
For example:
PySocks==1.7.1 python-dateutil==2.8.2 python-json-logger==2.0.7 PyYAML==6.0 pyzmq==25.0.0
Now you can use the requirements.txt file to install the modules inside a
virtual environment.
- Create a virtual environment if you don't already have one.
Issue the command that corresponds to your Python installation and operating system.
python -m venv venv # Or with python3 python3 -m venv venv # Or using py alias (Windows) py -m venv venv
- Activate the virtual environment.
# activate on Unix or MacOS source venv/bin/activate # activate on Windows (cmd.exe) venv\Scripts\activate.bat # activate on Windows (PowerShell) venv\Scripts\Activate.ps1
- Install the modules from your
requirements.txtfile.
pip install -r requirements.txt
If you get an error that contains specific package names, open your
requirements.txt file and delete every line that is not formatted as
package-name==X.Y.Z.
The format on all lines of your requirements.txt file should be
package-name==VERSION.
If you continue to run into path errors:
- Make sure you have a
condaenvironment active.
# 1) If you need to create a Conda environment conda create --name my-env # 2) If you need to activate a Conda environment conda activate my-env
- Install
pipin yourcondaenvironment.
conda install pip
- Set the
--formatparameter tofreezewhen creating yourrequirements.txtfile.
pip list --format=freeze > requirements.txt
Then repeat the steps from before.
- Create a virtual environment if you don't already have one.
Issue the command that corresponds to your Python installation and operating system.
python -m venv venv # Or with python3 python3 -m venv venv # Or using py alias (Windows) py -m venv venv
- Activate the virtual environment.
# activate on Unix or MacOS source venv/bin/activate # activate on Windows (cmd.exe) venv\Scripts\activate.bat # activate on Windows (PowerShell) venv\Scripts\Activate.ps1
- Install the modules from your
requirements.txtfile.
pip install -r requirements.txt
When you are in a conda environment, you can also use the pip freeze and
pip list --format freeze commands to see what output you get.
In my experience, the pip list --format freeze command produces legible
requirements.txt files and pip freeze often produces erroneous output.
Here is an example of issuing pip freeze in a conda environment.
pip freeze
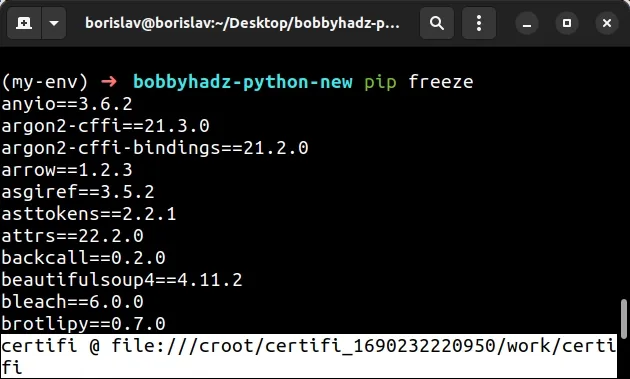
Notice that the last package in the output is not formatted correctly.
All packages should be formatted as package-name==version-number.
If I run the pip list --format freeze command, everything works as expected.
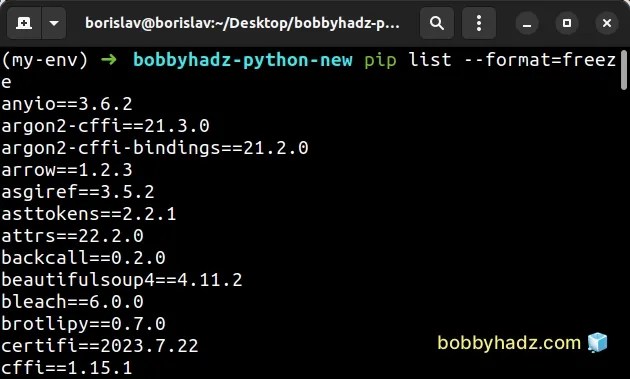
If you need to redirect the output to a requirements.txt file, use
> requirements.txt.
pip list --format=freeze > requirements.txt
# Additional Resources
You can learn more about the related topics by checking out the following tutorials:

