How to set a Placeholder on a Select tag in React
Last updated: Apr 7, 2024
Reading time·2 min

# How to set a Placeholder on a Select tag in React
To set a placeholder on a select tag in React:
- Set the first option element of the
selecttag todisabledand give it an empty string value. - Initialize the state for the
selecttag to an empty string.
import {useState} from 'react'; const App = () => { // 👇️ Initial value of empty string (first option) const [selected, setSelected] = useState(''); const handleChange = event => { console.log('Label 👉️', event.target.selectedOptions[0].label); console.log(event.target.value); setSelected(event.target.value); }; return ( <div> <select value={selected} onChange={handleChange}> <option disabled={true} value=""> --Choose and option-- </option> <option value="apple">Apple 🍏</option> <option value="banana">Banana 🍌</option> <option value="kiwi">Kiwi 🥝</option> </select> </div> ); }; export default App;

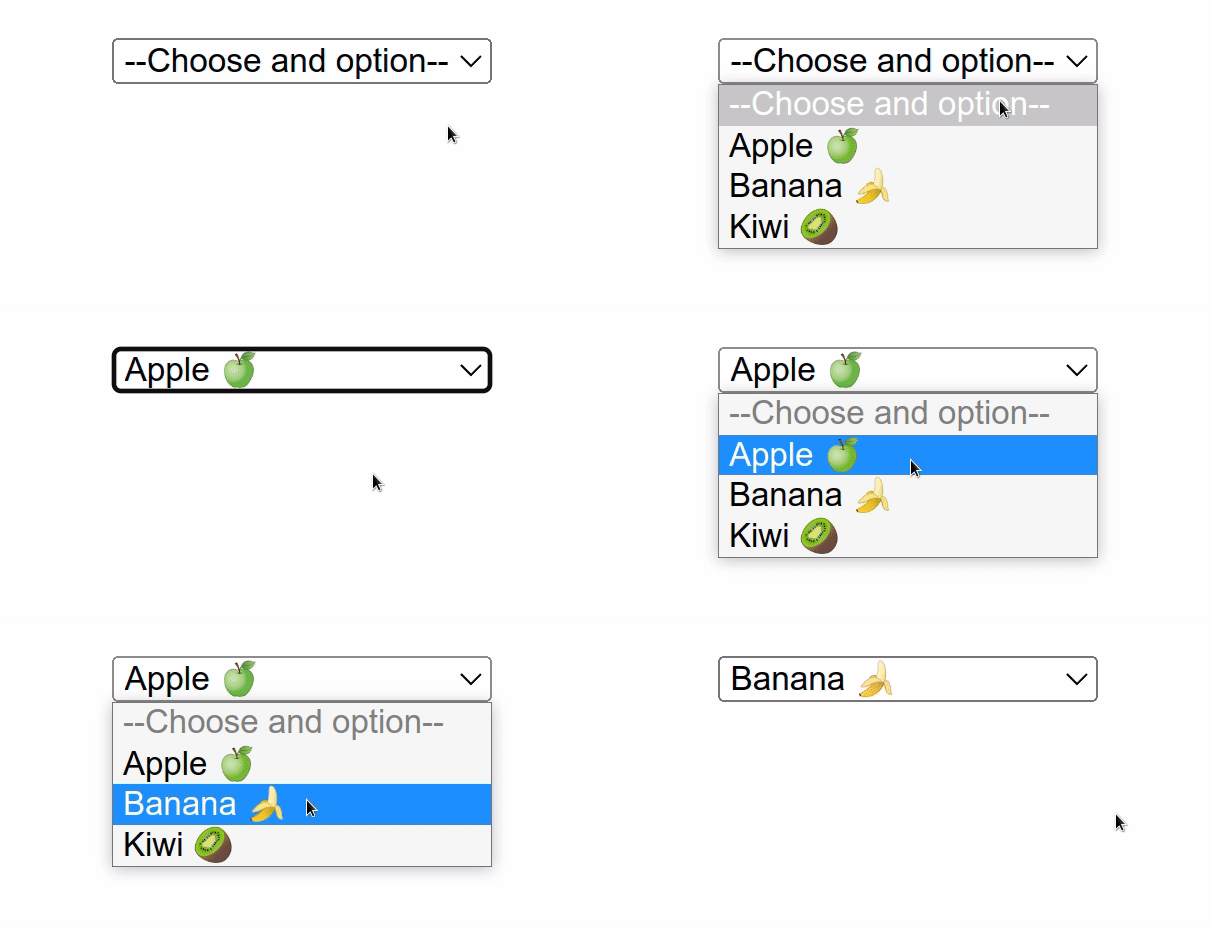
We added a placeholder for a select tag in React.
Notice that we initialized the selected state to "" (empty string).
const [selected, setSelected] = useState('');
The next step is to set the first option tag to disabled and give it a value
of an empty string.
<div> <select value={selected} onChange={handleChange}> <option disabled={true} value=""> --Choose and option-- </option> <option value="apple">Apple 🍏</option> <option value="banana">Banana 🍌</option> <option value="kiwi">Kiwi 🥝</option> </select> </div>
The first option element will initially be shown but the user isn't going to be
able to select the option with their mouse or keyboard because we set the
disabled prop to true.
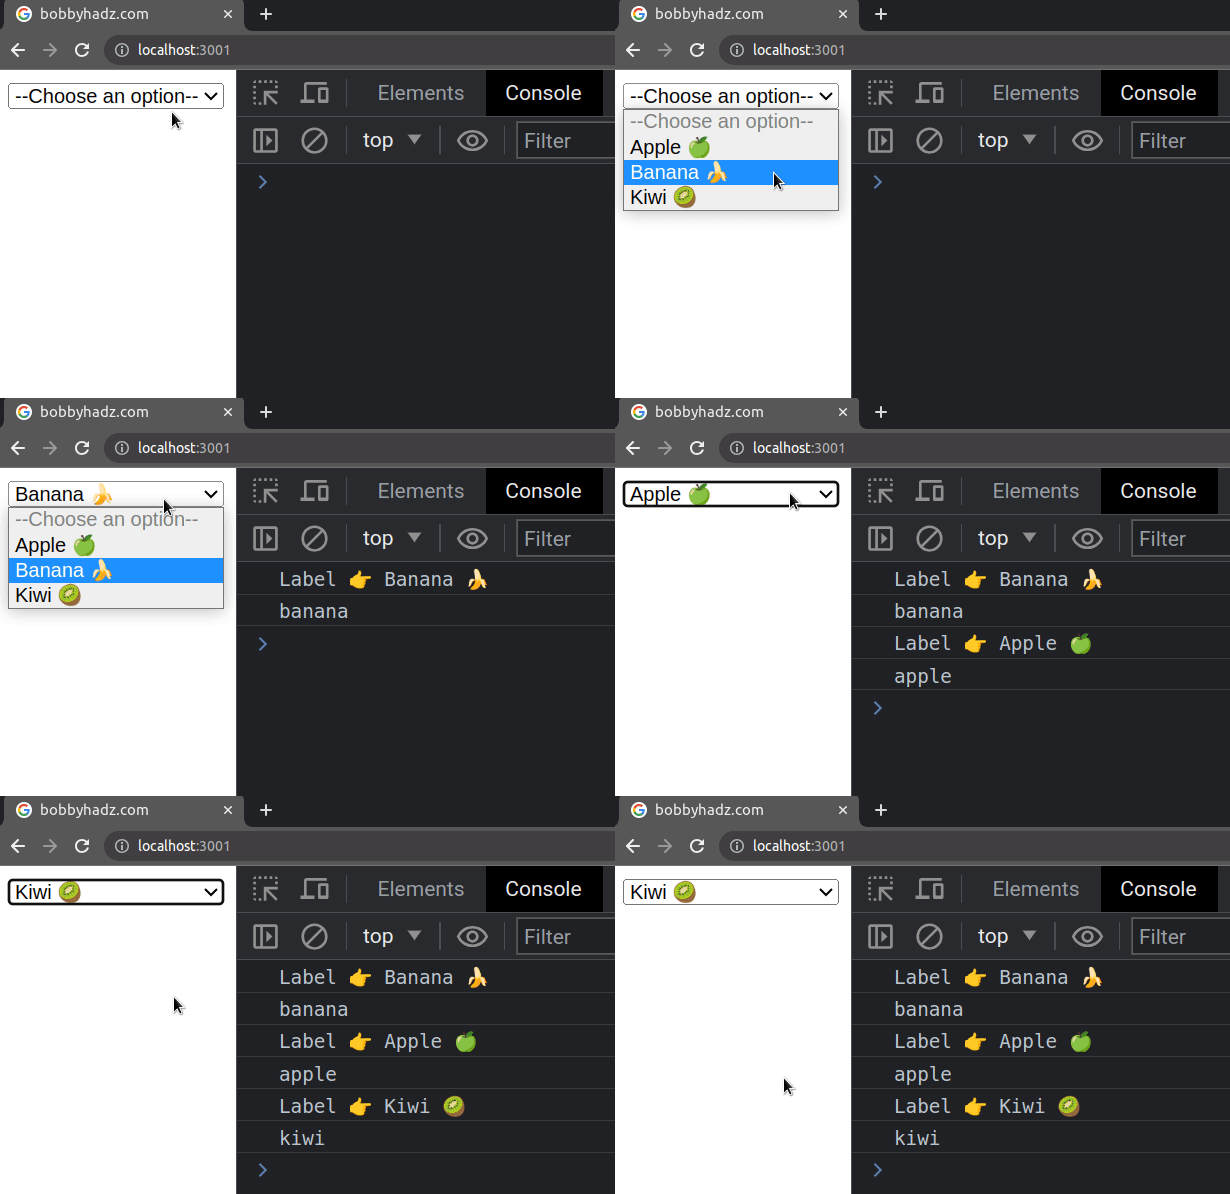
We set the onChange prop on the select element, so every time its value is
changed, the handleChange function is invoked.
const handleChange = event => { console.log('Label 👉️', event.target.selectedOptions[0].label); console.log(event.target.value); setSelected(event.target.value); };
The target property on the event object refers to the select element, so
we can access the selected value as event.target.value.
In our handleChange function, we simply update the state with the value of the
selected option.
If you want to read more on how to handle the onChange even on a select
element, check out the following article.
# Iterating over an options array
You can also add the options to an array and use the map() method to iterate
over them to not repeat yourself.
import {useState} from 'react'; const App = () => { const options = [ {value: '', text: '--Choose an option--', disabled: true}, {value: 'apple', text: 'Apple 🍏'}, {value: 'banana', text: 'Banana 🍌'}, {value: 'kiwi', text: 'Kiwi 🥝'}, ]; // 👇️ Initial value of empty string (first option) const [selected, setSelected] = useState(''); const handleChange = event => { console.log('Label 👉️', event.target.selectedOptions[0].label); console.log(event.target.value); setSelected(event.target.value); }; return ( <div> <select value={selected} onChange={handleChange}> {options.map(option => ( <option disabled={option.disabled} key={option.value} value={option.value} > {option.text} </option> ))} </select> </div> ); }; export default App;

The example defines all options in an array in order to make our JSX code more concise.

