Warning: Use the `defaultValue` or `value` props on <select> instead of setting `selected` on <option>
Last updated: Apr 7, 2024
Reading time·3 min

# Warning: Use the defaultValue or value props on <select> instead of setting selected on <option>
The "Warning: Use the defaultValue or value props on <select> instead of
setting selected on <option>" occurs when we set the selected prop on an
option element.
To resolve the issue, use the value prop instead.

Warning: Use the `defaultValue` or `value` props on <select> instead of setting `selected` on <option>. at option at select at div
Here is an example of a select element with an initial value set.
import {useState} from 'react'; const App = () => { const options = [ {value: '', text: '--Choose an option--'}, {value: 'apple', text: 'Apple 🍏'}, {value: 'banana', text: 'Banana 🍌'}, {value: 'kiwi', text: 'Kiwi 🥝'}, ]; const [selected, setSelected] = useState(options[0].value); const handleChange = event => { console.log(event.target.value); setSelected(event.target.value); }; return ( <div> <select value={selected} onChange={handleChange}> {options.map(option => ( <option key={option.value} value={option.value}> {option.text} </option> ))} </select> </div> ); }; export default App;

selected prop on the option elements.Instead, we set the value prop on each option.
Instead of using the selected attribute, to stay consistent with other form
elements, React uses a value attribute on the root select tag.
This makes it so <input type='text />, <textarea> and <select> accept a
value prop and allow us to implement a controlled component in a very similar
way.
When you use the onChange prop, you have a controlled select element, so the
defaultValue prop shouldn't be set.
We defined all options in an array to make our JSX code more concise, but you
could write each option element manually.
We used the useState hook to store the value of the selected option.
The parameter we passed to the hook is
the initial state. In the example, we set
the initially selected value to an empty string, which is the value of the first
option element.
useState hook.We set the onChange prop on the select element, so every time its value is
changed, the handleChange function is invoked.
const handleChange = event => { console.log(event.target.value); setSelected(event.target.value); };
The target property on the event object refers to the select element, so
we can access the selected value as event.target.value.
In our handleChange function, we simply update the state with the value of the
selected option.
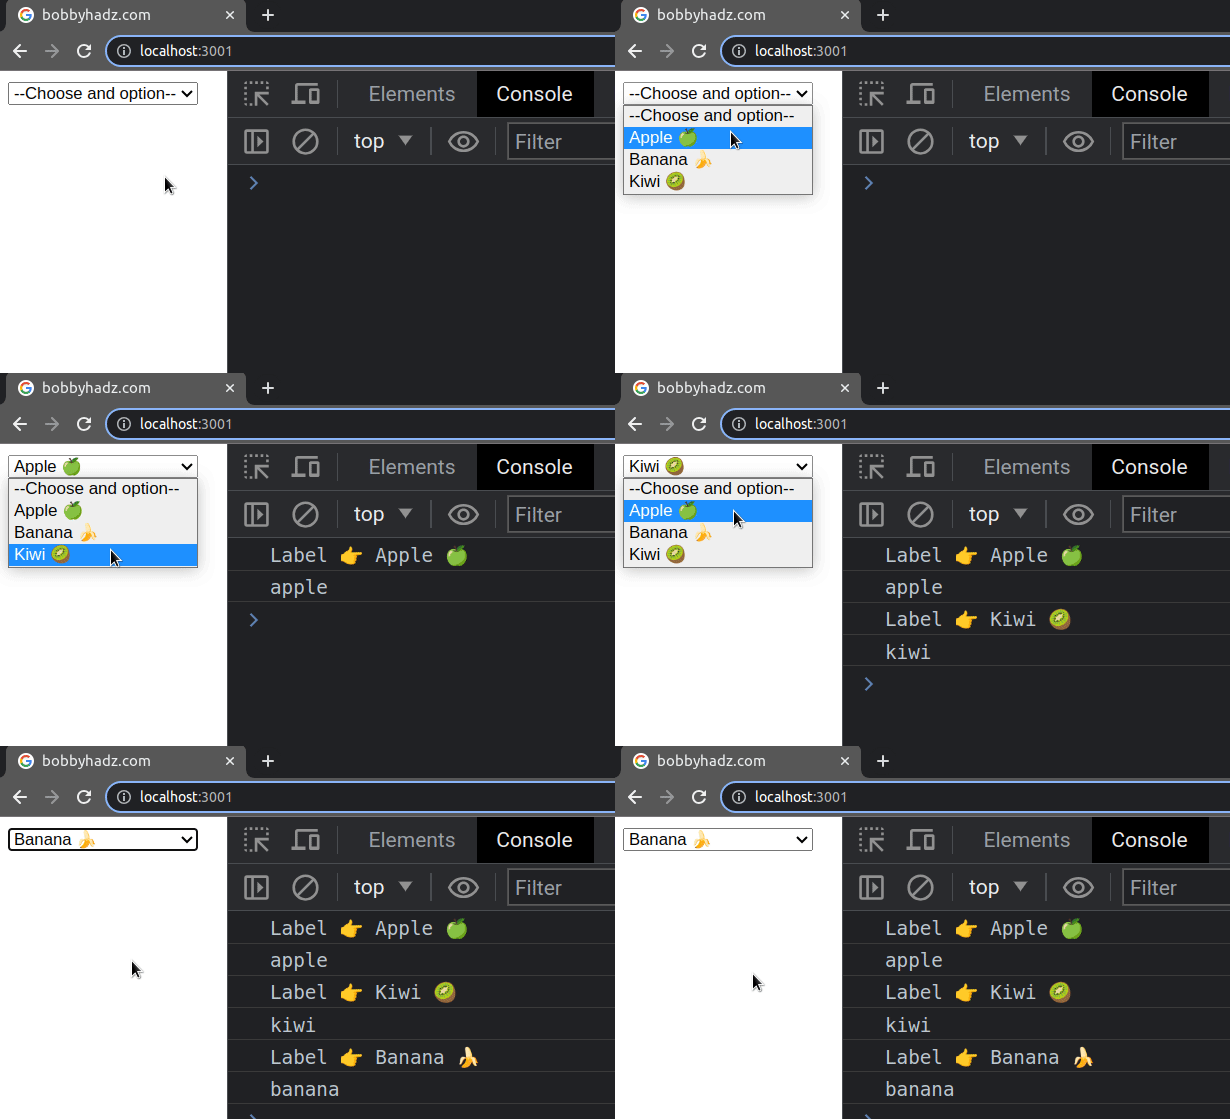
If you need to get the text that's associated with the selected option
element, access the label property on the selected option.
const handleChange = event => { console.log('Label 👉️', event.target.selectedOptions[0].label); console.log(event.target.value); setSelected(event.target.value); };
I've also written a detailed guide on how to handle the onChange event on a Select element.
# Writing the option elements manually
Here is an example of how you would manually type in the options of the select
element without using map().
import {useState} from 'react'; const App = () => { // 👇️ Initial value of empty string (first option) const [selected, setSelected] = useState(''); const handleChange = event => { console.log('Label 👉️', event.target.selectedOptions[0].label); console.log(event.target.value); setSelected(event.target.value); }; return ( <div> <select value={selected} onChange={handleChange}> <option value="">--Choose and option--</option> <option value="apple">Apple 🍏</option> <option value="banana">Banana 🍌</option> <option value="kiwi">Kiwi 🥝</option> </select> </div> ); }; export default App;

We set an initial value of an empty string for the select element, which will
render the first option.
You can change which option is selected by default by providing a different
initial value, e.g. apple.
Make sure that the initial value is one of the possible values of the value
prop on the option elements.

